I learned these techniques the hard way—by screwing them up on actual projects first. Each one solved a problem I’d been fighting for years. Now they’re just how I work, automatic, but getting there took longer than it should have.
The Shooting Board
Cross-cutting end grain cleanly drove me crazy for my first two years. Saw tears. Sandpaper doesn’t fix it. I was losing time and material on every cut.
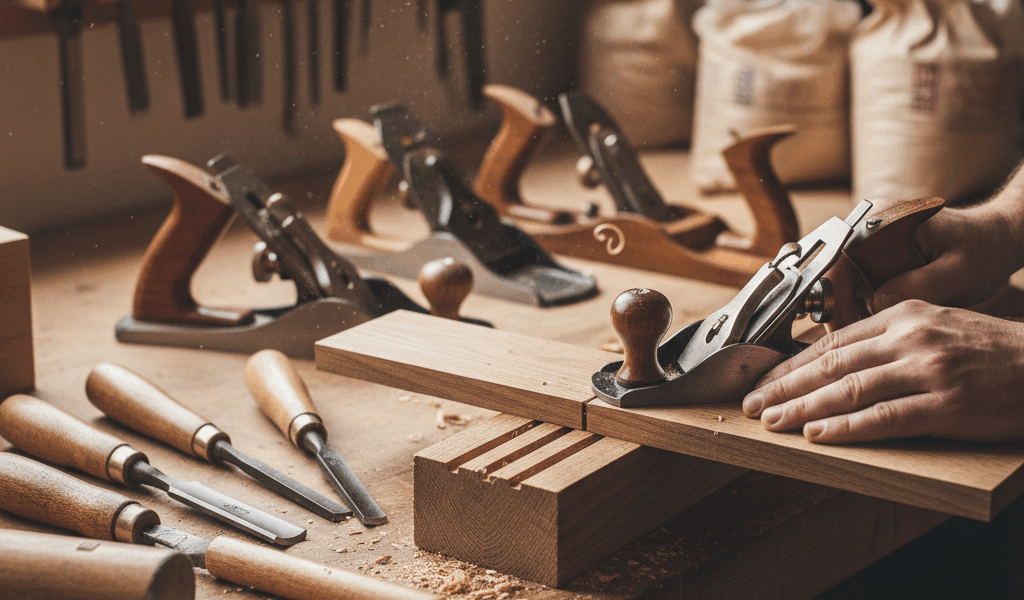
Then someone showed me a shooting board. Basically a platform with a track for your plane that lets you trim end grain with control. The blade approaches the wood at an angle that produces shearing cuts instead of tearing cuts. The difference is night and day.
Building one took an afternoon. Piece of MDF for the base, strip of hardwood for the fence, another strip for the plane to ride on. Total cost maybe fifteen bucks in materials. The improvement in my work was immediate.
I use it for trimming miters too. Get the angle set up once, and every cut comes out identical. Before the shooting board, I was hand-fitting every miter joint. Now they just work.
The Knife Wall
Layout with a pencil leaves a thick line—maybe 1/32 of an inch wide. Cut to one side of it, cut to the other side, cut down the middle—three different results from the same mark.
A marking knife scores the wood fibers, creating a precise line you can feel as well as see. But more important, that knife cut becomes a reference wall for your chisel. Place the chisel in the cut, angle the flat toward the waste side, and the first cut is perfect.
I was skeptical when I first heard about this. Seemed like unnecessary fussiness. Then I tried it on a dovetail layout and suddenly my joints fit first time. Not close—fit. The knife wall made the difference.
Takes longer to layout than pencil. Worth it every time. I don’t use pencil for joinery anymore at all.
The Story Stick
Tape measures lie. Not intentionally—they just accumulate errors. Measure something, write down the number, transfer it somewhere else, and you’ve got three opportunities to mess up.
A story stick eliminates that. It’s just a piece of scrap with marks on it—not measurements, just marks. All the parts that need to match get marked on the same stick. Then you transfer directly from stick to workpiece, no numbers involved.
Cabinet makers have used these forever because cabinet parts have to fit together precisely. I started using them for furniture after one too many drawer that was almost the right size.
My story sticks are just strips of cheap pine with marks made by my marking knife. I label them so I know which project they belong to. When the project is done, most get tossed—but some I keep because I know I’ll build that design again.
Why These Matter
These aren’t flashy techniques. Nobody will watch you use a story stick and think you’re a wizard. But each one eliminates a category of errors I was making constantly.
Shooting board: clean end grain every time. Knife wall: joints that fit on the first try. Story stick: parts that actually match.
The difference between amateur work and competent work isn’t usually talent. It’s knowing tricks like these and using them consistently. Took me years to learn them, maybe ten minutes each to adopt once I did.
My joinery got noticeably better the month I started using all three together. Not because I got more skilled—because I stopped making dumb mistakes.

Stay in the loop
Get the latest wood working workshop updates delivered to your inbox.