The Complete Guide to Hand Tool Woodworking: From Beginner to Skilled Craftsman
Power tools dominate modern workshops. They’re fast, efficient, and capable of remarkable precision. But hand tools offer something different—a direct connection to the material, the satisfaction of skill development, and the ability to work quietly without dust collection concerns. This comprehensive guide covers everything you need to know about hand tool woodworking, from your first purchase to advanced techniques.
Why Hand Tools Still Matter
A century ago, all woodworking happened by hand. Master craftsmen built furniture that still functions today using nothing but muscle power, sharp steel, and accumulated skill. While power tools have their place, hand tools remain relevant for several compelling reasons.
The Practical Benefits
Hand tools are quiet. You can work at midnight without disturbing neighbors. They generate no dust—just shavings that sweep up easily. The startup cost is lower than a single quality table saw. And the skills transfer to any shop situation, from a cramped apartment closet to a full professional workspace.

There’s also the matter of control. Power tools move fast. Mistakes happen in milliseconds. Hand tools move at human speed. You feel the wood respond to each stroke. When something starts going wrong, you notice immediately and adjust. This feedback loop builds understanding that benefits all woodworking, powered or not.
The Psychological Benefits
Hand tool work is meditative. The rhythmic motion of a hand plane, the focused attention required for accurate sawing—these activities quiet the mind. Many woodworkers report that hand tool sessions feel restorative in ways that machine work doesn’t match.
There’s also profound satisfaction in building skill over time. A perfectly tuned plane producing gossamer shavings represents years of practice. That accomplishment belongs entirely to you, not to the capabilities of an expensive machine.
This article includes affiliate links. We may earn a commission at no extra cost to you.
Building Your First Hand Tool Kit
Don’t buy everything at once. Start with essentials and add tools as projects require them. Quality matters more than quantity—one good plane beats five mediocre ones.
The Absolute Essentials
Measuring and Marking: A quality combination square is non-negotiable. Starrett and PEC make excellent options. Add a marking gauge for parallel lines, a marking knife for precise cross-grain marks, and a reliable tape measure.

Saws: A crosscut saw and a rip saw cover most situations. The Japanese-style pull saws offer thin kerfs and excellent control. Western push saws provide more aggressive cutting. Try both and see what feels natural. A good dovetail saw comes next for joinery work.
Planes: Start with a #5 jack plane—the workhorse of the hand plane world. It handles rough dimensioning and final smoothing reasonably well. A block plane handles end grain and small work. Later, add a #4 smoother and a #7 jointer for specialized tasks.
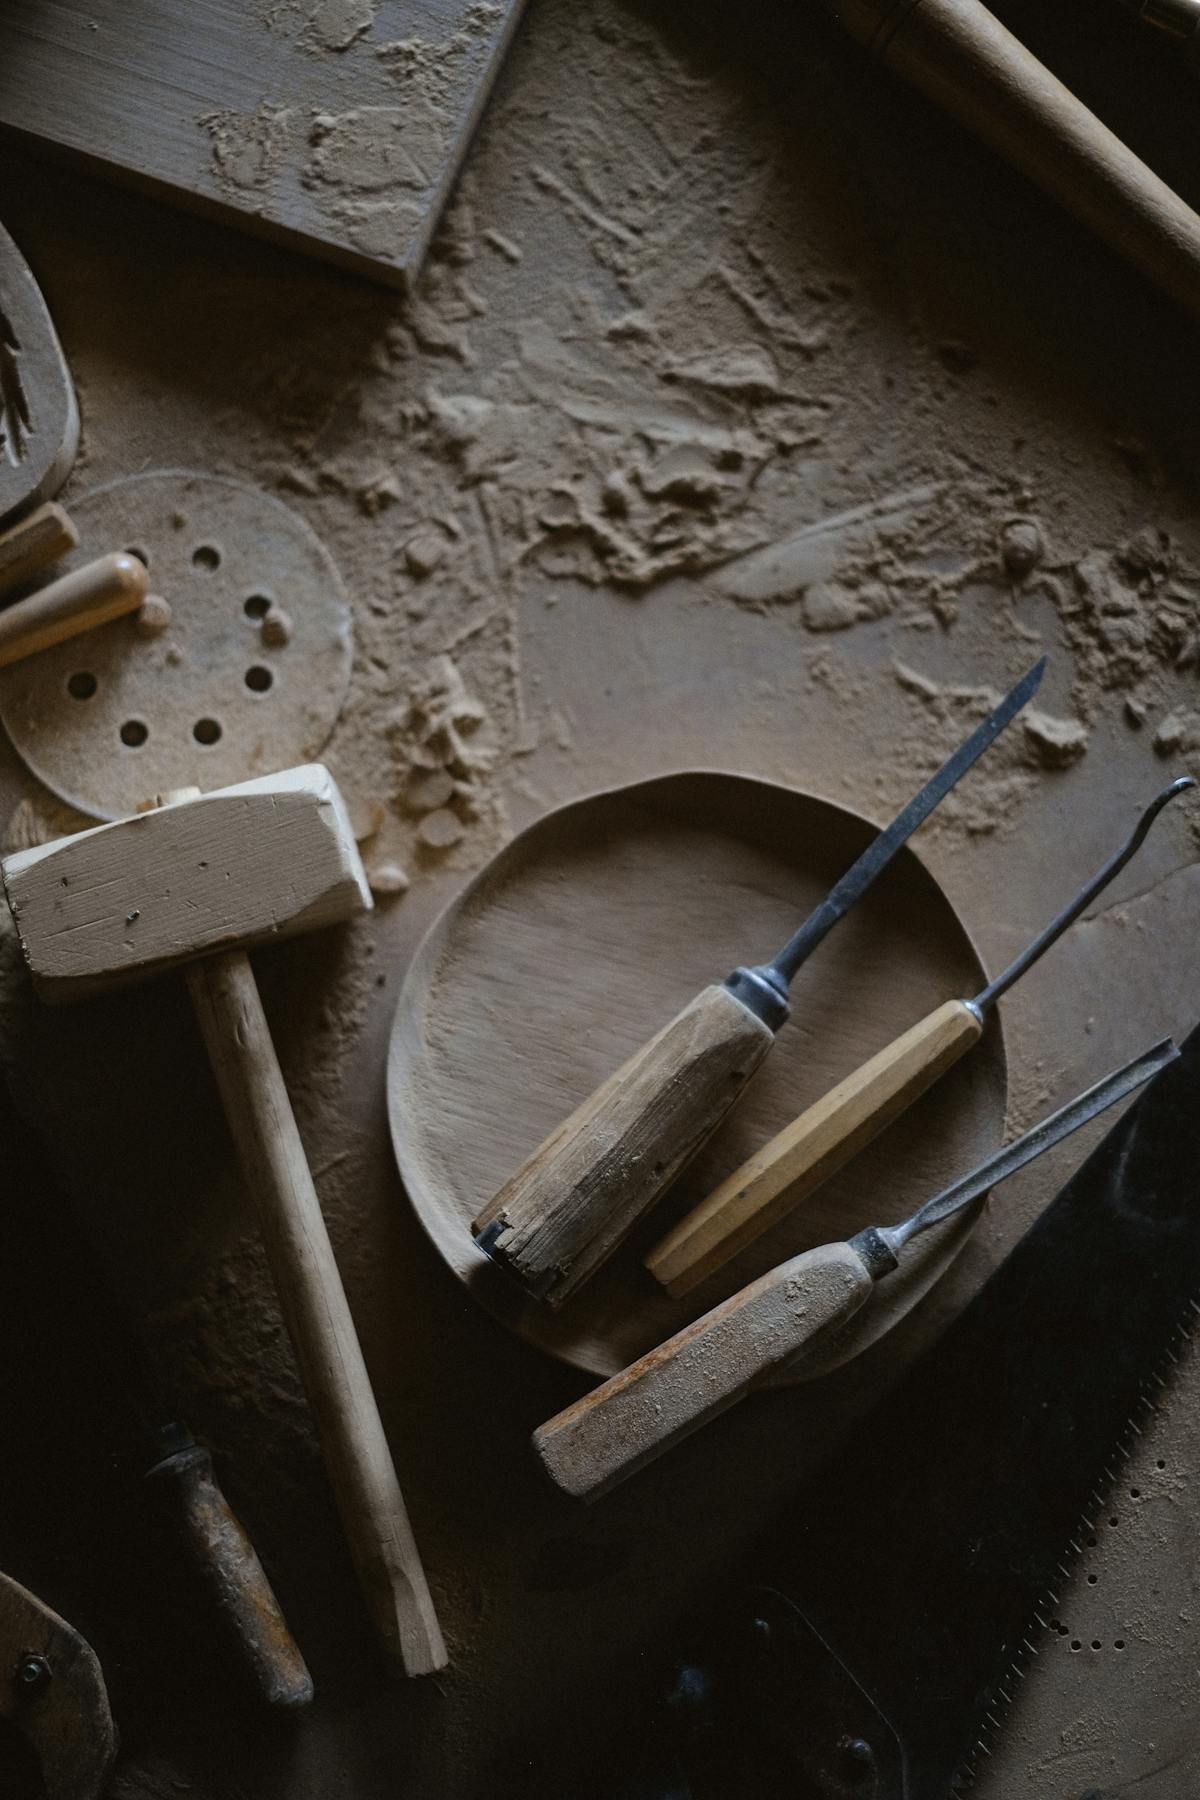
Chisels: A set of bench chisels in 1/4″, 1/2″, 3/4″, and 1″ widths handles most work. Narex offers excellent value. Ashley Iles and Lie-Nielsen represent premium options. Quality steel matters more than fancy handles.
Work Holding: Clamps of various sizes, a solid workbench with a vise, and bench dogs for clamping flat work. The bench itself is the most important “tool” in a hand tool shop.
The Second Tier
Once comfortable with basics, consider adding a router plane for cleaning up joinery, a shoulder plane for trimming tenons, and a spokeshave for curves. Card scrapers handle final smoothing without sandpaper. A coping saw cuts curves that straight saws can’t manage.
The Workbench: Heart of the Hand Tool Shop
You can’t do hand tool work without solid work holding. A flimsy bench that moves with every plane stroke or saws cut makes accurate work impossible. The workbench is both a tool and a workspace—give it the attention it deserves.
Bench Design Principles
Mass matters. Heavy benches resist movement. Traditional benches weigh several hundred pounds for good reason. The top should be flat and stay flat. Beech, maple, and other dense hardwoods make traditional tops. Laminated construction resists warping better than solid slabs.
Height matters too. For planing, the bench should reach your wrist when standing with arms hanging naturally. For detailed work, you might want it higher. If you only build one bench, optimize for planing height—you can always raise detail work on a platform.
Essential Work Holding
A face vise on the front lets you clamp boards vertically for sawing and edge planing. A tail vise with bench dogs pins work flat to the top for surface planing. These two systems handle most clamping situations.
Planing stops—simple devices that catch one end of a board—provide quick positioning for face planing. A hook or cleat at the back of the bench serves the same purpose for shooting boards on their edges.
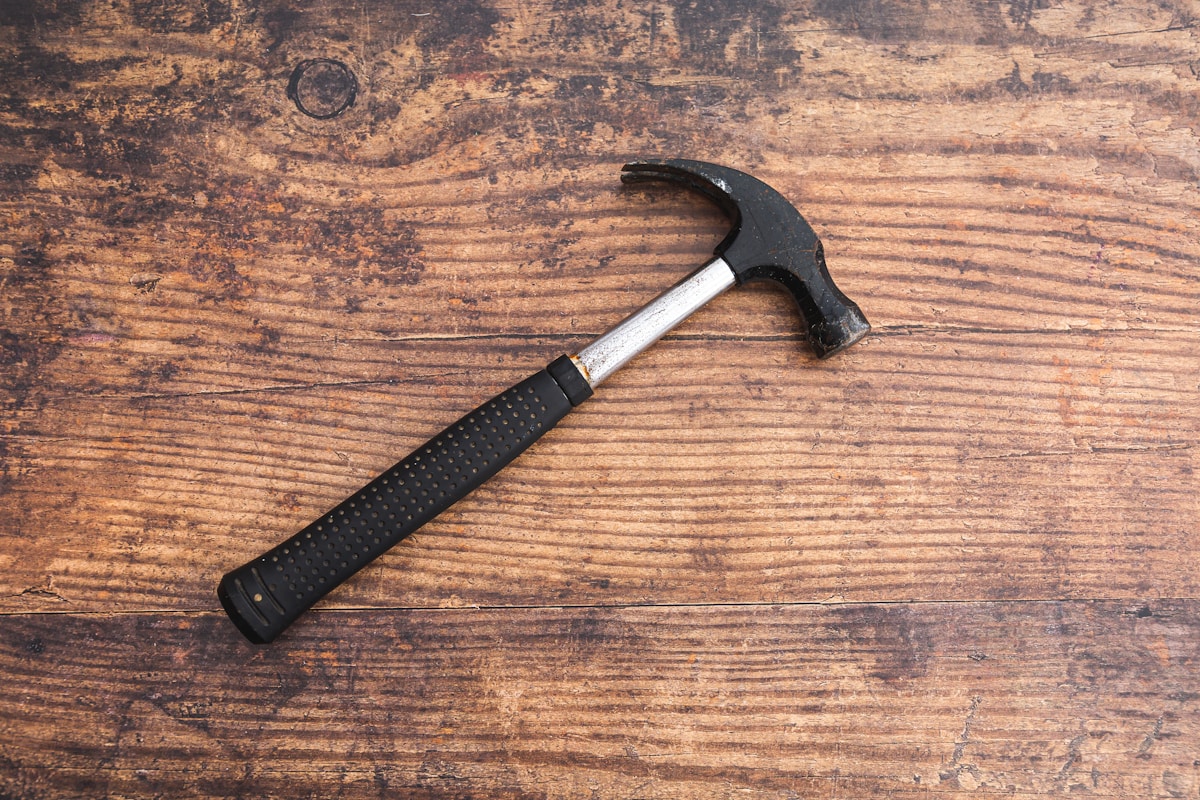
Holdfasts drop into round holes and lock work in place with a tap from a mallet. Quick to set, quick to release. Multiple holdfast holes across the bench top provide flexibility in positioning.
Sharpening: The Fundamental Skill
Dull tools frustrate. They require excessive force, produce poor results, and feel dangerous because they slip unpredictably. Sharp tools cut effortlessly, leave clean surfaces, and respond precisely to your guidance. Sharpening is not optional—it’s the most important skill in hand tool work.
Understanding the Edge
A cutting edge is the intersection of two surfaces meeting at an acute angle. Sharpening creates and maintains that intersection. The back of a chisel or plane iron should be absolutely flat—any hollows or bumps near the edge affect performance. The bevel face needs controlled geometry meeting the flat back at the intended angle.
Primary bevel angles range from 25 to 30 degrees for most bench tools. Lower angles cut more easily but dull faster and may chip in hard woods. Higher angles are more durable but require more force. Many woodworkers add a small secondary bevel at the very edge—this makes refreshing the edge faster while maintaining durability.
Sharpening Systems
Waterstones: Popular and effective. They cut quickly and produce excellent edges. Available from coarse to mirror-polish grits. Require flattening periodically as they dish with use. Soak before using. Splash-and-go stones simplify the process.
Oilstones: Traditional and durable. Arkansas stones last indefinitely with care. India stones (aluminum oxide) cut faster. Use with honing oil or mineral oil. Less maintenance than waterstones but slower cutting.
Diamond plates: Flat forever. No maintenance beyond cleaning. Excellent for flattening other stones and initial grinding. Available in various grits. More expensive upfront but may be cheaper long-term due to zero wear.
Sandpaper on flat surfaces: Cheap and effective. MDF or granite plates make good substrates. Work through grits from 120 to 1000 or higher. Consumable costs add up over time but the entry barrier is minimal.
The Sharpening Process
Start by establishing the back. This only happens once per tool, but it must be done right. Work the back on a coarse stone until flat for at least an inch from the edge. Progress through grits until polished. This flat, polished back becomes your reference surface forever after.
Shape the bevel at your chosen angle. Use a honing guide or freehand—guides ensure consistency while freehand builds skill. Remove material until you feel a burr form along the back edge. This burr indicates the new bevel extends all the way to the edge.
Remove the burr by stropping or light passes on the finest stone, alternating between back and bevel. The edge should cut arm hair cleanly. If not, continue refining.
Learning to Saw Straight
Hand sawing looks simple but requires practice. The saw wants to follow the path of least resistance, which isn’t always your intended line. Proper technique keeps the saw tracking true.
Starting the Cut
Use your thumb knuckle as a guide for the first few strokes. Start with light, short pulls (for Japanese saws) or pushes (for Western saws). Let the teeth establish a groove before applying full strokes. Rushing the start causes wandering cuts.

Mark your line clearly. A marking knife creates a groove that guides the saw teeth. For ripping, score both the face and the edge so you can monitor progress from multiple angles.
Maintaining the Cut
Watch your line, but also use your body alignment. Position yourself so the saw naturally tracks straight when your arm moves naturally. If you’re twisted or reaching awkwardly, the saw will drift.
Light pressure, full strokes. Let the teeth do the work. Forcing causes deviation. Use the entire blade length when possible—it’s more efficient and produces straighter cuts than short, choppy strokes.
For crosscuts, the waste side of the line should show half the thickness of your marking knife kerf. This leaves the line visible on the good piece for final fitting.
Plane Setup and Technique
A properly tuned plane in skilled hands produces surfaces smoother than any sandpaper. But setup matters enormously. An out-of-tune plane fights the user and tears wood fibers.
Flattening the Sole
Most planes need sole flattening before first use. Even expensive planes benefit from this process. Use sandpaper on a flat reference surface (granite plate, thick glass, or MDF). Work through grits from 120 to 220. You don’t need a mirror polish—just consistent flatness, especially in front of and behind the mouth.
Setting the Iron
The iron must project evenly across its width with the appropriate amount for the work. For heavy stock removal, more projection. For final smoothing, barely visible. Use a straight edge across the sole to check projection. Adjust lateral position so both corners take equal shavings.
Chip breaker position affects performance. Closer to the edge reduces tear-out but increases resistance. Start with the breaker about 1/16″ from the edge and adjust based on wood behavior.
Using the Plane
Apply pressure to the front knob at the start of the stroke, transfer to the rear handle at the end. This prevents rounding the workpiece edges. Keep the sole flat on the work throughout the stroke.
Read the grain. Planing against the grain causes tear-out—the fibers lift and tear rather than shearing cleanly. Reverse direction when you see tear-out starting. Difficult grain may require a scraper instead.
Building Fundamental Joints
Joinery connects pieces into functional assemblies. Hand-cut joints, properly executed, are stronger than the wood around them. The same joints cut by machine work fine functionally but lack the fitted precision of hand-cut work.
The Mortise and Tenon
This joint has held furniture together for millennia. A tenon (tongue) on one piece fits into a mortise (slot) in another. Properly fitted, glue is almost optional—the mechanical interlock provides tremendous strength.
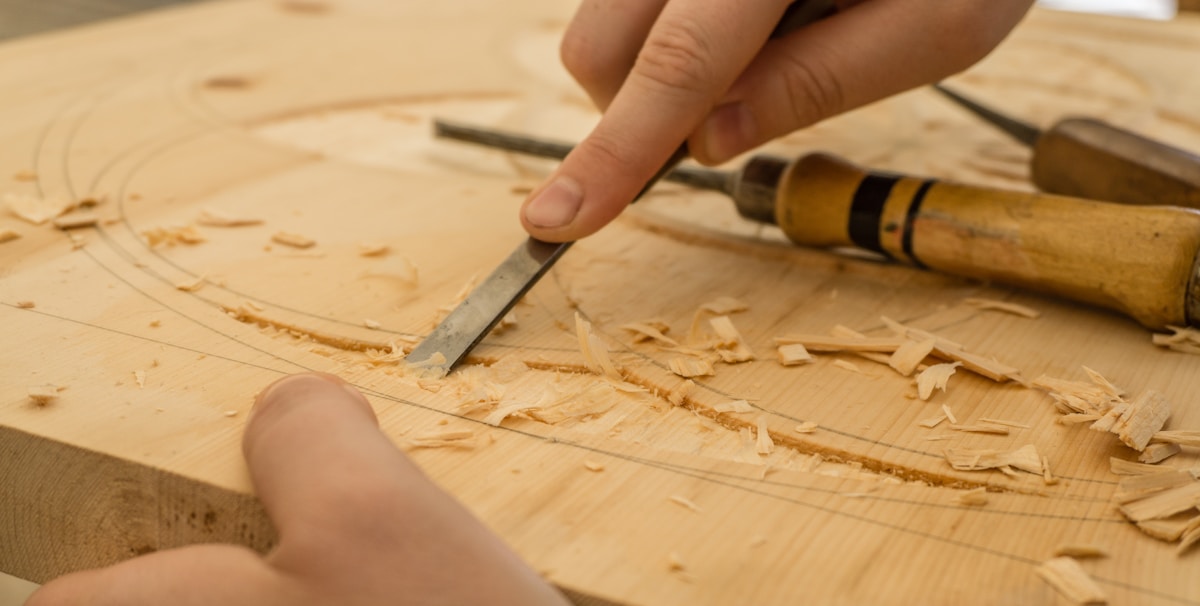
Cut the mortise first—it’s harder to adjust. Chop with a mortise chisel, working from the center outward to the lines. Clean up the walls with a paring chisel. Square the corners if needed or round the tenon edges to match.
Cut the tenon to fit the mortise. Mark from the actual mortise, not from measurements. Saw the shoulders first, then the cheeks. Pare to final fit. The tenon should slide home with hand pressure and resist pulling out without glue.
The Dovetail Joint
Dovetails resist pulling apart. The angled pins and tails interlock mechanically. Traditional for drawer construction and box corners. Visible dovetails demonstrate craftsmanship; hidden dovetails provide the same strength without showing.
The angle matters less than consistency. Traditional ratios range from 1:5 for softwoods to 1:8 for hardwoods, but any angle between those extremes works. Mark with a sliding bevel set to your chosen ratio.
Cut tails first or pins first—debate rages, but results matter more than sequence. Transfer from the first piece to the second by positioning the cut piece against the mate and marking through. Saw and chop to the lines. Test fit without forcing.
Practice Projects for Skill Development
Skills develop through practice, not reading. Build these projects in sequence, and you’ll establish fundamental capabilities that support all future work.
Project 1: Simple Box
Four sides, a bottom, maybe a lid. Practice accurate sawing and basic joinery. Mitered corners teach angle setup. Rabbeted corners teach consistent dado cutting. Dovetailed corners teach the king of hand-cut joints.
Project 2: Small Table or Stool
Now you’re dealing with leg-to-rail joinery. Mortise and tenon for the frame. A solid top or multiple boards joined edge-to-edge. Standing furniture must be square and stable.
Project 3: Wall-Hung Cabinet
Case construction combined with door hanging. A frame-and-panel door teaches multiple skills simultaneously. Hinges and catches require precision installation. Internal shelving adds another element.
Developing Speed and Efficiency
Hand tool work isn’t necessarily slow. Skilled practitioners dimension rough lumber faster than machine-equipped shops in many situations. The key is methodical work and sharp tools.
Workflow Matters
Process all pieces through each step before moving to the next. Rough cut all parts, then dimension all parts, then mill all joints. This batching approach minimizes setup changes and builds rhythm.
Keep tools sharp. Stop when edges start dragging—the time spent sharpening repays itself immediately in faster, cleaner cuts.
Prepare your workspace. Material handling wastes time. Position lumber where you need it. Clear sawdust before it interferes. The goal is continuous productive motion.
Knowing When to Machine
Pure hand tool work is satisfying but not always practical. Hybrid approaches use machines for rough dimensioning and hand tools for final fitting and joinery. Find your own balance based on available equipment and personal preferences.
Continuing Your Journey
This guide covers fundamentals. Mastery comes from years of practice, hundreds of projects, and constant refinement of technique. Resources for continued learning include period texts, modern instructional books, video courses, and—most valuable—time with skilled practitioners.
Join local woodworking clubs. Attend classes when possible. Watch skilled hands work whenever you get the opportunity. Skills transfer through observation and practice more effectively than through any other means.
Your tools will improve as you learn to tune and maintain them. Your eye will sharpen to see deviations invisible to beginners. Your hands will develop muscle memory that makes complex operations automatic. Give it time. The rewards are worth the investment.


Stay in the loop
Get the latest wood working workshop updates delivered to your inbox.