Protecting wood from moisture damage is one of the most important skills any woodworker can master. Whether you’re building outdoor furniture, a bathroom vanity, or a kitchen cutting board, understanding how to make wood resistant to water will dramatically extend the life of your projects. I’ve watched projects I was proud of deteriorate prematurely because I didn’t take waterproofing seriously — that’s the kind of lesson you learn once.
Why Wood and Water Don’t Mix
Wood is a hygroscopic material, meaning it naturally absorbs and releases moisture from its environment. When wood absorbs too much water, it swells. When it dries out, it shrinks. This constant expansion and contraction leads to warping, cracking, and eventually rot. That’s what makes moisture management so important for woodworkers — the material is always responding to its environment.
The key to waterproofing isn’t preventing all moisture exchange — that’s nearly impossible. Instead, the goal is to slow moisture absorption enough that the wood can equalize gradually without dramatic dimensional changes.
Top Waterproofing Methods for Wood
1. Penetrating Oil Finishes
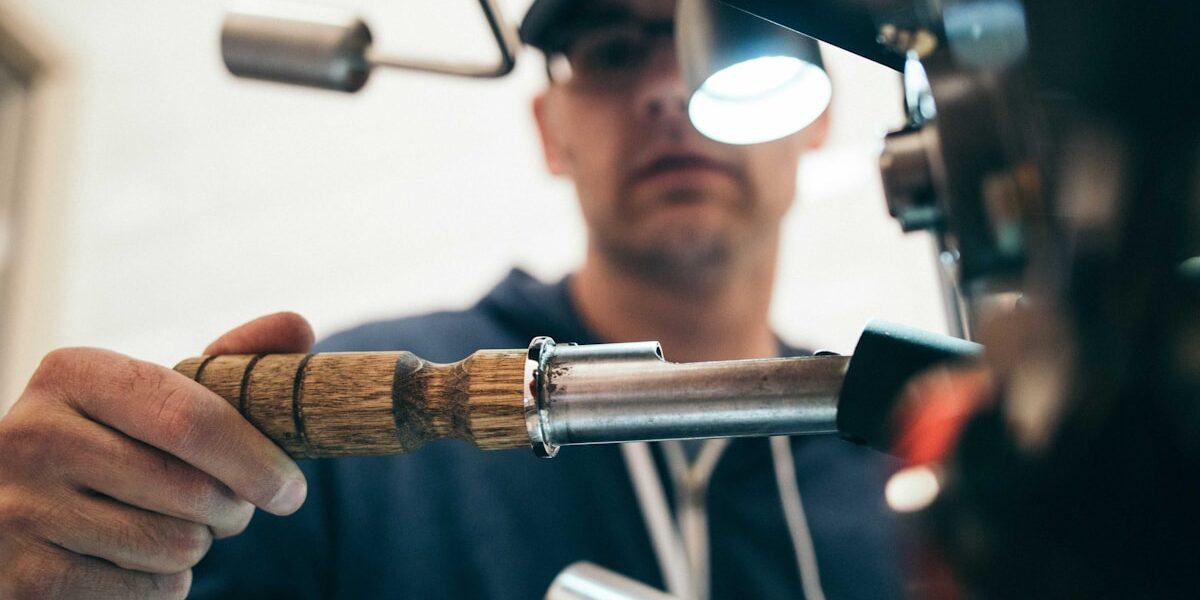
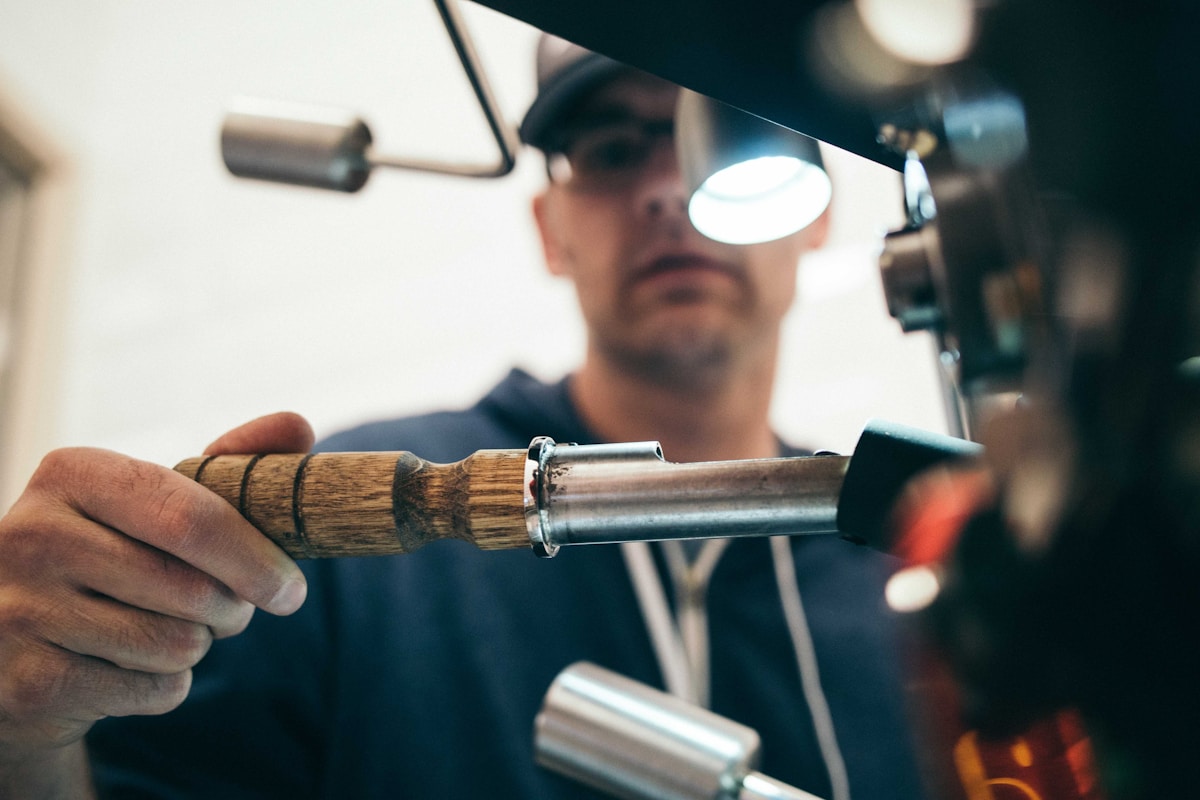
Tung oil and Danish oil penetrate deep into wood fibers, providing protection from within. These finishes don’t create a surface film, so they won’t peel or flake. They’re ideal for items that see regular handling like tool handles and cutting boards. Took me several refinishing jobs on peeling varnish to fully appreciate finishes that simply can’t peel.
For best results, apply multiple thin coats, allowing each to cure fully before adding the next. This builds up protection without creating a sticky surface.
2. Marine Varnish
When maximum water protection is needed, marine-grade spar varnish delivers. Originally developed for wooden boats, these varnishes contain UV blockers and remain flexible to handle wood movement. They’re perfect for outdoor furniture and exterior trim. My shop buddy uses spar varnish on all his outdoor pieces and the durability difference compared to interior finishes is obvious after one season.
The trade-off is maintenance — marine varnish requires recoating every few years as UV exposure gradually breaks down the finish.
3. Epoxy Sealers
Two-part epoxy creates an incredibly durable, waterproof barrier. Bar tops, river tables, and outdoor countertops often use epoxy for its crystal-clear finish and complete moisture resistance.
Epoxy does have downsides: it’s more expensive, requires precise mixing, and can yellow with sun exposure. For indoor projects away from windows, though, it’s hard to beat.
4. Exterior Wood Stains
Semi-transparent and solid exterior stains combine color with water protection. Unlike paint, stains penetrate the wood rather than sitting on top, which means no peeling. They’re the go-to choice for decks, fences, and siding — and the correct answer for any large horizontal outdoor surface that will see foot traffic.
Preparing Wood for Waterproofing
No finish performs well on poorly prepared wood. Before applying any waterproofing treatment:
- Sand to at least 150-grit for oil finishes, 220-grit for film finishes
- Remove all dust with a tack cloth or vacuum
- Ensure the wood is completely dry — below 15% moisture content
- Raise the grain with water, let dry, then sand smooth for the smoothest final result
Choosing the Right Finish for Your Project
Consider these factors when selecting a waterproofing method:
Indoor vs. outdoor use: Outdoor projects need UV protection and flexibility that indoor finishes don’t provide. Using an interior finish on exterior wood is one of the most common mistakes in project finishing.
Food contact: Cutting boards and salad bowls need food-safe finishes like mineral oil, walnut oil, or specially formulated butcher block oil. Nothing else belongs on surfaces that contact food.
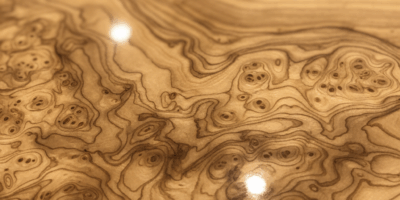
Appearance: Some finishes darken wood significantly while others remain nearly invisible. Always test on scrap first — wish I’d followed this rule more consistently early on.
Maintenance: High-traffic items may need periodic refinishing. Choose a finish you’re willing to maintain over the life of the piece.
Common Mistakes to Avoid
Even experienced woodworkers sometimes make these waterproofing errors:
Applying too thick: Multiple thin coats outperform one heavy coat every time. Thick applications trap solvents and never cure properly — the surface feels dry but the finish underneath remains soft.
Skipping end grain: Wood absorbs moisture fastest through end grain. Give these areas extra coats. The end of a leg sitting on a wet deck is where rot starts.
Rushing dry time: Finishes need full cure time before water exposure. Check manufacturer recommendations — some products need weeks to fully harden before they’re actually waterproof.
With the right preparation and finish selection, your woodworking projects can stand up to moisture for years to come. The extra time spent on proper waterproofing pays dividends in durability and beauty.


Stay in the loop
Get the latest wood working workshop updates delivered to your inbox.