Why Wood Glue Fails in the First Place
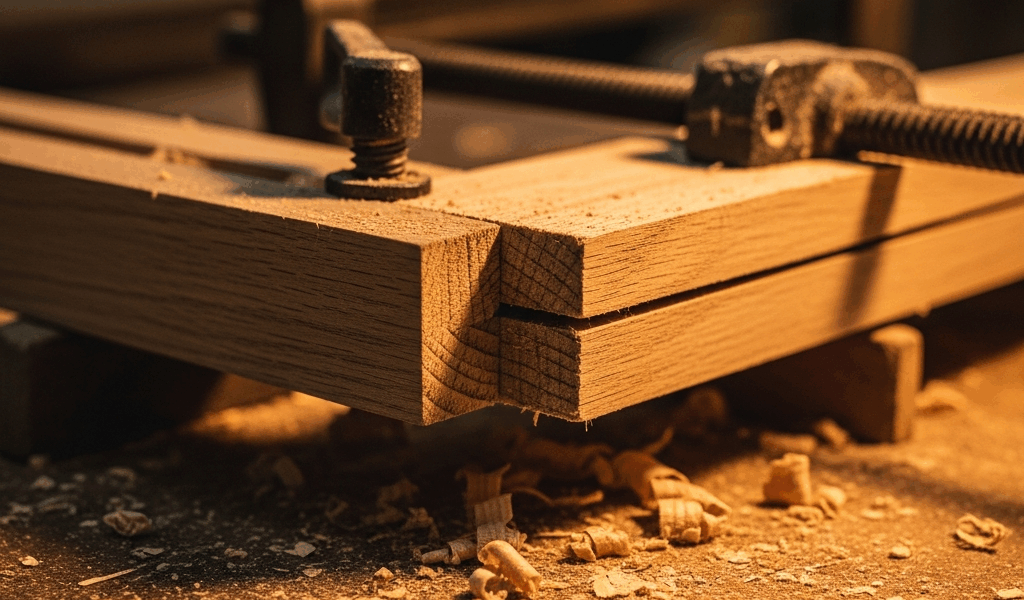
Wood glue troubleshooting has gotten complicated with all the conflicting advice flying around. As someone who glued up a walnut box frame only to watch it fall apart three days later, I learned everything there is to know about why joints fail. Today, I will share it all with you.
My first instinct was to blame the bottle of Titebond III sitting on my bench. That bottle wasn’t the problem. Neither was the glue type. Turns out, wood glue failures fall into exactly three categories — and the glue itself is almost never one of them. Surface contamination kills adhesion before anything else happens. Poor joint fit, especially gaps that look minor but aren’t, prevents the glue from forming a proper film. And clamping errors, ranging from too much pressure to uneven distribution, wreck joints that started with perfect surfaces and tight fits.
Work backward from the failure. Was the joint dusty when you glued? Did your pieces actually fit flush? Were your clamps pulling evenly? Each question eliminates possibilities. That’s what makes this diagnostic approach so useful to woodworkers — it cuts through the guesswork fast.
Surface Problems That Kill Adhesion
Dust is the obvious culprit. Also the least common real cause of failure in a controlled shop. What actually ruins adhesion is less visible: old finish residue, machine glazing from your planer, oily wood species that weren’t properly prepped beforehand.
Planer glazing is the sneaky one. When your jointer or thickness planer blade gets dull, it burnishes the surface instead of cutting cleanly. You get a slick, sealed layer that looks perfectly fine to the eye. Glue can’t penetrate it. The fix is straightforward — resand with 150-grit, going perpendicular to the planer marks if you can still see them. You’re not chasing smoothness. You’re breaking the glaze and exposing fresh fiber.
Probably should have opened with this section, honestly. There’s a counterintuitive trap waiting here: sanding too fine before gluing. I’m apparently someone who learns things the hard way, and hitting figured maple surfaces with 220-grit to make them silky nearly broke me. Those joints failed spectacularly. Fine sanding clogs wood pores and essentially seals them shut. Aim for 100 to 150-grit on glue surfaces — rough enough to expose fiber, smooth enough to avoid splintering. Don’t make my mistake.
End Grain Is Its Own Beast
But what is end grain absorption, really? In essence, it’s your glue getting sucked into the wood faster than it can form a bond, leaving a starved joint. But it’s much more than that — it’s the single most misunderstood failure point for beginners.
This is why sizing exists. A coat of thinned glue — mix your wood glue to roughly the consistency of whole milk — seals the end grain just enough. When you apply full-strength glue afterward, it doesn’t vanish into the wood. Skip sizing and you’ll pull apart what seems like a perfectly clamped joint. I’ve done it. Applied glue to raw end grain on a maple apron, had it snap clean at the joint line within 48 hours. Clean break. Zero resistance.
Oil and Old Finish Residue
Some woods — teak, rosewood, most of the exotics — carry natural oils that fight glue adhesion. Reclaimed or salvaged stock adds old finish residue on top of that problem. Scrape off any visible finish with a card scraper first. Then wipe the joint surfaces with 180-grit sandpaper and a cloth dampened with mineral spirits. Let it sit completely dry before gluing. Mineral spirits dissolves residual oils and old finish without raising the grain the way water does. That detail matters more than most people realize.
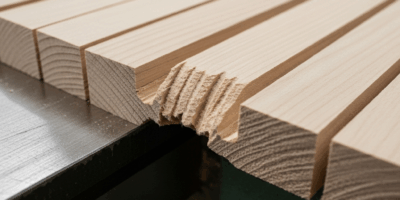
Joint Fit Issues and Glue Starvation
Glue starvation happens when gaps — even gaps under 0.01 inches — prevent the glue from forming a continuous film between surfaces. The glue retreats into the gaps instead of coating the mating faces. You end up with mostly air and a thin glue line that peels apart under almost no stress.
This is where “the glue isn’t holding” actually makes sense. Except it’s not the glue’s fault. It’s the joint’s fault.
Dense woods like hard maple or cherry need less glue because their pores are tight. Oak, ash, and other open-grained species are thirsty — they need heavier application to account for absorption. But you can’t just glob it on. A continuous film is the goal. Apply glue to both surfaces, clamp with enough pressure to see a small bead of squeeze-out around the entire joint perimeter. That bead is your confirmation.
Reading the Squeeze-Out
That bead of glue around your joint edge is diagnostic information, not just mess. A uniform quarter-inch bead means adequate film thickness and reasonably even pressure. One side thick and the other side dry? Your clamp is pulling harder on one side. No squeeze-out at all? Either not enough glue, or your surfaces weren’t flush to begin with. That’s what makes squeeze-out so endearing to experienced woodworkers — it tells you exactly what’s happening inside a joint you can’t see.
The Open Time Problem
Wood glue’s open time becomes critical in warm shops. A bottle of Titebond III at 68 degrees has roughly 15 minutes of working time. In a 75-degree summer shop, cut that to 10 minutes. Fuss with alignment too long and the glue starts setting before you hit full clamp pressure. The joint looks fine for a week. Then fails suddenly.
Frustrated by a cabinet frame that kept giving me trouble, I spent 12 minutes getting everything aligned and clamped on an afternoon when shop temperature had crept to 78 degrees. The glue had already begun gelling during clamping. The joint held for four days before splitting clean along the glue line. Four days. Then nothing.
Clamping Mistakes That Wreck Good Glue Joints
Over-clamping starves glue joints. Under-clamping leaves them weak. Uneven clamping creates pockets of starved glue on one side while the other side bonds properly. None of these outcomes are what you want.
You’re not trying to crush the wood. You’re seating surfaces fully and maintaining slight pressure until cure. Clamp so hard you see wood compression or damage on softer species like pine or poplar, and you’ve squeezed out the entire glue film. There’s nothing left to hold the joint. I’ve seen it. The pieces look bonded. They’re not.
Pressure Distribution
That squeeze-out bead tells you everything again. Continuous bead around all sides means even pressure. Gaps in the bead — especially on opposite edges of a frame joint — mean pressure is pulling from one direction. Use clamping cauls, straight pieces of scrap stock, on each face of the joint. This distributes pressure evenly across the surface. Especially important on anything wider than two inches, honestly.
The Cure Time Shortcut
Titebond III reaches functional cure in 24 hours at room temperature. “Cured” doesn’t mean “full strength.” Full strength development takes a week. Clamps can come off after 24 hours — but don’t stress the joint for at least five days. I’ve watched people pull clamps at the 24-hour mark, move the piece around, and have joints fail within days. The glue looked hard. It wasn’t done.
How to Test a Glue Joint Before It Goes Into Your Project
Before committing any glue joint to your actual project, test it on scrap. This takes 15 minutes and prevents genuine heartbreak. So, without further ado, let’s dive in.
- Cut two pieces of the same wood species as your project, sized roughly 4 inches by 1.5 inches.
- Prepare them exactly as you would your project pieces — same sanding sequence, same surface treatment, no shortcuts.
- Glue them edge-to-edge using the same glue application method and clamping setup you’re planning to use on the real thing.
- After full cure — give it five days, not 24 hours — try to break it. Try hard. Hand tools only, no machines. Your hands and a mallet are enough.
A properly bonded joint fails in the wood itself. The grain splinters and tears. The glue line holds. A failed joint separates clean along the glue line with barely any resistance. That clean separation tells you exactly which step went wrong.
Keep this checklist somewhere accessible:
- Surfaces sanded to 100–150 grit, planer glazing removed
- End grain sized with thinned glue before full application
- Oily or exotic woods cleaned with mineral spirits and allowed to dry fully
- Joint pieces fitting flush with no visible gaps under direct light
- Glue applied to both mating surfaces, not just one
- Full clamp pressure applied within the glue’s open time window
- Clamps torqued evenly, with cauls used on any surface wider than two inches
- Full five days of cure time before stressing the joint in any direction
Wood glue not holding doesn’t mean you need a different glue. It means one of these steps failed somewhere. Find it, fix it — your next joint will hold.


Stay in the loop
Get the latest wood working workshop updates delivered to your inbox.