Finishing Pine: Techniques, Tools, and Tips
Finishing pine has gotten a reputation as a frustrating challenge, and honestly, that reputation is earned — but it’s not permanent. I’ve ruined enough pine surfaces with blotchy stain and uneven finish to have figured out exactly what goes wrong and why. Once the approach clicked, pine became one of my favorite materials to finish because the technique is learnable and the results can genuinely look great. Here’s what I know.
Understanding Pine Wood
Pine is a softwood — less dense than hardwoods, with a pronounced grain that alternates between soft earlywood and harder latewood. That density variation is the root of most finishing problems: the soft areas absorb stain and finish more aggressively than the harder areas, which produces the blotchy, uneven appearance that makes people swear off staining pine entirely. The resinous nature adds another layer of complexity — pine knots and resin pockets can bleed through finishes if not properly sealed first.
None of this is insurmountable. It just requires preparation that some finishers skip, and that skipped prep is where the failures come from.
Preparing Pine for Finishing
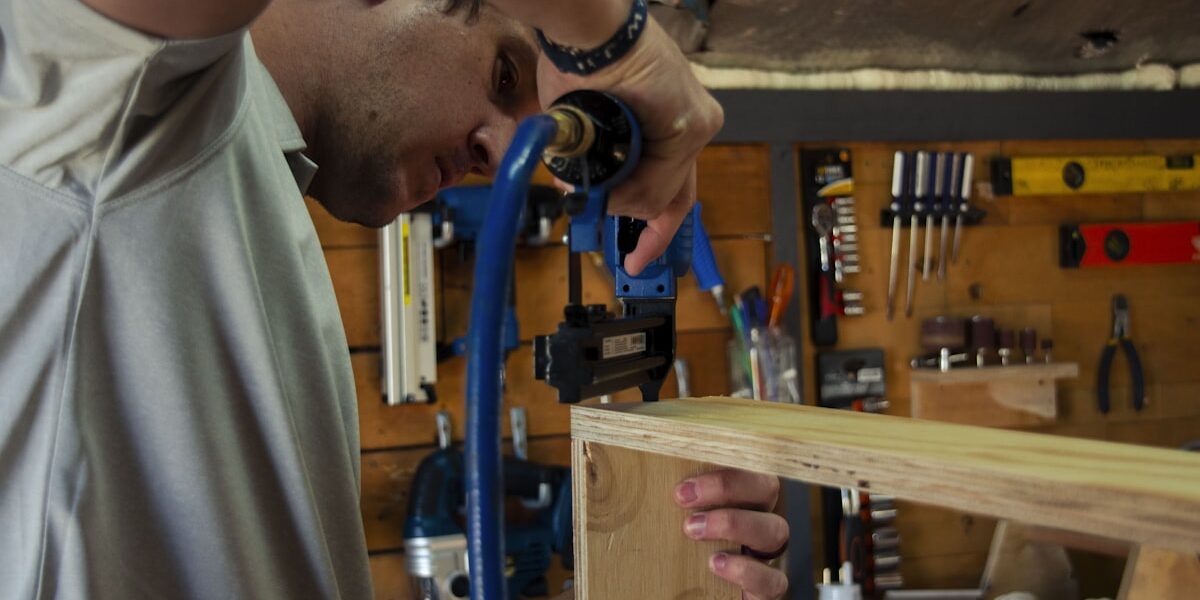
Surface preparation on pine is more important than on most other species. Start by sanding progressively through the grits — 80 if there are mill marks or rough patches, then 120, 150, and finally 220 for the surface that will receive finish. Always sand with the grain; cross-grain scratches telegraph through even opaque finishes.
After sanding, remove all dust completely. A vacuum followed by a tack cloth pass is the most reliable method. Compressed air just redistributes the dust, so skip that approach.
Pine’s blotching tendency is managed with a pre-stain wood conditioner or a shellac-based sealer coat. These products partially fill the porous areas of the wood, slowing the absorption enough that the stain goes on more evenly. Shellac-based sealer (Zinsser BIN or equivalent) is my preferred option — it works reliably, dries fast, and is compatible with oil-based and water-based finishes. Apply a thin coat, let it dry fully, and sand lightly with 220 before staining. Wish I’d known this before I ruined my first pine project with blotchy mahogany stain.

Choosing the Right Finish
Pine takes a wide range of finishes well once the surface is properly prepared. Here are the main options and where each fits:
- Stains: Oil-based stains penetrate more deeply and provide richer, more saturated color. Water-based stains dry faster and have less odor but sit more on the surface. Both work on pine if you’ve conditioned the surface first — skipping the conditioner is the mistake that causes blotching, not the stain itself.
- Varnish: Produces a hard, durable film that protects against scratches and moisture. The slower drying time gives you more working time to brush without lap marks. Good choice for pine furniture that will see regular use.
- Shellac: Dries fast, produces a warm amber tone, and builds depth with multiple coats. Not as moisture-resistant as polyurethane but perfectly adequate for most interior furniture work. Easy to repair — fresh shellac dissolves old shellac, so repairs blend seamlessly.
- Polyurethane: The workhorse protective finish. Oil-based poly builds a harder film and adds a warm amber cast — this actually complements pine’s natural tones nicely. Water-based poly stays clearer and dries faster. Either works on pine; choose based on your color preference and drying time requirements.
- Oil Finishes: Tung oil and linseed oil penetrate the wood and build a natural-looking, low-sheen finish. They require multiple coats and periodic reapplication, but the look is beautiful on pine — especially for rustic or farmhouse applications. Low protection against heavy use compared to film finishes.
Applying the Finish
Apply stains with a brush or cloth, working with the grain. Let the stain sit for the time the label specifies — typically 5-15 minutes — then wipe off the excess with a clean, dry cloth. Work in sections on large pieces to prevent the stain from drying before you wipe it. Unwiped stain dries tacky and uneven, which is very difficult to fix after the fact.
For varnish, shellac, and polyurethane, work with a quality brush in thin coats. Thin coats dry faster and level better than thick ones; multiple thin coats build a better film than fewer heavy ones. Sand lightly with 220-320 grit between coats after the previous coat has fully dried — this removes dust nibs and any surface irregularities without cutting through to bare wood. Clean sanding dust completely before the next coat.
Oil finishes get rubbed in with a cloth in circular motions to ensure even penetration, then wiped off after soaking in for 15-30 minutes. Multiple coats build the depth and protection. Store oil-soaked rags in water or outdoors flat — they can spontaneously combust if left bunched up.
Finishing Techniques
Beyond basic staining and topcoating, pine responds well to a few specialty techniques:
- Distressing: Pine dents and scratches beautifully for a farmhouse or antique look. Chains, hammers, wire brushes, even gravel rolling — all create marks that look intentional when finished in a dark stain or milk paint.
- Whitewashing: Diluted white paint wiped across the surface and partially wiped off before it dries creates a weathered, bleached look that suits coastal and rustic styles. The grain shows through the white wash, which is the effect you’re after.
- Glazing: A tinted glaze applied over a base finish then wiped off, leaving color in the recesses, adds depth and dimension to carved or routed profiles. Especially effective on raised panel doors and detailed furniture.
Maintaining the Finish
Regular dusting with a soft cloth handles day-to-day maintenance. For cleaning, use a mild dish soap solution rather than harsh cleaners that strip or cloud the finish. Avoid silicone-based furniture polishes — they feel nice temporarily but build up over time and cause adhesion problems when you eventually refinish.
Oil-finished pine needs periodic recoating — once or twice a year for pieces that see regular use. A light sanding with 320 grit and a fresh coat of oil brings the surface back to life without stripping the whole piece.
Common Challenges and Solutions
Blotching after staining almost always means the wood wasn’t conditioned before staining. Strip back if you can (gel stain remover works on fresh stain), recondition, and restain. Prevention is much easier than the fix.
Resin bleed-through — amber or dark spots appearing through the topcoat, often near knots — means the shellac sealer wasn’t applied before topcoating, or wasn’t applied thickly enough over the knots. Shellac is the reliable solution: it seals resin in a way that most other sealers don’t. Two coats over knot areas specifically.
Rough patches after a finish coat means either sanding dust contamination or grain raising from a water-based product. Sand lightly with 320 grit after each coat to smooth out any surface texture before applying the next.
Environmental Considerations
Water-based finishes have substantially lower VOC content than oil-based alternatives — a real benefit in enclosed shops or homes. They’ve also improved significantly in durability over the past decade. If you’re finishing in a space without great ventilation, water-based products are easier to work with safely. For high-durability exterior applications, oil-based spar varnish still outperforms the water-based alternatives in long-term weather resistance.
Tools and Materials
- Sandpaper in multiple grits (80, 120, 150, 220)
- Tack cloth or damp rag
- Pre-stain wood conditioner or shellac-based sealer
- Quality brushes or cotton cloths
- Your chosen stain and topcoat
- 320-grit sandpaper for between-coat sanding
Safety Considerations
Adequate ventilation is the main safety requirement for finishing — most finish products off-gas solvents or water-borne chemistry that accumulates in enclosed spaces. Open the shop and run a fan. For oil-based and solvent-heavy products, wear an organic vapor respirator rather than a simple dust mask. The dust mask doesn’t filter chemical vapors. Oil-soaked rags are a fire hazard — dispose of them in a metal container with water, or spread them flat outdoors to dry before disposal.


Stay in the loop
Get the latest wood working workshop updates delivered to your inbox.