Trestle Table Plans: Building Your Own Trestle Table
Building a trestle table has gotten popular again with all the farmhouse and craftsman style revivals, and for good reason — it’s one of those projects that looks complex but breaks down into manageable parts once you understand the structure. I’ve built a few of these now in different sizes and styles, and the approach I’ll share below produces a table that’s genuinely solid and built to last. Here’s the full process.
Materials
- Hardwood planks (oak, maple, or walnut work well — more on this below)
- Wood glue
- Wood screws
- Wood stain or sealant
- Sandpaper (various grits, 80 through 220)
Tools
- Table saw
- Chisels
- Clamps (you’ll need more than you think — borrow some if needed)
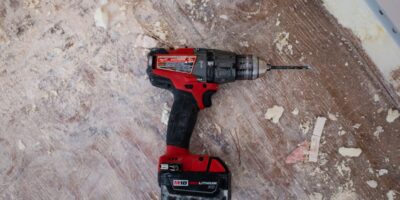
- Drill with assorted bits
- Screwdriver
- Measuring tape
- Square
- Hammer
Instructions
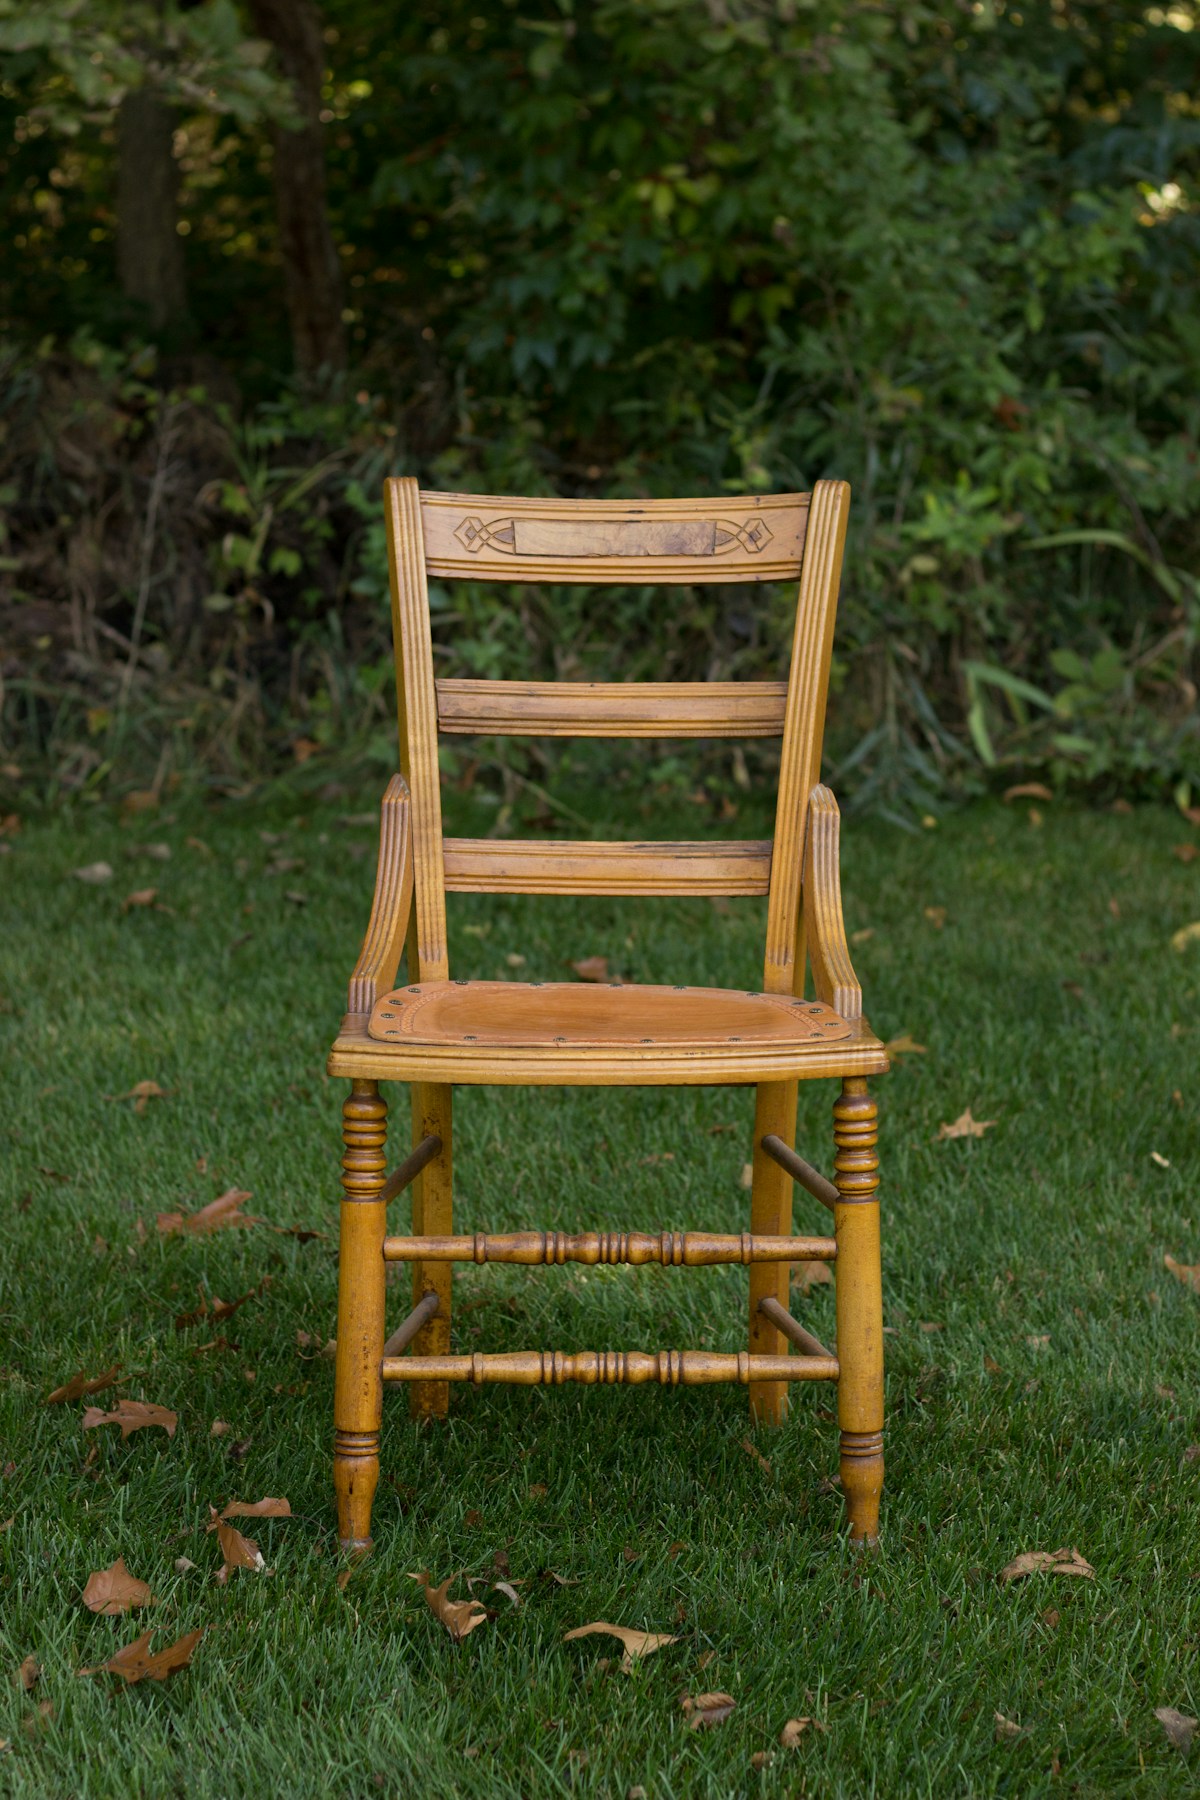
Start by selecting your wood. For a dining table that will see daily use, hardwood is worth the investment — it resists denting and scratching in a way that softwood simply doesn’t. Oak makes a strong visual statement with prominent grain. Maple gives a cleaner, more contemporary look. Walnut’s rich chocolate tones are instantly elegant. Once you’ve settled on species, cut the planks to your target dimensions — a tabletop of about 30 x 72 inches and legs around 28 inches high cover most dining applications.
Build the tabletop by arranging your planks edge to edge until you hit the desired width. Apply wood glue along the mating edges — a consistent thin bead across the full length — then pull everything together with pipe clamps or bar clamps. Alternate clamps above and below the panel to prevent the glue-up from bowing. Let it dry overnight before releasing the clamps. Then sand the surface flat, starting at 80 grit if the joints aren’t perfectly flush and working up through 120, 150, and 180.
Cut the trestle leg components. Each leg assembly consists of two vertical members and a horizontal stretcher that ties them together into an A-frame shape. Cut the tops of the vertical pieces at the angle you want for the leg splay — typically 10-15 degrees from vertical. Steeper angles give a more formal look; more pronounced angles read as rustic or farmhouse. Mill the horizontal stretchers to fit snugly between the vertical pieces at whatever height provides good knee clearance when seated.
Use a chisel to cut mortise and tenon joints where the horizontal pieces connect to the verticals. This is what separates a trestle table that’ll last generations from one that loosens and wobbles inside a year. Cut the mortises first, test-fit the tenons until they’re snug without forcing, then glue and clamp. Wish I’d been more patient on my first trestle — I rushed the mortise-and-tenon work and paid for it with a joint that needed to be repaired two years later.

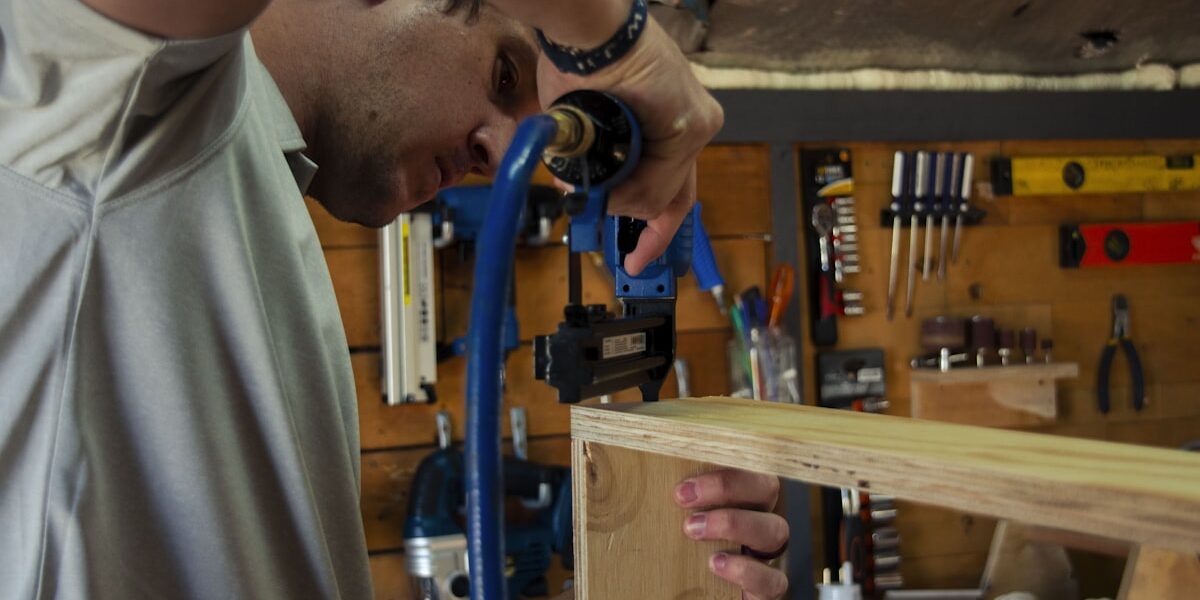
Connect the two leg assemblies with the main crossbeam. Cut it to the full table width minus the leg thickness on each side. Attach it with both glue and screws — drill pilot holes first to avoid splitting. Countersink the screw heads so they sit flush or below the surface. This crossbeam is what keeps the whole structure rigid, so don’t shortcut the attachment.
Attach the completed leg-and-crossbeam assembly to the tabletop. Flip the top upside down on a padded surface, position the legs, and check that everything is centered and square before driving any fasteners. Use countersunk screws through the leg-to-top connection. Check for squareness again after fastening — it’s easy to knock things out of alignment during this step if you’re not careful.
Final sanding and finishing. Work through the grits — 120, 150, 180, then 220 for the topcoat surface. Wipe down with a damp cloth to raise the grain, let dry, and sand lightly again at 220 before applying your chosen finish. Apply the finish to all surfaces including the underside of the tabletop — finishing only the top is a common mistake that leads to moisture entering from below and warping the panel over time.
The finished trestle table is genuinely one of the most satisfying builds to complete. It’s substantial enough to feel serious when you put it in a room, and if you cut the joinery properly, it’ll outlast the house.
Design Variations to Consider
The basic trestle form allows a lot of personalization. Stretcher height is one of the bigger decisions — lower stretchers add maximum stability but can interfere with comfortable seating. A higher or double-stretcher arrangement improves knee clearance. Figure out who will sit at this table and design accordingly.
Leg angle affects both the visual character and the structural geometry of the table. Angles closer to vertical give a more refined, formal look. More pronounced angles lean rustic and casual. Most trestle tables land between 10 and 15 degrees from vertical — that range covers everything from dining room formal to farmhouse kitchen.
Tabletop edge treatment is worth thinking through early. A simple rounded-over edge suits casual spaces. An ogee, chamfer, or more complex profile adds visual weight and formality. Whatever you choose, it should be consistent with the other furniture in the room.
Wood Selection Guide
Hardwoods — oak, maple, walnut — are worth the premium for a table that will see daily family use. Oak’s open grain develops a beautiful patina over years of use. Maple machines cleanly and stays light in color if that fits your space. Walnut is the choice when you want the table to be an object of attention.
Softwoods like pine are budget-friendly and easier on hand tools, which makes them a reasonable choice for a first trestle build where you want to learn the process without expensive material risk. A pine trestle table built with proper joinery will serve well for casual use, even if it accumulates dings faster than hardwood.
Finishing Options
Oil finishes — tung oil, Danish oil — penetrate the wood and protect from within without building a film on the surface. They’re easy to apply and straightforward to repair when they get worn. The trade-off is less protection against water and spills than film finishes. Good for informal spaces where some wear is expected and acceptable.
Film finishes — polyurethane, lacquer — build a protective layer on the surface that resists moisture, spills, and scratches better than oil finishes. They require more careful application and eventual full refinishing when they break down, but for a dining table in a busy household, that extra protection is often worth the effort.
Whatever finish you choose: apply it to every surface, not just the top. The underside of the tabletop needs sealing just as much as the face. Skipping it is how a flat panel becomes a warped panel inside two years.


Stay in the loop
Get the latest wood working workshop updates delivered to your inbox.