How to Make Built-In Shelves
How to Make Built-In Shelves
Built-in shelves have gotten popular with all the home renovation content flying around, and for good reason — nothing else transforms a room the same way. I’ve been building built-ins for clients and my own home for over a decade, and they’re still one of my favorite projects. Once you’ve done one, you’ll wonder why you waited. Here’s the full process.
Materials and Tools
- Measuring tape
- Stud finder
- Level
- Pencil
- Circular saw
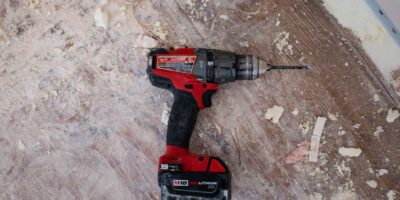
- Drill and bits
- Wood screws
- Wood glue
- Plywood
- Wood boards (pine or oak work well for painted or stained finishes)
- Wood filler
- Sandpaper
- Paint or stain
- Paintbrush or roller
- Protective gear (gloves, safety glasses)
Planning and Design
Start by measuring the space carefully — height, width, and depth. This sounds obvious, but measure multiple times at different heights along the wall, because walls are rarely perfectly plumb or level. Use these measurements to draft your design on paper or a simple sketch. Count how many shelves you need and decide on spacing based on what you’ll store.

Find the studs in the wall using a stud finder and mark their locations with a pencil. Studs provide essential support — without anchoring to them, your shelves could pull out of the wall under load. This is the step people skip and then regret.
Preparing the Materials
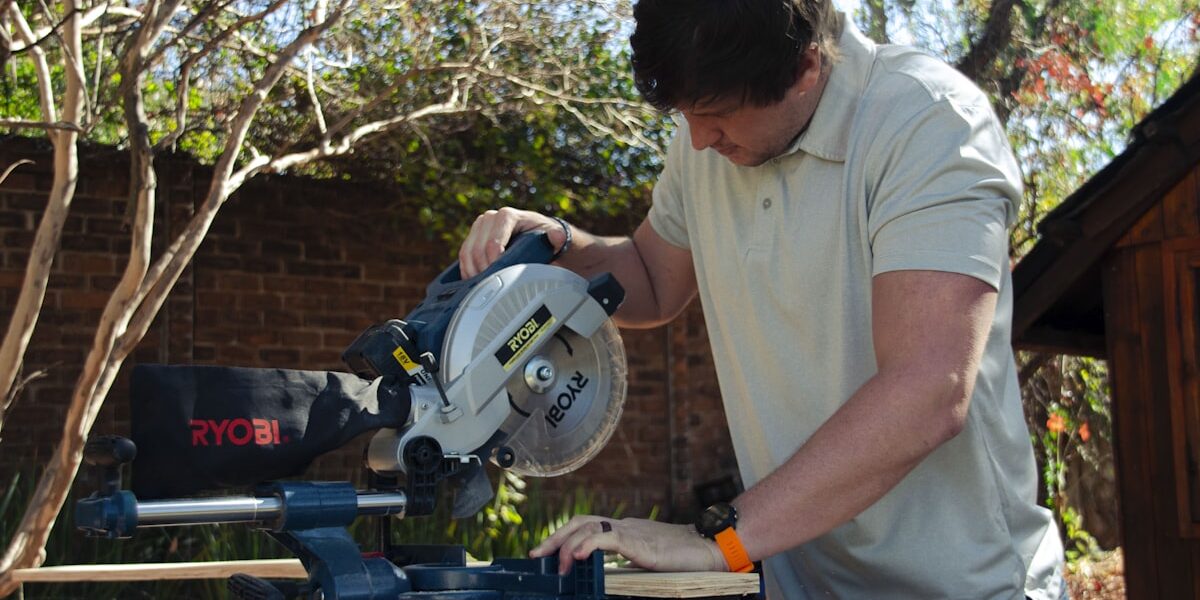
Plywood is excellent for the carcass sides and back, while solid wood makes nicer shelves. Cut everything to your design dimensions using a circular saw with a straightedge guide for clean, square cuts. Wish I’d known about using a sacrificial backing board when I started — it eliminates tear-out on the bottom face of plywood cuts.
Sand the edges of each piece after cutting to smooth rough spots and help joints align cleanly. Sand all surfaces now, before assembly, because getting into corners after the thing is built together is miserable.

Building the Frame
Assemble the sides and back of the unit first. Apply wood glue along the joints where pieces meet and secure with wood screws. Use a level and square constantly during this stage — a racked frame is nearly impossible to fix once it’s in the wall. Adjust everything before the glue sets.
For added strength, small wooden dowels driven into the joints alongside the glue-up can increase durability. Drill the dowel holes before applying glue so you have time to get them aligned. Once the frame is together, measure it one more time against your wall opening. Easier to adjust now than when you’re trying to lift it into place.
Installing the Frame
Lift the frame into position and align it with your stud marks. Drill pilot holes through the frame and into the studs before driving screws — this prevents splitting the wood and ensures the screws seat properly. Check for level throughout the installation process. Took me a few installations to stop assuming the floor was level. It rarely is.
Adding the Shelves
Measure and cut the solid wood boards for the shelves individually — don’t assume all the openings are exactly the same width. Drill small pilot holes through the sides of the frame at each shelf location, then drive wood screws through into the shelf edges. Countersink the screws slightly below the surface. Fill the small holes with wood filler, sand smooth when dry, and they disappear completely under paint or stain.
Finishing Touches
Fill any gaps or imperfections with wood filler, let it dry fully, and sand smooth. Clean all dust off the surfaces before finishing. Paint gives a modern, clean look and is forgiving of minor imperfections. Stain highlights the natural wood grain and looks great on oak or pine with a distinct figure. Apply your chosen finish in thin, even coats and allow full drying time between coats.
Attaching trim and molding at the top and base is what transforms a box into a built-in. That’s what makes built-ins feel like they belong in the house — the trim ties them to the baseboards and crown already in the room. Use wood glue and finishing nails to secure the trim, sand lightly, and finish to match.
Maintenance Tips
- Dust shelves regularly to keep them clean.
- Avoid piling all the heavy items in the center of any one shelf — distribute weight toward the ends and supports.
- Inspect periodically for any signs of wear, loose screws, or wood movement.
- Touch up paint or stain as needed — built-ins take more incidental contact than you’d expect.
With your built-in shelves complete, enjoy the storage and the way they anchor the room. These projects take a weekend of solid effort, but what you end up with is something that looks like it cost three times what it did and will last for decades with basic care.


Stay in the loop
Get the latest wood working workshop updates delivered to your inbox.