The $100 Weekend Workbench
Every workshop needs a solid workbench. You can spend thousands on a traditional European-style bench with all the features, or you can build a perfectly functional workbench in a weekend for around $100 in materials. This project prioritizes getting you working quickly over achieving bench-building perfection.
Why This Bench Works
A workbench needs three things: a flat surface, adequate mass, and a way to hold work. This design delivers all three using construction lumber and basic joinery. It won’t win beauty contests, but it will support decades of project work.
Materials List
You need seven 8-foot 2x4s for the base, four 8-foot 2x6s for the top, and a sheet of 3/4″ plywood for the shelf. Add a box of 3″ construction screws and some wood glue. Total materials run about $80-100 depending on lumber prices.
Pick the straightest 2x4s you can find. Sight down each board at the store, looking for twist and bow. Spend an extra few minutes selecting good lumber; it makes construction much easier.
Cutting the Parts
For a standard 6-foot by 24-inch bench at 34 inches tall, cut the following from your 2x4s: four legs at 33 inches, four long stretchers at 60 inches, four short stretchers at 21 inches, and four leg braces at 21 inches. Cut the 2x6s to 72 inches for the top lamination.
The 34-inch height works for most people. Adjust the leg length to suit your height. Your bench should hit roughly at your wrist when standing relaxed with arms at your sides.
Building the Leg Assemblies

Each end frame consists of two legs connected by two short stretchers. The bottom stretcher sits 4 inches up from the floor. The upper stretcher sits about 6 inches below the top.
Drill pilot holes and drive two screws through each joint. Use glue at every connection. The combined screws and glue create joints stronger than the wood itself.
Build both end frames identically. Check for square by measuring diagonals. Adjust if needed before the glue sets.
Connecting the Base
Stand the end frames upright and connect them with the four long stretchers. Two stretchers run between the upper position, two at the lower. Again, pilot holes, glue, and two screws at each connection.
Work on a flat surface to ensure the bench doesn’t twist during assembly. Check that all four legs contact the floor evenly. Shim the base if your assembly surface isn’t perfectly flat.
Adding Diagonal Bracing
Cut 45-degree angles on the ends of your leg braces. Attach these diagonally between each leg and the upper stretcher. These braces eliminate racking, keeping the bench rigid under side loads like hand planing.
The braces should pull the leg and stretcher tight together. Adjust the angle as needed for a snug fit at both ends before screwing in place.
Laminating the Top
The benchtop consists of four 2×6 boards glued face-to-face, creating a 6-inch thick work surface weighing about 60 pounds. This mass resists movement during aggressive work.
Spread glue liberally between boards. Clamp every 12 inches along the length. Alternate clamp positions above and below to apply even pressure. Let the glue cure overnight before unclamping.
Flattening the Top
Construction lumber rarely comes perfectly flat. After the lamination cures, flatten the top surface. A belt sander works, though slowly. A jack plane speeds the process if you have one. A router sled jig creates the flattest result with the least effort.
Aim for flat enough to work on, not furniture-grade perfect. This is a shop fixture, not a dining table. You can always improve it later as your skills develop.
Attaching the Top
Center the top on the base. Drive screws up through the upper stretchers into the top from below. The hidden fasteners keep the work surface clear. Use washers under the screw heads to prevent pull-through.
Don’t glue the top to the base. The top may need replacement eventually, and you might want to add features or make modifications. Screws only allows future flexibility.
Adding the Shelf
Cut plywood to fit between the lower stretchers. This shelf stores tools, accepts bench accessories, and adds significant weight to the base. More mass means more stability.
The shelf can simply rest on the stretchers, or you can screw it in place. Leave space at the ends for long clamps to hang through to the floor.
Work-Holding Options
A machinist’s vise mounted to one corner handles most holding needs immediately. A quick-release woodworking vise works better for wider boards but costs more. Start simple and upgrade as specific needs arise.
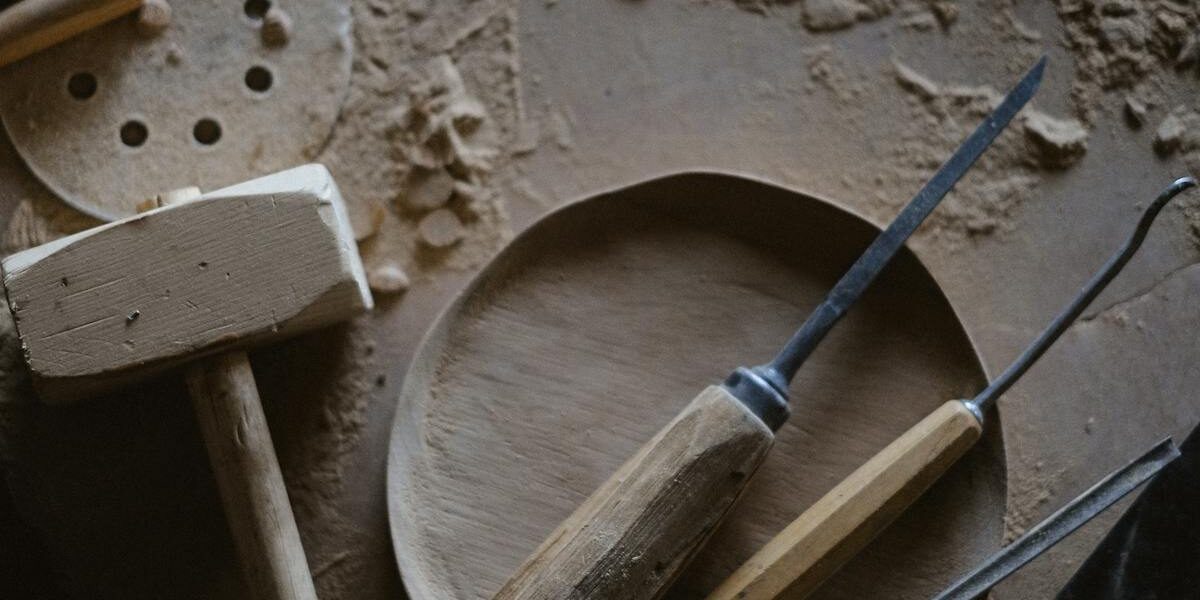
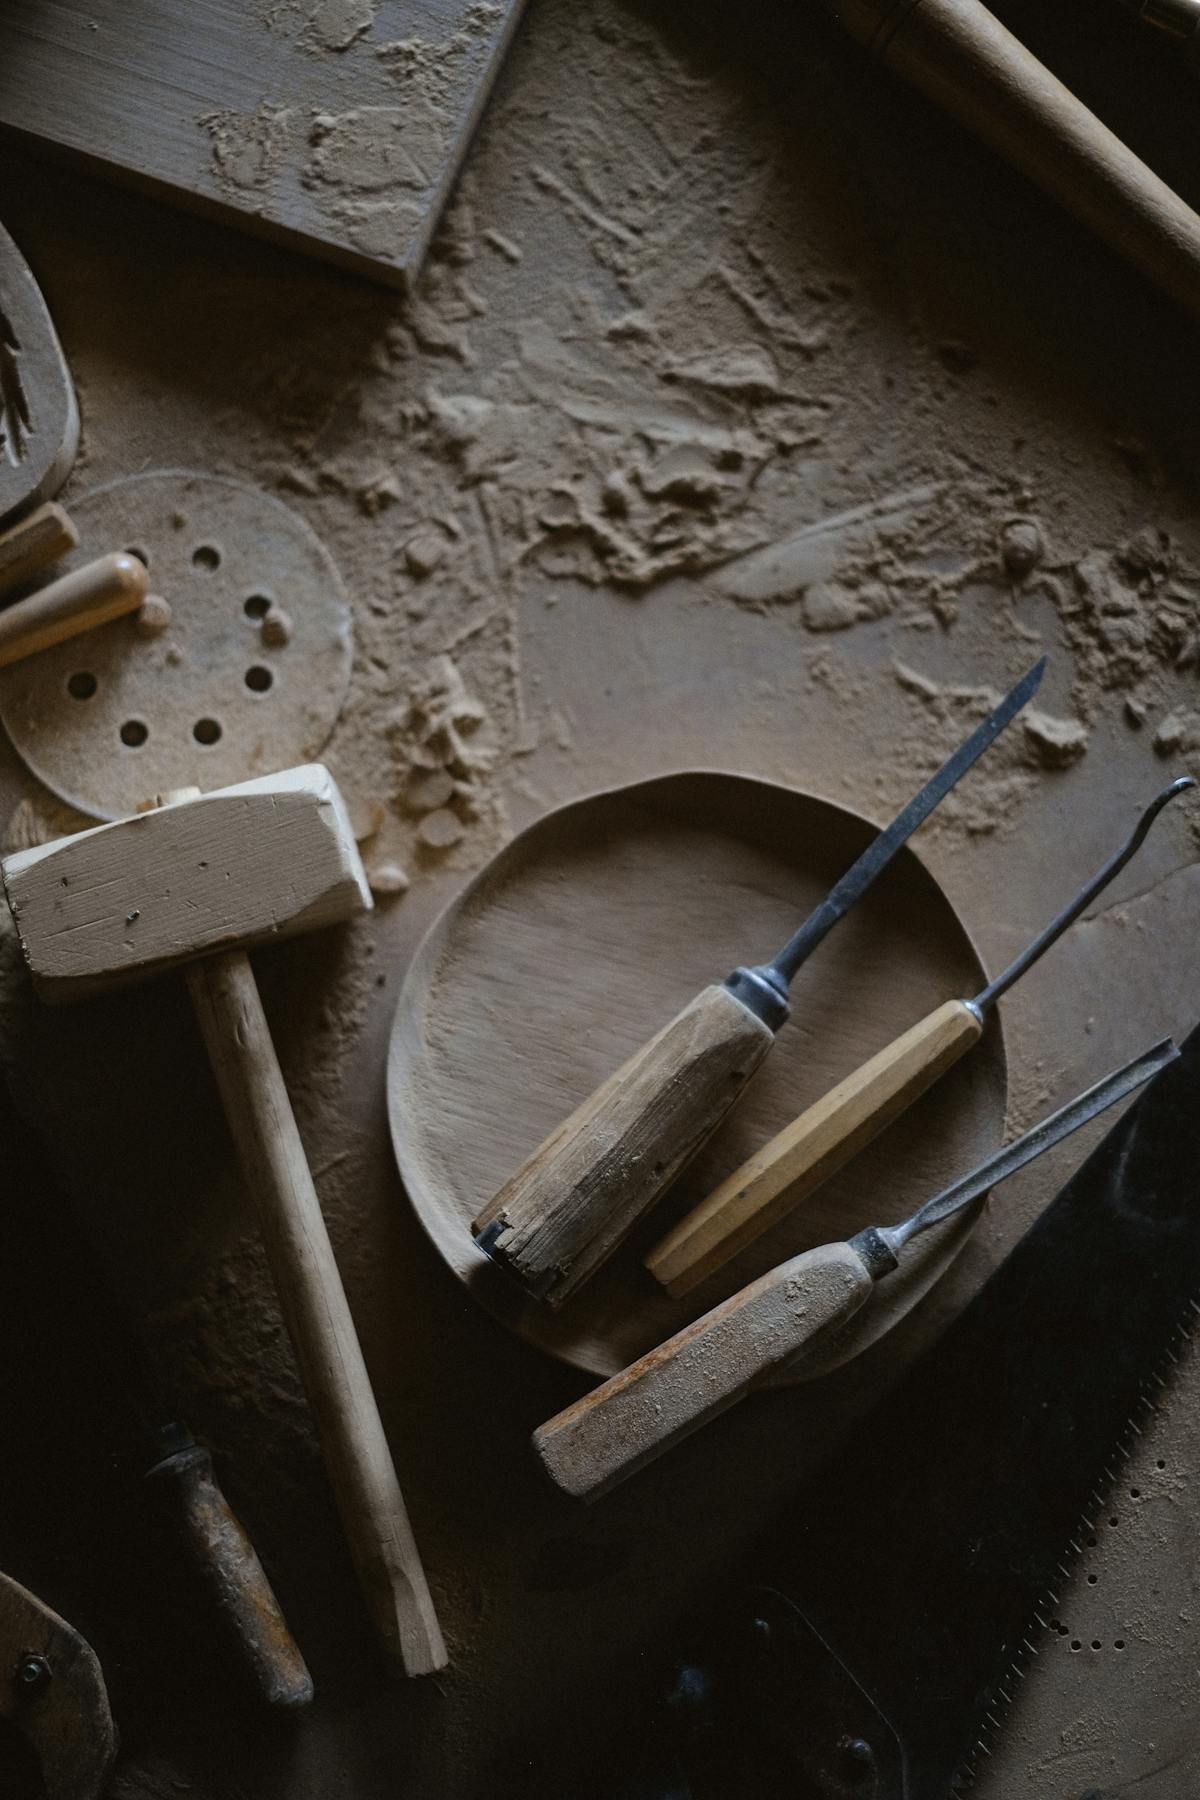
Drill dog holes in a row across the top. Paired with bench dogs and a vise, these holes allow clamping work flat to the benchtop. A 3/4″ grid pattern provides maximum flexibility.
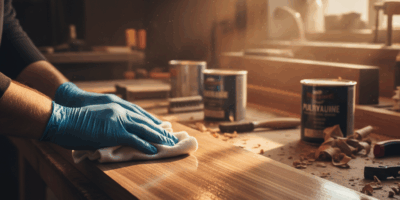
Finishing the Bench
A workbench doesn’t need a beautiful finish. Some builders leave the wood raw. Others apply a coat of boiled linseed oil, which darkens with age and resists moisture. Polyurethane creates a harder surface but shows every nick and scratch.
Whatever you choose, the bench will develop character through use. Glue drips, saw kerfs, and chisel marks tell the story of projects built. Use the working surface rather than protecting it.
Future Improvements
This basic bench invites modification. Add a tool tray along the back edge. Install a face vise on one end. Mount an end vise for tail-vise operations. Attach a board jack to support long stock. Each addition improves functionality based on your actual needs.
Many woodworkers eventually build more elaborate benches. But this simple, sturdy platform gets you working immediately. Build projects on it, learn what features you actually use, then design your dream bench based on real experience rather than theory.
Get Building
Don’t let lack of a workbench stop you from woodworking. This bench goes together in a weekend with basic tools. Once complete, you have a solid foundation for learning every other woodworking skill. Start here, build projects, and upgrade your shop as experience guides your choices.


Stay in the loop
Get the latest wood working workshop updates delivered to your inbox.