Wood Glue: How Much Is Enough?
Wood glue application is one of those things that sounds simple until you’ve had a joint fail at the worst moment. I’ve been at this long enough to have learned the hard way on both ends — too little glue on a panel glue-up once left me with a joint that opened up six months later, and I went through a phase early on where I was using so much that cleanup alone added an hour to every project. Here’s what actually works.
What the Glue is Doing
Wood glue doesn’t just stick surfaces together — it works by soaking into the wood fibers and creating mechanical bonds that, when done right, are actually stronger than the wood itself. A properly glued joint doesn’t fail along the glue line; it fails in the wood. Getting there requires real coverage on both mating surfaces, not just a bead that you hope spreads.
How Much is Actually Enough?
You want a thin, even film that covers the whole mating surface. Not so thick you get puddles, not so thin you can still see bare wood under the glue. The mental model I use is a careful paint coat — full coverage, no pools, no bare patches.
The test I rely on: when you clamp the joint, you should see glue squeeze out evenly all along the joint line. Uniform squeeze-out means uniform coverage. Dry spots in the squeeze-out mean you had bare spots — which is the part that worries you later.
Too Little: What Goes Wrong
Insufficient glue is sneaky because the joint can feel solid when you first pull the clamps. The failure shows up later under stress. Spot gluing — putting glue only in certain areas — is even worse, because you’re building in weak points intentionally. Full coverage doesn’t cost much extra time or material. Wish I’d understood that earlier.
Glue-starved joints happen three ways: not enough applied, too much absorbed into porous wood before assembly, or excessive clamping pressure that squeezes out most of what you applied. All three produce the same disappointing result.
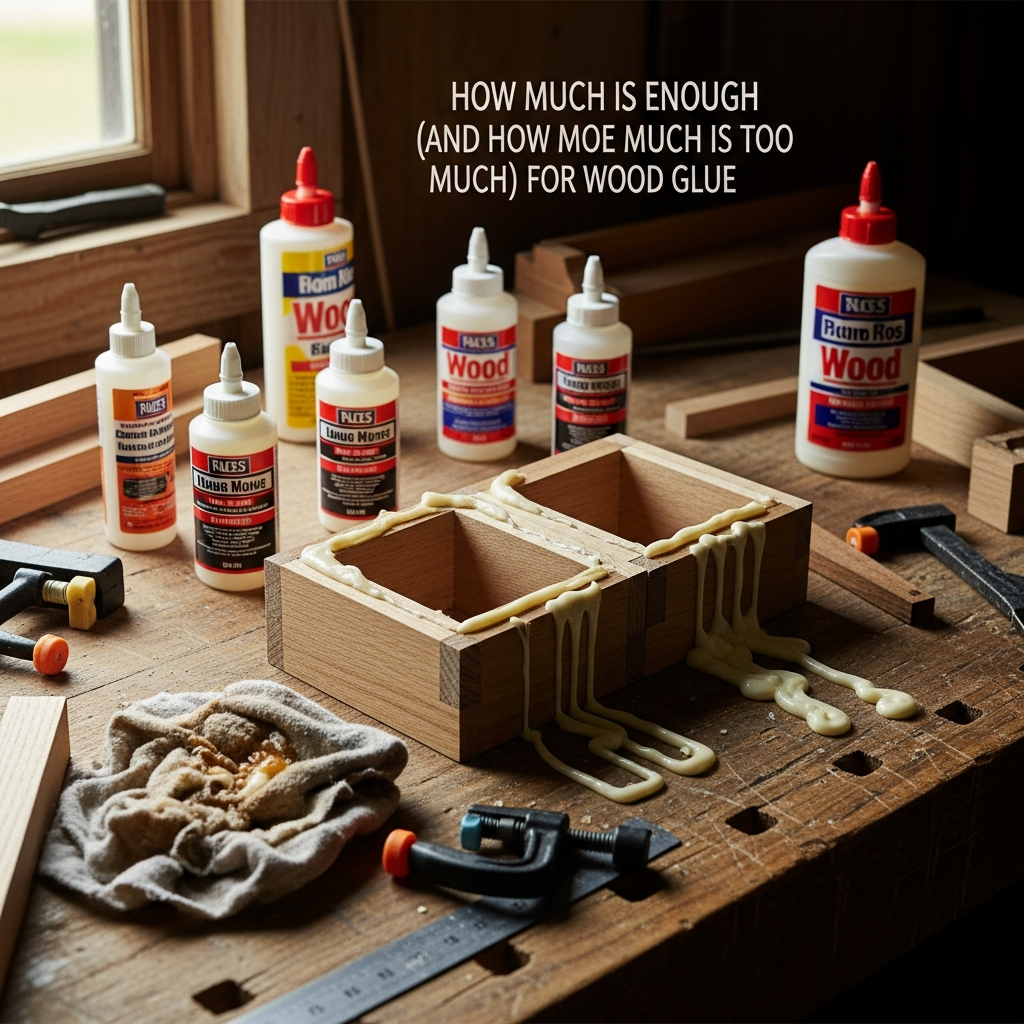
Too Much: What Goes Wrong
More glue past full coverage doesn’t add strength — it just creates more cleanup. The real problem is squeeze-out that dries on surfaces. Dried glue blocks stain and finish absorption. You end up with visible light blotches where the finish couldn’t penetrate, and that means sanding or scraping it all off before you can finish properly.
Glue inside hollow joints — like a mortise — can actually prevent full seating. The hydraulic pressure of trapped glue keeps the tenon from going home. Solution is either using less glue or creating a small groove for the excess to escape.
Application Methods
Squeeze bottles work fine for most joints. Apply a bead, spread it with a brush or stick. Good for mortise and tenon, edge joints, small surfaces.
Brushes are better for large areas — acid brushes or cheap throwaway brushes spread glue into a consistent film faster than trying to work from the bottle alone. I keep a cup of water nearby to drop used brushes in immediately.
Rollers are the right tool for panel glue-ups. A foam roller covers large surfaces fast and consistently. Hard to go back to brushes once you’ve tried this for panel work.
Specialty applicators for specific joints — narrow applicators for biscuit slots, spiral applicators that coat the inside of dowel holes as you insert them. Match the tool to the joint geometry.
Surface Prep Matters More Than People Think
Glue bonds best to freshly machined surfaces. Wood sitting exposed to air develops oxidation that reduces bond strength. If you’re milling joints and then waiting a day before glue-up, you’re already starting behind. Cut, fit, glue — in that sequence, as close together as you can manage.
Sanded surfaces can also be problematic. Sanding dust embedded in the surface interferes with penetration. Machine-cut joinery surfaces bond better than sanded ones for this reason. I sand to prep for finish, not to prep for glue.
Both surfaces need glue. One surface might seem like enough, but the dry surface will absorb from the wet one when they come together, potentially starving the joint. Both sides, every time.
Open Time: Don’t Get Caught
Standard yellow glue starts skinning over in 5-10 minutes depending on conditions. Once that skin forms, the glue won’t bond properly. I’ve been caught by this on complex assemblies where I ran out of time halfway through. The fix is extended open-time formulas for anything complicated — or breaking the assembly into stages and gluing in sections.
Hot dry days shorten your window significantly. Cool, humid conditions give you more time. I adjust my pace to conditions rather than assuming I always have the same amount of time.
Handling Squeeze-Out
Three options, each with a best use case:
Wipe wet — a barely damp rag right after clamping. Works on accessible surfaces. The rag needs to be damp, not wet — too much water dilutes the glue at the joint.
Wait for gel — thirty to sixty minutes, then peel or scrape the rubbery glue off. Removes more completely than wet wiping without the risk of smearing diluted glue into the grain. My preference for most situations.
Scrape when hard — fully cured glue scrapes off cleanly with a sharp chisel. Slowest but cleanest. Good for interior corners where wet wiping just moves the glue around.
Which Glue for Which Job
Standard yellow PVA for interior woodworking — Titebond Original or equivalent. Type II (water resistant) for high-humidity environments. Type III (waterproof) for outdoor exposure. Don’t overthink the selection: match the rating to the exposure level and use the right amount correctly. That combination handles most of what you’ll run into.


Stay in the loop
Get the latest wood working workshop updates delivered to your inbox.