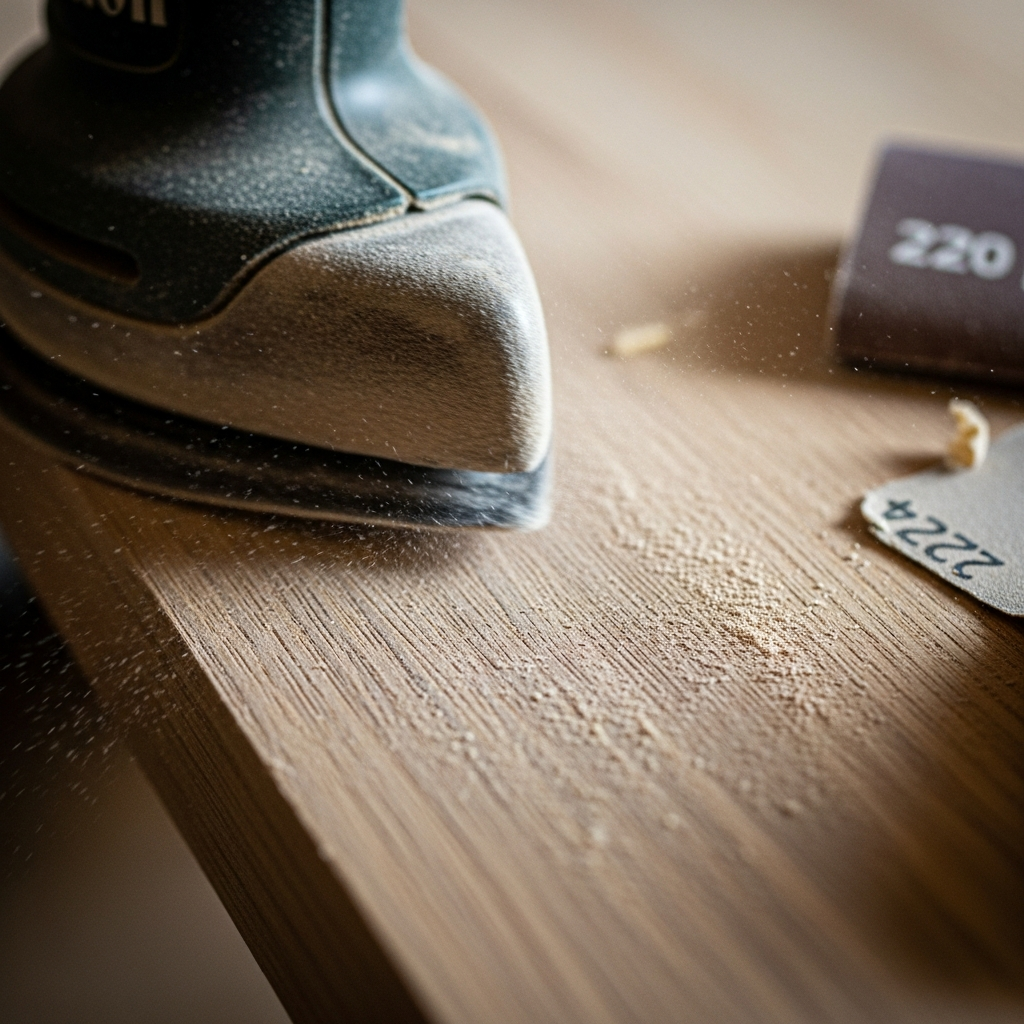
Sanding to 220: When to Stop
Woodworking forums debate sanding grits endlessly. The practical answer: for most finishes on most woods, 220 grit is where you stop. Going finer wastes time without visible improvement.
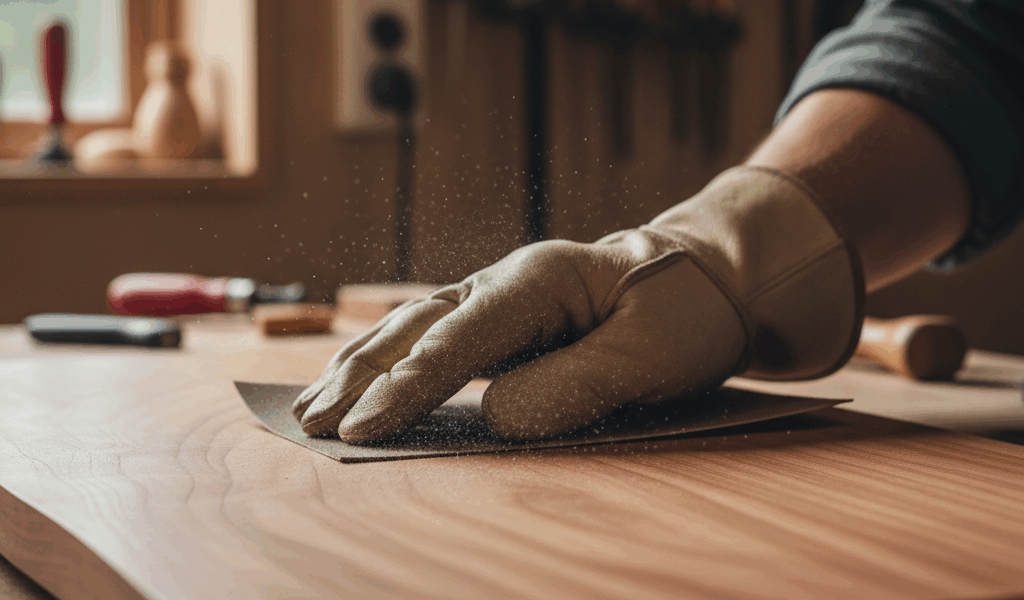
What Sanding Does
Sanding creates consistent scratch patterns. Each grit leaves scratches of particular depth. The goal is scratches fine enough that finish hides them. At 220 grit, film-building finishes fill and hide scratches completely.
When to Stop Earlier
Paint-grade work: 150 grit provides adequate tooth for paint. Finer sanding wastes time on surfaces no one sees.
Rustic styles: Projects showing intentional tool marks don’t need fine sanding.
When to Go Finer
Oil finishes: Penetrating oils don’t hide scratches. Sand to 320 for better results.
Dense hardwoods: Maple and cherry show scratches more readily. Extra effort pays off.
Tabletops: Highly visible surfaces examined under good lighting benefit from 320 grit.
Proper Technique
Don’t skip grits: Progress through 80, 120, 150, 180, 220. Each grit removes previous scratches.
Sand with the grain: Cross-grain scratches show through finish.
Light, even pressure: Let the abrasive do the cutting.
The Practical Approach
Sand to 220 for most projects. Time saved stopping at appropriate grits goes to other aspects of the project. Efficient sanding isn’t lazy—it’s practical allocation of limited shop time.


Stay in the loop
Get the latest wood working workshop updates delivered to your inbox.