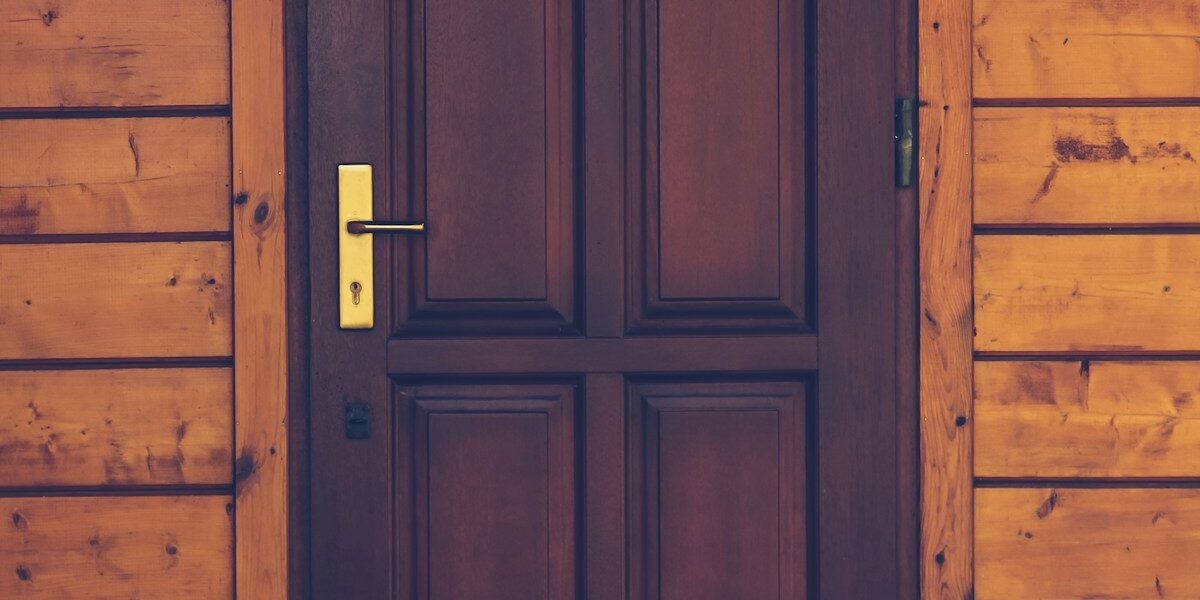
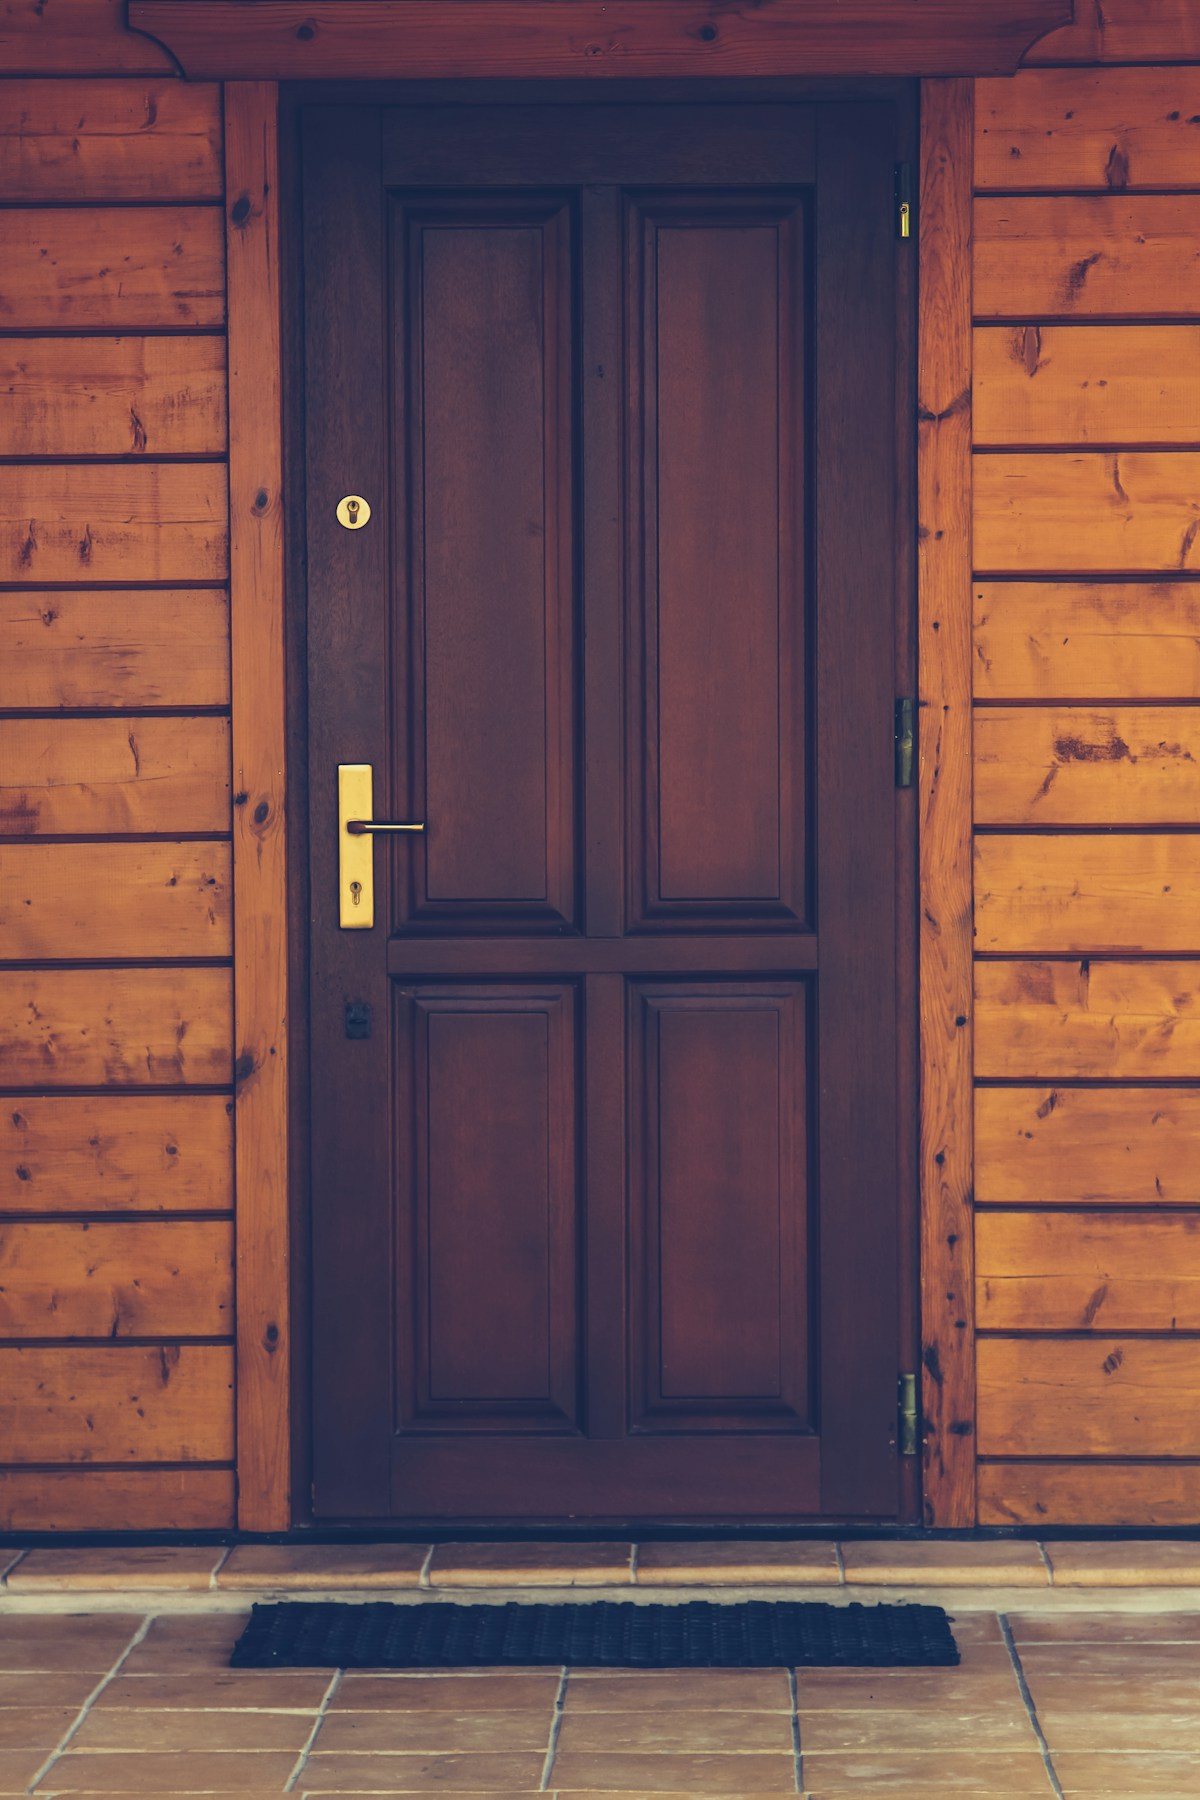
The Enduring Logic of Frame and Panel Construction
Frame and panel construction solves a fundamental problem in woodworking: solid wood moves. As humidity changes, wood expands and contracts across its grain. Wide solid panels can move significantly, cracking, warping, or breaking joints. Frame and panel construction accommodates this movement elegantly.
How It Works
A rigid frame of relatively narrow members surrounds a floating panel. The frame stays stable because narrow pieces move minimally. The panel, captured loosely in grooves, expands and contracts freely without stressing the frame or its joints.
This method has produced cabinet doors, wall paneling, chest lids, and furniture backs for centuries. The basic principle remains unchanged: let the wood move where it wants to move.
Frame Components
Stiles: The Vertical Members
Stiles form the left and right edges of the frame. They typically run the full height of the door or panel. All joinery terminates into the stiles, making them structurally critical. Width usually ranges from 2″ to 4″ depending on the application.
Rails: The Horizontal Members
Rails connect the stiles at top and bottom. Additional intermediate rails divide large panels or create visual interest. Rail width often matches stile width, though the bottom rail sometimes runs wider for visual weight or to accommodate panels above and below.
Mullions and Muntins
Vertical dividers within the frame are mullions. Horizontal dividers are muntins. These create multiple panel openings from a single frame. Complex arrangements require careful joint planning where members intersect.
The Groove System
A continuous groove runs along the inner edges of all frame members. The panel edges fit into this groove. Standard groove depth measures 3/8″ to 1/2″. Width matches panel thickness, typically 1/4″ to 3/8″ for cabinet work, 1/2″ to 5/8″ for larger applications.
Cut grooves before joinery. This ensures perfect alignment where rails meet stiles. The groove should be centered or slightly offset toward the back of the frame, leaving more material on the visible face.
Panel Fitting
The panel must fit loosely in the grooves. Leave 1/16″ to 1/8″ clearance on each edge. This gap provides room for expansion across the panel width. Without adequate clearance, expanding panels can crack or push apart frame joints.
In humid conditions, panels swell. In dry conditions, they shrink. Properly fitted panels handle both extremes without visible gaps or structural stress. Finish all panel surfaces before assembly to prevent unfinished wood from showing during shrinkage.
Joinery Options
Mortise and Tenon
The classic choice for frame joinery. Cut mortises in the stiles, tenons on rail ends. Size tenons about one-third the frame thickness. Haunch the tenon to fill the groove at the joint. This provides solid glue surface while maintaining the groove for the panel.
Cope and Stick
Matched router bits or shaper cutters create this joint. The “stick” cut shapes the frame edge and cuts the groove. The “cope” cut shapes the rail ends to nest against the stick profile. Fast and accurate when properly set up, though less strong than mortise and tenon.
Dowel Joints
Two or three dowels align and strengthen the rail-to-stile connection. Dowel joints work well for painted work or lighter-duty applications. Use a doweling jig for accurate hole placement.
Loose Tenon
Mortises in both the rail and stile accept a separate tenon. This approach offers mortise and tenon strength with simpler cutting. A plunge router and simple jig create matching mortises quickly.
Panel Types
Flat Panel
The simplest option. A flat piece of solid wood or plywood sits in the grooves. Works well for painted doors and contemporary designs. Plywood eliminates wood movement concerns entirely.
Raised Panel
A thick panel with beveled or shaped edges tapering to fit the grooves. The raised center field creates visual depth and shadow lines. Traditional and versatile, raised panels suit many furniture styles.
Ship-Lap Panel
Multiple narrow boards with overlapping edges fill the frame opening. Common in country and rustic styles. Each board moves independently, so the assembly tolerates significant humidity changes.
Assembly Sequence
Prepare all parts before beginning assembly. Sand frame members and panels. Apply finish to panel surfaces, including edges. Pre-finishing prevents unfinished wood from showing when panels shrink.
Dry-fit everything first. Check that panels float freely. Verify frame corners are square. Identify any fit issues before introducing glue.
Apply glue to joints only, never to panel edges. The panel must move freely. Clamp the frame flat and square. Check for twist before glue sets. Measure diagonals to verify square.
Common Applications
Cabinet doors represent the most common frame and panel application. The method scales from small jewelry box lids to large armoire doors. Consistent proportions and joinery techniques apply across sizes.
Wall paneling uses the same construction. Frame members attach to the wall, panels float in the grooves. This creates durable, attractive wall treatments that handle building movement gracefully.
Furniture backs, chest lids, and desk panels all benefit from frame and panel construction. Any wide solid-wood application becomes more stable with this method.
Design Considerations
Proportion matters. Wide stiles with narrow rails look unbalanced. Overly complex arrangements can appear busy. Start with simple designs, adding complexity as your skills develop.
Consider the frame profile carefully. Simple chamfers or beads add interest without requiring specialized tooling. More elaborate molded edges require matched cutters or extensive hand work.
Balance visual weight. Bottom rails often run wider than top rails. This grounds the design and provides stability. Equal-width members work for modern designs but can appear top-heavy in traditional contexts.
Getting Started
Build a simple cabinet door as your first frame and panel project. Use flat plywood panels to eliminate panel-making complexity. Focus on accurate frame joinery and proper assembly technique.
Once comfortable with the frame construction, try a raised panel door. The additional step adds interest without changing the fundamental approach. Progress to multiple-panel arrangements as skills develop.
Frame and panel construction rewards patience and precision. Each component must fit correctly for the whole to function properly. Master the basics and this versatile method opens countless project possibilities.


Stay in the loop
Get the latest wood working workshop updates delivered to your inbox.