As someone who has built three different workbenches over the years — including a knock down version that lives in my one-car garage — I figured out what actually matters in the design. Today I’ll share what I know about building and using a knock down workbench.
Why a Knock Down Workbench Makes Sense
The main argument for a knock down design is portability. When you need to move your bench — to a different corner of the shop, to a job site, or just out of the way for the car — a knock down design lets you do it without calling a friend. In multi-function spaces, storing it flat when not in use reclaims the floor.

That’s what makes a knock down workbench so useful to woodworkers who don’t have a dedicated shop — you can have a proper working surface without permanently dedicating floor space to it. When I set up to work in my garage on weekends, the knock down design means the car comes out, the bench goes up, and nothing is in conflict.
Customization is a real advantage too. Modular components let you adjust or replace sections as your needs change without rebuilding from scratch. The bench I started with five years ago has different leg assemblies now than it did originally — the core stayed, the parts evolved.
Materials That Work
The workbench top wants to be something sturdy and flat: solid hardwood like oak or maple for heavy-duty work, or a glued-up plywood slab for a lighter, more economical option. A 3/4″ top is minimum; 1.5″ glued up gives you something that actually absorbs pounding without flexing.

Leg assemblies in most knock down designs use standard construction lumber — 2×4 or 2×6 for the frame members. Metal hardware (bolts, barrel nuts, threaded inserts) handles the knock down joints cleanly and holds torque better than wood-only fastening systems. The joints need to resist racking — triangulated bracing or cross members between the legs are how you get that without sacrificing the ability to disassemble.
Design Decisions That Matter
The work surface dimensions should match your typical projects. Too small and you’re constantly running out of space; too large and the bench becomes harder to move. Standard workbench height is around 34 to 36 inches — match it to your actual working stance, not the textbook number.
Build it too low and you’re hunched over your work all day. Adjustable legs or multiple height settings solve this for shared use or variable tasks.
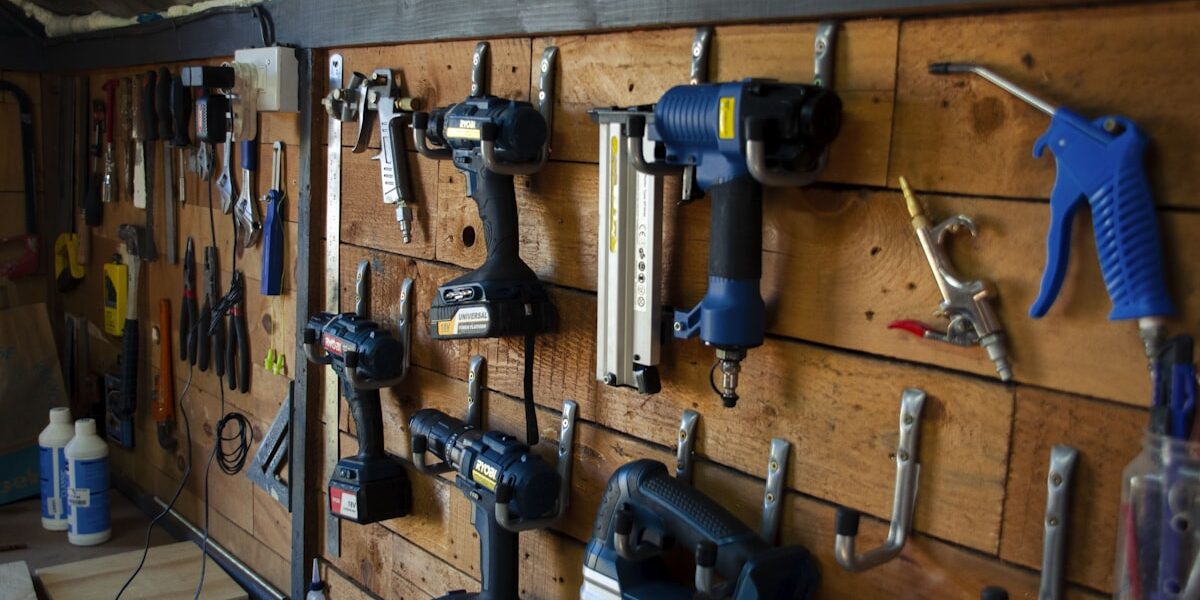
Storage integration — shelves, drawers, tool holders — adds utility without adding floor space. A bottom shelf between the legs handles heavy tools and keeps them off the floor. A pegboard back section holds frequently used hand tools within reach while working.
Assembly and Disassembly
The knock down fasteners are the critical engineering point. Bolts threading into barrel nuts or threaded inserts tighten down firmly and come apart with a hex wrench or screwdriver in a few minutes. Most well-designed knock down benches disassemble in 15 to 20 minutes with basic tools.
Labeling parts saves time on reassembly. Marking corresponding pieces with letters or numbers means you’re not solving a puzzle every time the bench goes back together. I use a simple stamped number system on the leg mortises and corresponding tenons — takes two seconds to look up and eliminates mistakes.
Pre-Made Options
Brands like BLACK+DECKER, WORX, and Keter offer knock down workbench kits that come with hardware and instructions. These are good starting points for someone who wants a functional bench quickly without the build process. The trade-off is customization — kit benches are designed for average dimensions and use cases.
Building your own gives you full control over dimensions, materials, and features. Plenty of good plans exist online with complete material lists and step-by-step assembly sequences. For a first knock down bench, a published plan reduces the design problem-solving and lets you focus on the build.
Cost Considerations
A DIY knock down bench using construction lumber and quality hardware typically costs $100 to $250 in materials depending on size and lumber species choice. Pre-made kits run more, often $200 to $400 for mid-range options. The DIY route pays off in quality and fit if you have basic power tools and a few hours.
Invest in the fastener hardware — the knock down joints are where the bench either holds together solidly or feels wobbly and unsatisfying. Good barrel nuts and bolts cost a few dollars more than generic hardware and make the difference between a bench that feels like a real tool and one that creaks under load.
Keeping It in Good Shape
Check fasteners periodically — vibration from heavy work loosens threaded connections over time. A quick pass with a hex wrench every few months keeps everything tight. Keep the work surface clean between sessions; chips and debris packed into the knock down joint areas make disassembly harder over time. Inspect the leg joints and cross members for any signs of damage and address it before it affects the bench’s structural integrity.
Environmental Considerations
A well-built knock down bench lasts for years and reduces the need to buy replacement benches when circumstances change. Reclaimed lumber or construction offcuts work well for the leg assemblies if you have access to material. Eco-friendly finishes on the top protect the wood without the solvent load of traditional oil-based products.
A knock down workbench is one of those projects that pays dividends for years. Build it right, use quality fasteners, and it gives you a stable working surface wherever you need one — which is what a workbench is supposed to do.


Stay in the loop
Get the latest wood working workshop updates delivered to your inbox.