Building Your First Workbench: A Complete Project Guide
Every serious woodworking journey starts with a workbench. Without solid work holding, hand tool work becomes frustrating and inaccurate. Machine work suffers from unstable setups. The workbench is the foundation of everything else in the shop—and building one yourself teaches more about woodworking than any other single project.
This guide walks through designing and building a substantial workbench suitable for serious work. The project assumes basic tool use but provides enough detail for relatively inexperienced woodworkers to complete successfully. Plan for a weekend of concentrated effort or several evening sessions spread across a few weeks.
Design Considerations
Before cutting any wood, think carefully about what you need. Bench design varies widely based on the type of work, available space, budget, and personal preferences. There’s no single “correct” design, but several principles guide good decisions.
Size and Proportions
Bigger is generally better for workbenches—mass provides stability, and surface area accommodates larger projects. Traditional European benches run 6-8 feet long and 20-24 inches deep. These dimensions suit general furniture work well.
Space constraints may require compromise. A 5-foot bench works for many projects, though longer boards become awkward. Width below 18 inches limits usefulness significantly. If floor space is tight, consider a fold-down or wall-mounted design that stores vertically when not in use.
Height matters more than most beginners realize. For hand planing, the bench top should reach your wrist when standing with arms relaxed at your sides. This typically means 32-36 inches depending on your height. Machine workers may prefer slightly higher benches. If you do both types of work, optimize for hand planing—you can always stand on a platform for detailed machine work.
Material Selection
Traditional European benches use beech—hard, stable, and resistant to denting. American woodworkers often substitute hard maple, which performs similarly. Southern yellow pine makes an economical alternative that works surprisingly well despite being “soft”—the density of this species approaches many hardwoods.
Construction lumber (standard 2x4s and 2x6s from the home center) can build a functional bench, but requires careful selection. Look for straight, dry boards with tight growth rings. Kiln-dried framing lumber contains more moisture than ideal; stack your selection in the shop for a few weeks before building to let it acclimate.

Whatever species you choose, the top should be laminated from multiple boards rather than made from a single slab. Lamination creates a more stable assembly that resists warping as humidity changes. It also allows you to build a massive top from smaller, more manageable pieces.
Vise Selection
At minimum, you need a face vise on the front edge for holding boards vertically. Quick-release models from manufacturers like Yost, Eclipse, and Record open and close rapidly for frequent repositioning. Traditional leg vises provide enormous clamping pressure but adjust more slowly.
A tail vise combined with bench dogs provides flat work holding. The tail vise clamps against dogs set in a row of holes across the bench top. This system pins boards flat for surface planing and other operations. Wagon vises (sometimes called sliding deadman vises) offer an alternative that some woodworkers prefer.
Budget-conscious builders can start with a face vise only and add tail vise capabilities later. A planing stop—simply a raised cleat at one end of the bench—provides enough resistance for basic face planing until you install more sophisticated work holding.
Cutting the Parts
This design uses a slab top supported by a substantial leg frame. The frame consists of four legs joined by stretchers, with the top attached through buttons or cleats that allow wood movement.
The Top
Start with the top since its final dimensions affect frame sizing. For a 6-foot bench, prepare twelve 8/4 (2-inch thick) boards, each 6 inches wide and 74 inches long. These will be glued up into a solid slab 6 feet long, 24 inches wide, and nearly 3 inches thick after final flattening.
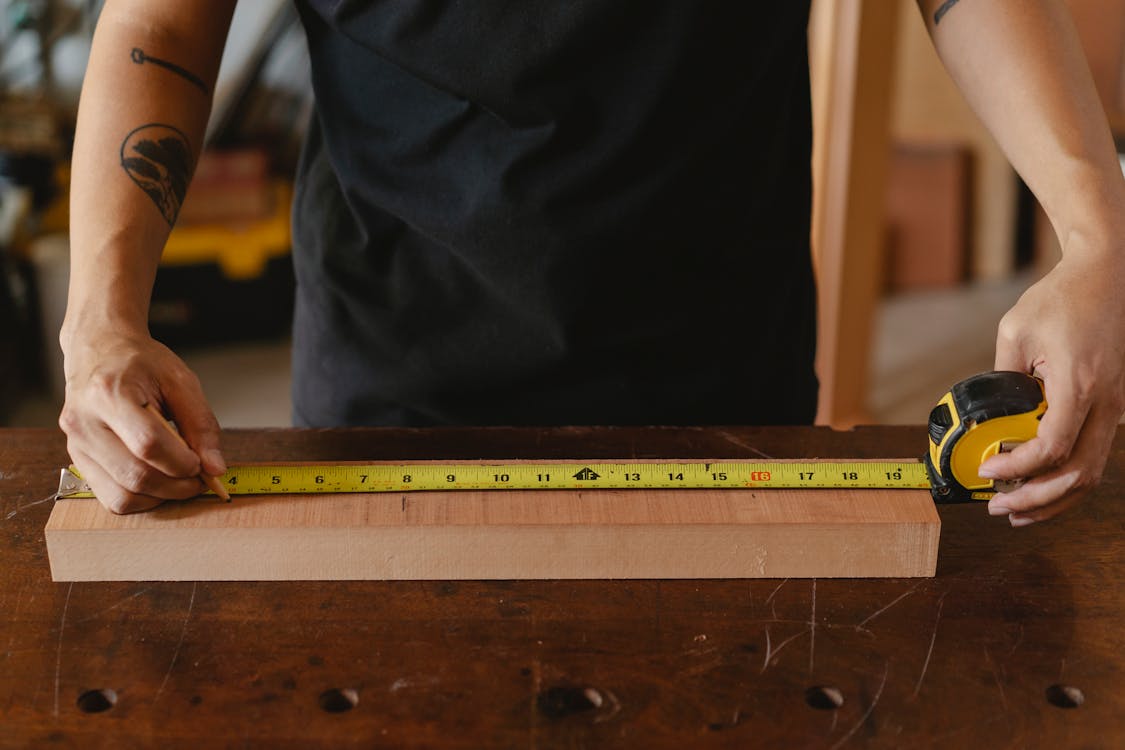
Mill all boards flat on both faces and square on both edges. This step is critical—joints between boards must close completely along their entire length. Any gaps create weakness. Use winding sticks to check for twist. A long hand plane (jointer or #7) is traditional for edge jointing, though a powered jointer speeds the process considerably.
Arrange boards to alternate growth ring orientation. This helps balance wood movement across the top. Also check that the faces create a harmonious appearance—dramatic grain variations look best distributed rather than concentrated in one area.
The Legs
Four legs, each 4 inches square and 32 inches long (adjust for your preferred bench height). Laminate from 8/4 stock if you can’t find 4×4 material in your chosen species. Three pieces of 2-inch stock glued face-to-face creates slightly oversized blanks that mill down to 4 inches square.
The legs receive mortises for the stretchers. Lay out mortises carefully—mistakes here affect the entire frame. Traditional bench legs have mortises on two adjacent faces for the long and short stretchers.
The Stretchers
Long stretchers connect the front legs to each other and the back legs to each other. Short stretchers connect front to back on each end. Typical dimensions are 3 inches wide by 4 inches tall by the appropriate length (roughly 60 inches for long stretchers on a 6-foot bench, 18-20 inches for short stretchers).
Tenons on stretcher ends fit the leg mortises. Size tenons at about one-third the stretcher width, centered on the piece. Shoulder all four faces for clean appearance and positive alignment during assembly.
Joinery
The quality of your joinery determines the bench’s longevity. Well-fitted mortise and tenon joints last centuries. Sloppy joints fail under the stresses of serious use. Take time to cut accurately and fit carefully.
Cutting Mortises
Mark mortise locations on all four legs simultaneously. Stack the legs and transfer marks across all pieces at once—this ensures consistent spacing. The mortise width should match your chisel width for efficient chopping.
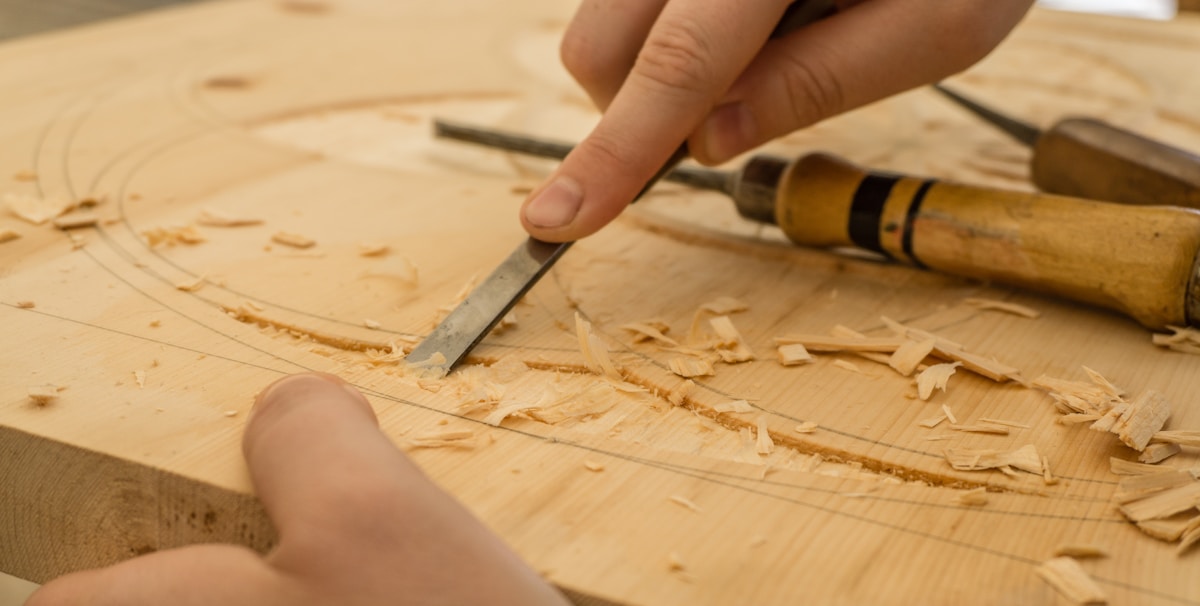
Chop mortises by first defining the ends with vertical cuts, then removing waste from the center. Work from the middle outward in small bites. Don’t try to reach full depth immediately—multiple passes prevent chisel damage and produce cleaner walls.
A mortising machine or drill press with mortising attachment speeds this work considerably. Even with machines, hand fitting with a chisel improves final fit quality.
Cutting Tenons
The tenon length should be slightly less than the mortise depth—leave room for glue at the bottom. Mark tenon shoulders carefully, referencing from the mortises rather than from measurements. Wood dimensions vary; marking from actual mortises ensures precise fit.
Saw the shoulders first, cutting around all four faces. Then saw the cheeks, staying just outside your marks. Pare to final fit with a shoulder plane or paring chisel. The tenon should slide into the mortise with moderate hand pressure and resist removal without glue.
Drawboring
Traditional benches often use drawbored joints. A hole drilled through the joint, offset slightly between mortise and tenon, draws tight when a tapered peg is driven through. Drawbored joints stay tight without glue and can theoretically be disassembled.
Drill the mortise hole first, about one-third from the outside shoulder. Insert the tenon and mark the hole location through the mortise hole. Remove the tenon and drill the tenon hole 1/16″ closer to the shoulder than the mark. When the peg drives through, it pulls the tenon into the mortise and locks tight.
Top Assembly
Gluing the top is the most intimidating step for many builders. The sheer number of joints and limited working time creates pressure. Proper preparation prevents problems.
Dry Fit First
Rehearse the entire glue-up without glue. Arrange boards in their final order. Apply clamps and check for problems. You should achieve tight joints without excessive pressure. If gaps appear, joint the problem edges again before proceeding.
Position clamps before the glue-up begins. Prepare enough cauls (straight boards that distribute clamping pressure) and have them within reach. Set out glue applicators and rags for cleanup. Everything should be ready before the first glue bottle opens.
The Glue-Up
Consider gluing in stages if the full assembly intimidates you. Glue three boards at a time, then join the sub-assemblies. This extends total time but reduces pressure during any single session.
Apply glue to both mating faces. Roll it out evenly or use a brush. You want complete coverage without excess. Slight squeeze-out along the joint indicates sufficient glue. Heavy squeeze-out wastes material and creates cleanup work.
Alternate clamp positions above and below the top to balance pressure and minimize cupping. Check for flatness with winding sticks before glue sets. Adjust clamp pressure as needed to correct any twist.
Flattening the Top
No matter how careful your glue-up, the top will need flattening. Glue joints create slight ridges. Board faces may not align perfectly. Movement during clamping introduces minor twist.
A large hand plane (scrub plane or #5 jack plane set coarse) removes material quickly. Work diagonally across the grain first, then with the grain to smooth. Check frequently with winding sticks and straightedges. The goal is flat within a few thousandths of an inch across the entire surface.
Power options include a router sled that bridges the top and references from rails on either side, or a wide-belt sander for those with access to industrial equipment.
Frame Assembly
With all joints cut and tested, assemble the leg frame. Work on a flat floor or assembly table to ensure the frame goes together square and without twist.
End Assemblies
Start by assembling two leg-and-short-stretcher units. These “end assemblies” form the sides of the bench. Apply glue to mortises and tenon cheeks. Insert tenons and clamp. Check for square with a diagonal measurement—both diagonals should match. Check for twist with winding sticks across the stretcher.

Final Frame Assembly
Once end assemblies cure (overnight minimum), connect them with the long stretchers. This step typically requires a helper—the partially assembled bench is heavy and awkward to handle alone.
Apply glue, insert tenons, and draw the frame together with clamps across the long stretchers. Check square by measuring diagonals at the top of the legs. The frame should sit flat on the floor without rocking. Adjust as needed before glue sets.
Attaching the Top
The top must be able to move as humidity changes. Solid connections prevent this movement and cause splits or joint failures. Use attachment methods that allow seasonal expansion and contraction.
Button Blocks
Small blocks with tongues fit into a groove cut inside the top rails or into individual mortises. The button screws to the underside of the top. The tongue allows the top to slide front-to-back while holding it down firmly.
Figure-8 Fasteners
Metal fittings that screw to both the leg frame and the top. The figure-8 shape allows pivoting as the top moves. Less traditional but effective and simple to install.
Adding Work Holding
With the basic bench complete, add the vises and other work holding that make it functional.
Face Vise Installation
Mount the face vise with the screw centerline at or slightly below bench top height. The inner jaw should align flush with the bench edge or slightly behind. This allows clamping boards flat against the bench front without obstruction.
Beef up the inner jaw with a thick hardwood face. The manufacturer’s supplied jaw is rarely substantial enough for serious work. A 1-1/2″ thick hardwood facing provides better grip and increases clamping capacity.
Bench Dog Holes
A row of holes across the bench top accepts dogs for flat work holding. Holes typically measure 3/4″ square (for square dogs) or 3/4″ round. Space them 4-6 inches apart. The row should parallel the bench front edge and align with a matching row in the tail vise if installed.
Holdfast Holes
Scattered holes across the top accept holdfasts. These simple devices lock work in place with a mallet blow. Position holes where you typically need clamping—near the front edge for working on boards, back for clamping fixtures and jigs.
Finishing and Maintenance
A workbench doesn’t need fine furniture finish. In fact, film finishes cause problems—they chip and flake under use. Simple protective treatments work best.
Many woodworkers apply nothing but boiled linseed oil or a wax/oil blend. These penetrating finishes protect against moisture and make cleanup easier without building up surface film. Reapply periodically as the surface looks dry.
Flatten the top periodically as it wears and gets dinged. A few passes with a smoothing plane once or twice a year keeps the surface true. This regular maintenance is one of the pleasures of a wooden bench—it improves with use and attention.
Your Bench, Your Workshop
A good workbench transforms your relationship with woodworking. Work that was frustrating becomes possible. Operations that required improvised setups happen smoothly. The bench becomes the center of your shop, the place where projects take shape.
Build your bench with care. It will serve you for decades, possibly for the rest of your woodworking life. Every project you complete on it adds to its history. The dings and stains tell stories of things built, skills learned, problems solved.
Start building. Your bench awaits.


Stay in the loop
Get the latest wood working workshop updates delivered to your inbox.