Today, I will share it all with you.
My first bandsaw box was a disaster. Crooked cuts, a drawer that stuck halfway in, and I somehow managed to cut through the back panel when I wasn’t supposed to. But when I finally got one right — a little walnut jewelry box for my wife — I was hooked. There’s something almost magical about turning a solid chunk of wood into a functioning box with drawers.
Understanding the Basics
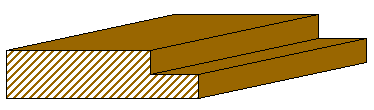
A bandsaw box is exactly what it sounds like: a box made using a bandsaw. You start with a single block of wood (or glued-up boards if you want something wider) and carve everything — the shell, the drawers, all of it — from that one piece.
Most bandsaw boxes have at least one drawer that slides in and out. Since the drawer was literally cut from inside the box, it fits perfectly. No measuring, no fiddling with tolerances. The wood tells you what fits. Start with a good piece of hardwood — walnut, cherry, and maple are my favorites. Walnut especially, because the grain pattern looks incredible once you sand and finish it. Softwoods work in a pinch, but they dent easy and won’t hold up as well over the years.
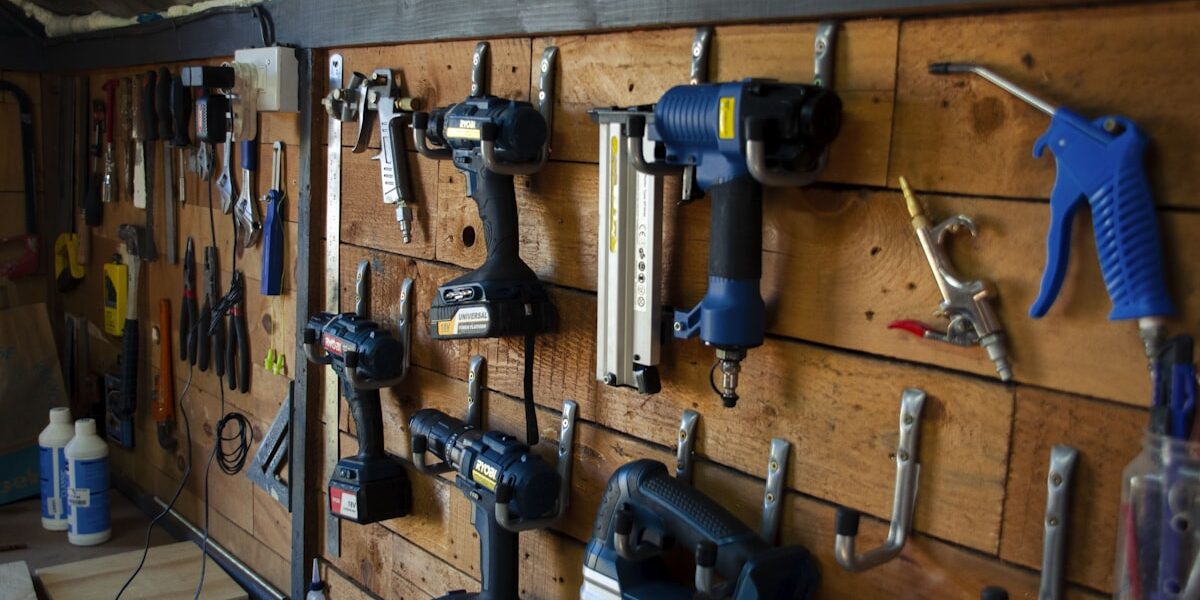
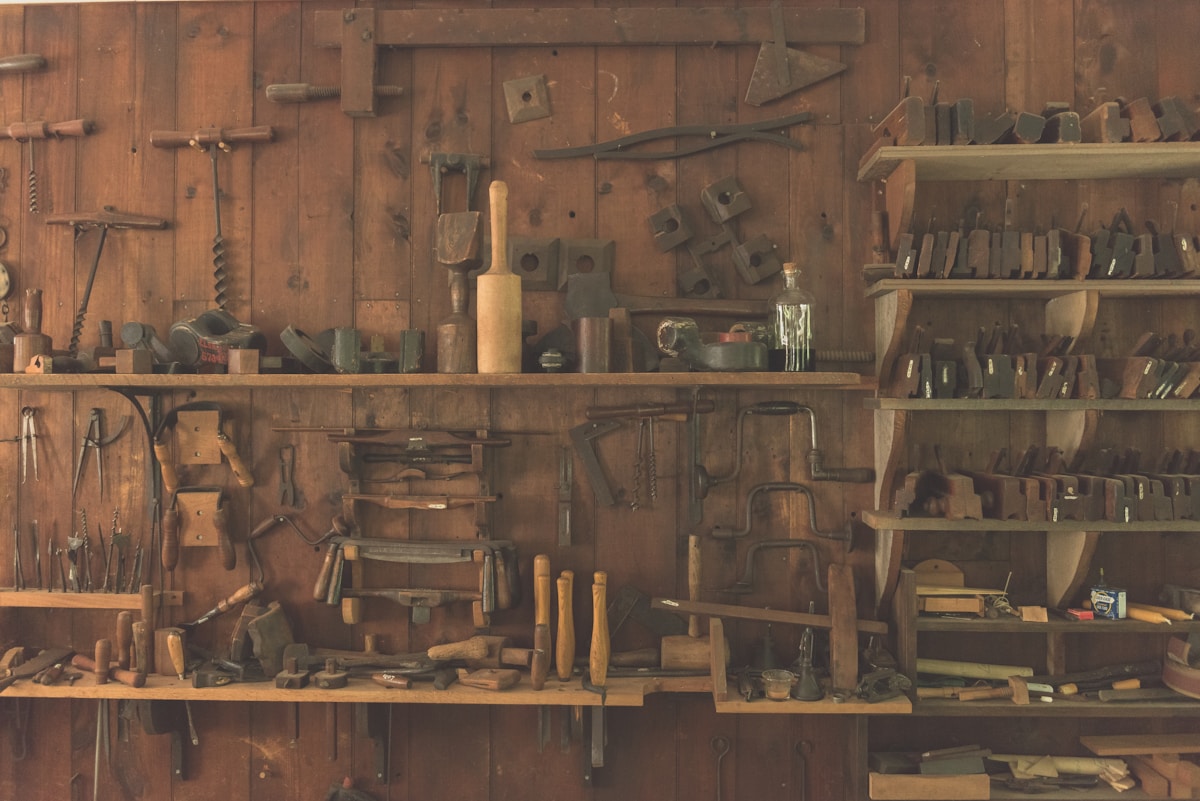
Essential Tools and Materials
You don’t need a lot, but what you do need matters.
- Bandsaw: Obviously. This is the whole show. You want a thin blade — 1/8 inch is ideal, 1/4 inch works for gentler curves. The thinner the blade, the tighter your turns. I run a 3/16″ blade as my sweet spot for most box projects.
- Sanding Equipment: A spindle sander is a game-changer for the insides of cavities. If you don’t have one, wrap sandpaper around a dowel. It works, it just takes longer. I spent years doing it that way before I finally bought the spindle sander.
- Wood Glue: For reattaching the back panel and for laminating boards if you’re building up thickness. Titebond III is what lives on my bench.
- Finishing Supplies: I like Danish oil on bandsaw boxes because it soaks in and really pops the grain. But varnish, lacquer, tung oil — whatever you prefer works fine.
A few other things I keep handy: small clamps for the glue-up, a drill with a Forstner bit for finger pulls on drawers, and a pencil for sketching cut lines. Nothing exotic.
Steps to Create a Bandsaw Box
Here’s my process, start to finish. I’ve refined this over probably fifty boxes at this point.
First, sketch your design right on the block. Freehand is fine — that’s the beauty of these things. They don’t need to be perfect. Organic shapes actually look better than rigid geometry. For your first attempt, keep it simple: a rectangular block, one drawer, no crazy curves.
Cut the back panel off first. Just a flat slice, about 1/4 inch thick. Set it aside — you’ll glue it back on later. Now you’ve got access to the interior of the block. Draw your drawer cavity outline and cut it out. The piece you remove becomes your drawer blank. Cut the front and back faces off the drawer blank to create the actual drawer walls. Sand the cavity smooth and sand the drawer to fit. It should slide in and out with just a whisper of resistance.
Once everything fits, glue the back panel on. Clamp it, let it cure overnight. Then shape the outside of the box — round the edges, sculpt it, do whatever you want. This is the fun part. Sand everything progressively up to 220 grit at least. Apply your finish, add a small pull to the drawer if you want, and you’re done.
The whole project can take an afternoon if it’s a simple design. More elaborate ones might stretch across a weekend.
Design Variations and Techniques
Once you’ve got the basic technique down, the sky’s the limit. I’ve made boxes shaped like animals, boxes with three or four stacked drawers, boxes with curved lids that lift off. One time I made an owl-shaped box for a friend’s kid — turned out better than I expected.
Laminating different wood species before cutting adds incredible visual depth. A walnut-and-maple striped block turns into a box with alternating dark and light bands running through it. Secret compartments are fun too — cut a hidden space behind a drawer that you’d never know was there unless someone showed you.
More advanced moves include inlaying contrasting wood on the drawer fronts, adding hidden pivot hinges for lids, or gluing in thin felt liners for jewelry boxes. These details take extra time but elevate the piece from “cool project” to “heirloom gift.”
Tips for Success
Go slow. Seriously. The bandsaw will let you rush, and your cuts will show it. I feed the wood at maybe half the speed I use for regular cutting. Clean, smooth curves come from patience, not from pushing harder.
Check the fit of every piece before you reach for the glue. Dry-fit the drawer, make sure the back panel sits flush, test everything. Glue is permanent and sanding a glued joint that’s offset is miserable work.
Keep your blade sharp. I change blades before a bandsaw box project almost every time. A fresh blade cuts cleaner, drifts less, and gives you much more control on curves. If you’re fighting the saw, the blade is probably toast.
Experiment with finishes on scrap pieces from the same wood first. I’ve had Danish oil look amazing on one piece of walnut and blotchy on another from the same board. Test first, commit second.
Challenges and Solutions
The drawer doesn’t fit right — this happens to everybody. If it’s too tight, sand the sides evenly. Take a little off each side rather than a lot off one. If it’s loose, glue a thin veneer strip to one side. I keep maple veneer scraps around specifically for this.
Tear-out on curved cuts is the other common frustration. A finer-tooth blade helps. Cutting slowly helps more. And if you do get tear-out, a little sanding usually takes care of it. On really bad spots, a dab of thin CA glue soaks into the fibers and stabilizes them before you sand.
The Joy of Bandsaw Box Crafting
There’s a reason I keep coming back to these after all these years. Watching a solid block of wood transform into a functional, beautiful object in a single session is deeply satisfying. Each one is different. Each one teaches you something.
They make incredible gifts, too. I’ve given away more bandsaw boxes than I can count, and people always seem genuinely amazed that the whole thing came from one piece of wood. That moment of realization when they look at the grain wrapping around from the body into the drawer — it gets them every time.
Whether you’ve been woodworking for thirty years or you just bought your first bandsaw last month, give these a try. Start simple, learn from each one, and before long you’ll be designing shapes you never thought possible. The bandsaw box is one of those rare projects where the process is just as rewarding as the finished piece.
Recommended Woodworking Tools
HURRICANE 4-Piece Wood Chisel Set – $13.99
CR-V steel beveled edge blades for precision carving.
GREBSTK 4-Piece Wood Chisel Set – $13.98
Sharp bevel edge bench chisels for woodworking.
As an Amazon Associate, we earn from qualifying purchases.


Stay in the loop
Get the latest wood working workshop updates delivered to your inbox.