Bookcase Woodworking Plans and Tips
Building a bookcase has gotten a lot of people into woodworking — it’s a project that’s visually satisfying, genuinely useful, and teaches you almost every fundamental skill the craft has to offer. I built my first bookcase about fifteen years ago from a sketch on a napkin, and it’s still standing in my office. Here’s what I know about doing it right.
The Basics Before You Build
Select wood types that suit bookcases: oak, maple, and pine are all proven options. Oak is durable and takes stain beautifully. Pine is affordable and easy to work with hand tools. Maple is harder and machines cleanly. Whatever species you choose, make sure the boards are straight and free from significant defects — warped wood is a constant battle through assembly.
Have essential tools on hand before you start. A tape measure for accurate layout, a saw for cutting (table saw or circular saw with a guide), clamps to hold pieces during glue-up, a drill for pilot holes and joinery, and a sander for surface prep. Safety glasses and a dust mask are non-negotiable in my shop.

Components and Dimensions
A bookcase consists of the top, bottom, sides, shelves, and back. Exact dimensions depend on the intended size and where it’ll live. Standard sizes run around 72 inches tall, 30 inches wide, and 12 inches deep, but those are just starting points. Wish I’d known this when I started: measure the tallest books you actually own before committing to shelf spacing. Oversized art books and coffee table books are surprisingly hard to accommodate after the fact.
Adjustable shelves offer flexibility for changing needs. Fixed shelves are slightly stronger and simpler to build. I build with fixed shelves for the bottom third and adjustable shelves above that — the best of both approaches.
Selecting the Right Wood
Solid wood offers durability and the best appearance. Plywood is a practical and economical alternative — hardwood plywood in particular gives you flat, stable panels that won’t cup or twist the way wide solid-wood boards can. MDF is cheaper but heavy and doesn’t hold screws well in the face grain, so joinery needs to be thoughtful.
Look for straight, flat boards at the lumber yard and take your time selecting them. Kiln-dried wood is worth paying for — it reduces the moisture content that causes seasonal movement after the piece is built.

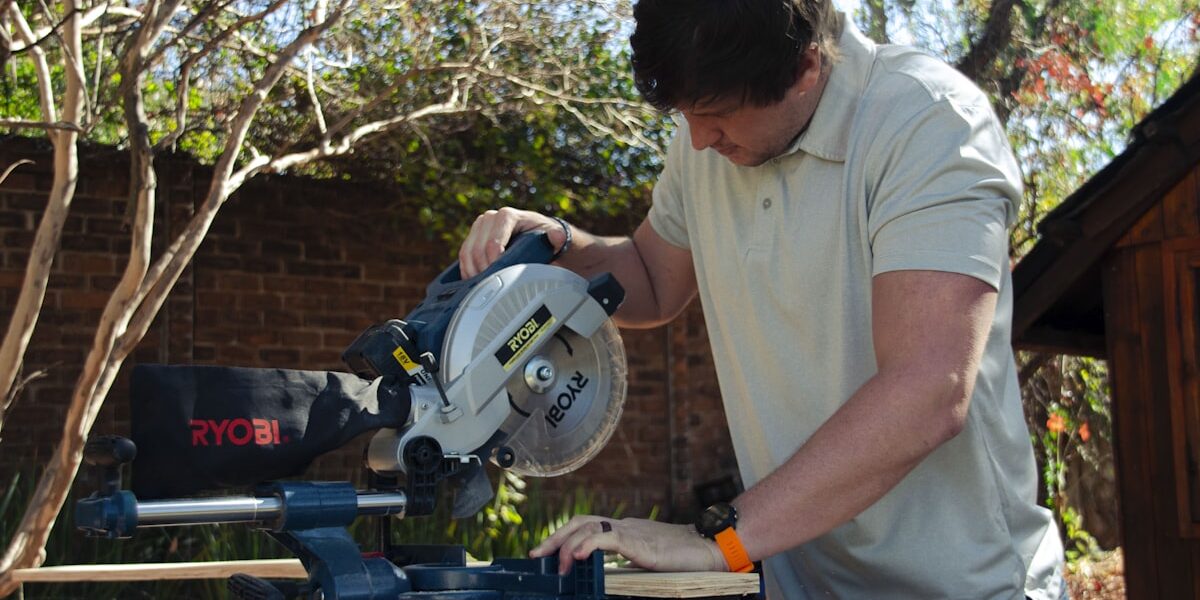
Cutting and Preparing Wood
Use a table saw for straight rip cuts and a circular saw with a straightedge guide for breaking down sheet goods. For curved or decorative cuts, a jigsaw handles those. Always measure twice. I’ve cut the wrong piece short more times than I’d like to admit, and it always happens when I’m moving too fast.
Sand all pieces after cutting, before assembly. Start with 80-grit to remove mill marks and saw blade tracks, then work through 120 and 150-grit. Getting all the surface prep done before assembly is much easier than trying to sand inside a built carcass later.
Assembling the Frame
Start with the two sides and the bottom panel. Join these with wood glue and screws, using clamps to pull the joints tight while you drive fasteners. Check for square immediately after assembly — measure diagonally corner to corner and adjust by racking the carcass slightly until both measurements match. Square at this stage saves enormous frustration later.
Add the top piece next, checking that it’s level with the side panels. Fixed shelves get installed by marking their position, drilling pilot holes through the sides, and driving screws into the shelf edges. Countersink the screws and fill with wood filler for a clean look.
Incorporating Adjustable Shelves
Drill holes in the inner faces of the sides to accept shelf pin sockets. A shop-made drilling template — a piece of pegboard works perfectly — ensures consistent spacing. Space holes every 1-1/4 or 1-1/2 inches vertically. Shelves should seat on the pins snugly but still be removable for rearranging.
Shelves need to be thick enough to span the width without bowing under book weight. For a 30-inch span, 3/4-inch plywood or solid wood is the minimum. Longer spans benefit from a 7/8-inch or 1-inch shelf, or a solid wood nosing glued to the front edge to add stiffness.
Securing the Back Panel
A back panel adds significant rigidity to the carcass — a bookcase without a back wants to rack under load. Quarter-inch plywood works well. Attach it with finishing nails or screws into the back edges of the sides, top, bottom, and any fixed shelves. Ensure the back panel is square before fastening; driving it into a square carcass also helps lock in the square during final assembly.
Beadboard as a back panel gives a traditional look that reads nicely in both painted and stained finishes. It’s a small touch that elevates the whole piece.
Sanding and Finishing
After assembly, do a final sanding pass over the whole piece. Focus on sharp edges — ease them slightly with 220-grit so they don’t raise splinters in use. Clean all dust thoroughly before applying finish.
Stain emphasizes the wood grain and works beautifully on oak or pine. Paint gives a clean, crisp look and is more forgiving of minor wood imperfections. Clear finishes — lacquer, polyurethane, hardwax oil — let the wood speak for itself. Whatever you choose, thin coats and proper drying time between them are the difference between a professional result and an amateur one.
Installing the Bookcase
Position the bookcase against the wall and check that it stands plumb and level. If the floor isn’t level (and it often isn’t), shim the low side of the base. For safety — especially in homes with children — anchor the case to wall studs using L-brackets at the top. A bookcase that tips over is a serious hazard and the anchor takes five minutes to install.
Maintenance
Avoid overloading shelves — distribute books evenly and pay attention to signs of shelf deflection. Clean regularly with a dry cloth. Inspect periodically for any loose screws or fittings and tighten them before they work loose completely. A fresh coat of finish every several years keeps the wood protected and the piece looking good.
Design Considerations
That’s what makes bookcase builds so satisfying — they’re a design element as much as a functional piece. Consider the style of your home. Traditional bookcases with base molding and crown at the top look like built-ins even when freestanding. Modern designs with clean lines and through-tenon details look crisp in contemporary spaces. Reclaimed wood gives you something with genuine history that no amount of distressing can fake.
Adding crown molding at the top, base cap molding at the bottom, and a face frame on the front are all ways to elevate a simple carcass into something that looks custom-made. The joinery and material are the structure; the details are what people actually notice.
Cost and Time Investment
Building a bookcase involves both time and money. Costs vary based on wood species, design complexity, and finish options — a simple pine bookcase might cost $80-$150 in materials, while an oak or walnut piece could run $300-$500 or more. The time investment depends heavily on your skill level and shop setup. A first bookcase will take a weekend; an experienced woodworker can knock one out in a day.
Compared to buying a solid-wood bookcase of equivalent quality, building your own almost always saves significant money. More importantly, you end up with exactly what you wanted — the right dimensions, the right wood, the right finish.


Stay in the loop
Get the latest wood working workshop updates delivered to your inbox.