How to Build a Rabbet Joint Box
How to Build a Rabbet Joint Box
Box joinery has gotten a lot of attention in woodworking circles, and the rabbet joint is one of the first techniques worth learning properly. I’ve built rabbet joint boxes for everything from workshop storage to jewelry boxes, and once you dial in the setup it’s one of the faster methods for putting together a solid box. Here’s what I know about doing it right.
Understanding the Rabbet Joint
But what is a rabbet joint, exactly? In short, it’s a recess or step cut along the edge or end of a board that allows another board to fit into it at a corner. But it’s a lot more nuanced than that when it comes to box construction.
The rabbeted corner adds gluing surface area over a plain butt joint — typically doubling it — and registers the pieces mechanically so they stay aligned during glue-up even before clamping pressure is applied. That mechanical registration is what beginners appreciate most: the box corners hold square while you’re adjusting clamps rather than sliding apart. Rabbet joints work in cabinet carcasses, picture frames, drawer boxes, and storage boxes.
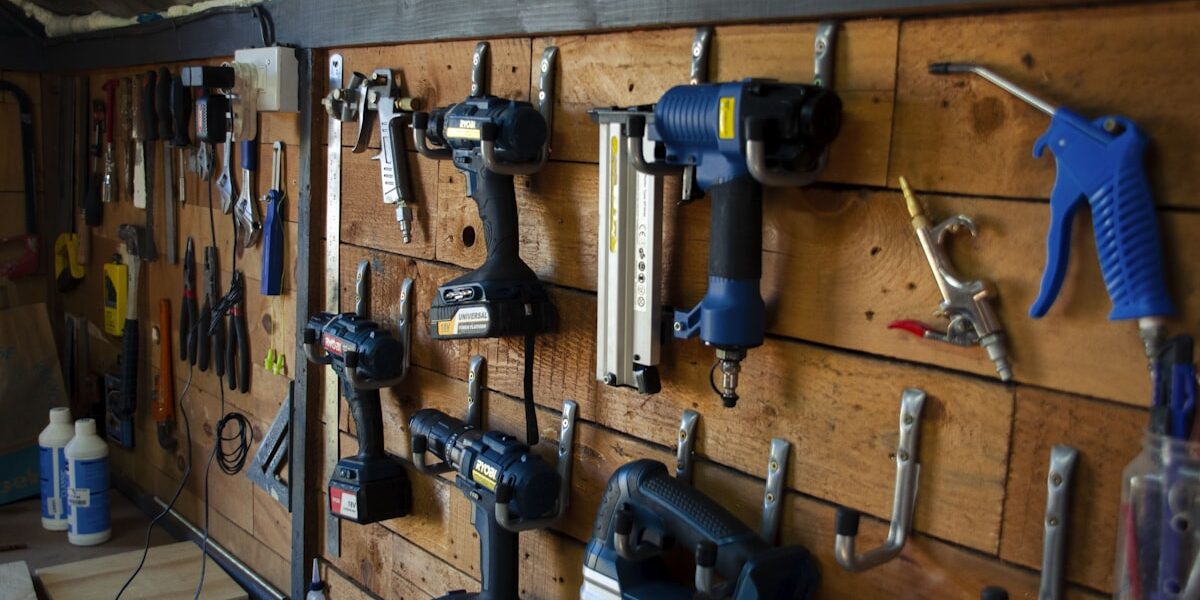
These joints cut on the table saw, router table, or with hand tools — all three methods produce good results, and the right choice depends on what equipment you have.
What You’ll Need
- Wood pieces (for the box sides, bottom, and lid if building one)
- Table saw or router
- Wood glue
- Clamps
- Sandpaper
- Nails or screws (optional reinforcement)
- Measuring tape and marking pencil
Preparing the Stock
Solid hardwoods like oak or maple handle gluing and finishing well, but plywood works fine for utility boxes and drawer boxes. Cut your pieces to final dimension with straight, square edges — any inaccuracy in the stock dimensions carries through into the assembled box. Measure and mark the rabbet locations before cutting. Standard rabbet depth is half the stock thickness — 1/4″ deep for 1/2″ stock, 3/8″ deep for 3/4″ stock — with the width matching the thickness of the mating piece.
Cutting the Rabbets
Table saw method — the fastest for production work:
- Set blade height to the depth of the rabbet.
- Set the fence so the blade removes the correct width.
- Feed the board through on edge. A second pass perpendicular to the first completes the rabbet if needed.
- A dado stack cuts the full rabbet in one pass, which is cleaner than two passes with a standard blade.
Router method — good for odd sizes and when setup time matters less than flexibility:
- Mount a rabbet bit in the router table.
- Set cut depth to your rabbet depth specification.
- Run the board edge against the fence, keeping consistent pressure against both the fence and the table.
Test your setup on scrap before cutting the actual box pieces. Took me several boxes to internalize this — setup errors that look minor on scrap compound into obvious problems in the assembled box. Consistent rabbet dimensions across all four corners make for tight, satisfying joints.
Dry Fit First
Assemble all four sides without glue before committing. This step catches problems while they’re still solvable: joints that don’t seat fully, corners that aren’t square, rabbets that need a light pass with a shoulder plane to clean up. A dry fit that goes together easily and square is a strong indicator that the glue-up will go well.
Glue-Up and Clamping
Apply wood glue to the rabbet surfaces — both the step face and the shoulder — using a brush or finger to spread it evenly without globs. Assemble the corners, check for square by measuring diagonals (equal diagonals = square), and apply clamp pressure. Band clamps or corner clamps hold box shapes well. Let the glue cure overnight rather than rushing to remove clamps after an hour — the joint is strongest at full cure.
Sanding the Assembled Box
After the clamps come off, sand the outside surfaces. Start at 120 grit to flatten any joints that are slightly proud, then progress to 180 or 220 grit for a finish-ready surface. Keep the sanding strokes parallel to the grain rather than across it, especially on the faces where the grain direction changes at corners.
Reinforcing the Corners
Glue alone is sufficient for most box applications if the joint fits well and glue coverage is complete. For drawers or boxes that take heavy use, drive a couple of finish nails or a few brads through the corner. Drill pilot holes to prevent splitting, countersink so the fastener sits below the surface, and fill with wood filler. Sand flush after the filler dries.
Finishing
Stain or paint, followed by polyurethane or varnish for protection. For shop storage boxes, a single coat of oil-based finish is plenty. For furniture-quality presentation boxes, three to four coats with light sanding between each coat produces a smooth, durable result. Sand between coats with 320 grit to knock down nibs and produce a surface that the next coat adheres to properly.
What Rabbet Joint Boxes Are Good For
- Storage boxes for tools, hardware, small items
- Shop tool storage — one-drawer chests, small cabinet carcasses
- Drawer boxes for furniture and built-ins
- Cutlery and kitchen organization
Tips That Actually Matter
- Sharp blades and bits make the difference between a clean shoulder and a torn one. Dull tooling produces fuzz in the corner of the rabbet that prevents full joint closure.
- Measure carefully and mark with a marking knife rather than a pencil line — the knife line gives you a definite edge to register your saw or bit against.
- Always test on scrap. Every material machine setup before cutting the actual box stock.
- Check square immediately after clamping, while the glue is still workable enough to adjust if needed.
Rabbet joints are one of those techniques that seem basic but require real setup attention to execute well. Once you’ve dialed in the process, though, you can build a well-fitted box quickly and reliably — which is exactly what this joint is designed for.


Stay in the loop
Get the latest wood working workshop updates delivered to your inbox.