Building Tables Has Gotten Complicated With All the YouTube Advice Flying Around
Today, I will share it all with you.
Building a table remains one of the most satisfying projects you can tackle. Doesn’t matter if it’s for your kitchen, your office, or your back patio. But you need the right stuff and the right approach, or you’ll end up with expensive firewood.
What You’ll Need Before You Start
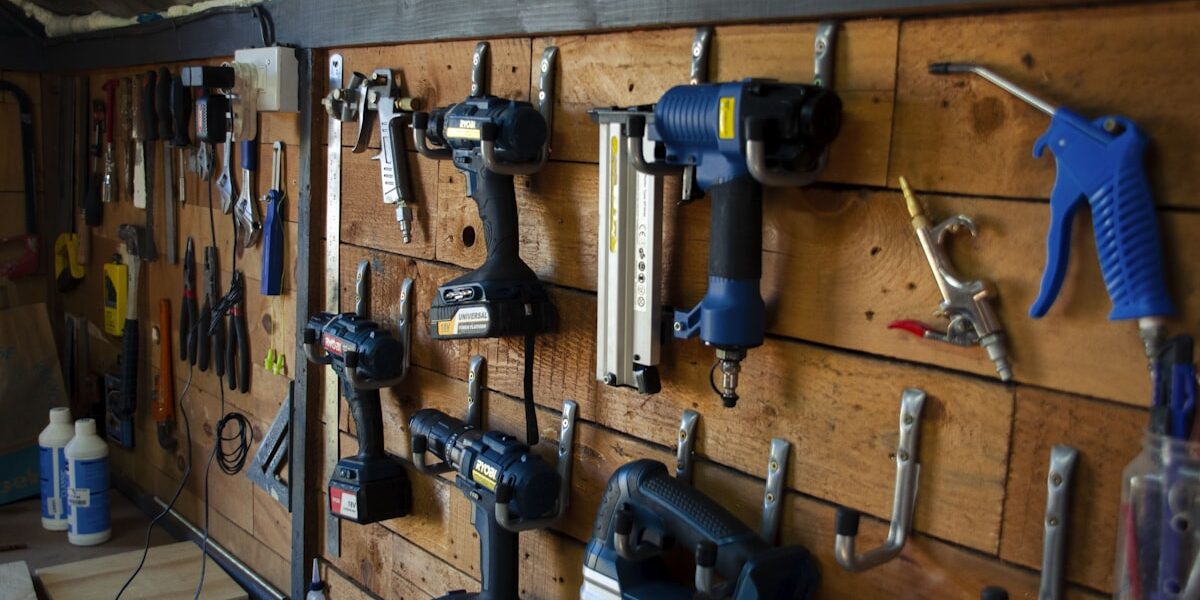
Before you fire up any power tools, pull together your materials and gear. Trust me, nothing kills momentum like a trip to the hardware store mid-project.
- Wood — pine if you’re on a budget, oak or maple if you want something that’ll last decades
- Screws or nails (I prefer screws, personally)
- Wood glue — don’t skimp on this
- Measuring tape
- Circular saw or handsaw
- Drill
- Sandpaper (multiple grits)
- Clamps — you can never own enough clamps
- Finish of your choice (paint, stain, or varnish)
Picking Your Wood
This is where a lot of folks trip up. Pine is cheap and forgiving — great for a first table. But it dents if you look at it wrong. Oak and maple? Those are workhorses. Harder to cut and shape, sure, but the finished product is worth the extra sweat. I’ve built pine tables that looked rough after two years and oak tables that still look great after ten.
What most people miss is that the wood’s moisture content matters just as much as the species. Kiln-dried lumber is your friend. Wet wood warps, and warped boards make for a frustrating build.
Measure Twice, Cut Once (Seriously)
I know, it’s the oldest woodworking cliche in the book. But I still catch myself almost cutting before double-checking. Figure out your table dimensions, then mark up your lumber for the tabletop, legs, and supports. Use a circular saw for clean, straight cuts.
And please — safety goggles. I got a wood chip in my eye once and spent the afternoon in urgent care instead of in the shop. Not fun.
Putting the Tabletop Together
Lay out your boards and make sure the edges line up. Run your hand along the joints — you’ll feel any gaps before you see them. Slather wood glue on the edges, clamp them tight, and walk away. Let the glue cure fully. I’ve ruined a tabletop by getting impatient and unclamping too early.
Once the glue’s set, drive some screws through from underneath for extra hold. Then sand the surface smooth. Start with 80-grit and work your way up to 220. Your hands will thank you, and so will anyone who rests their arms on it.

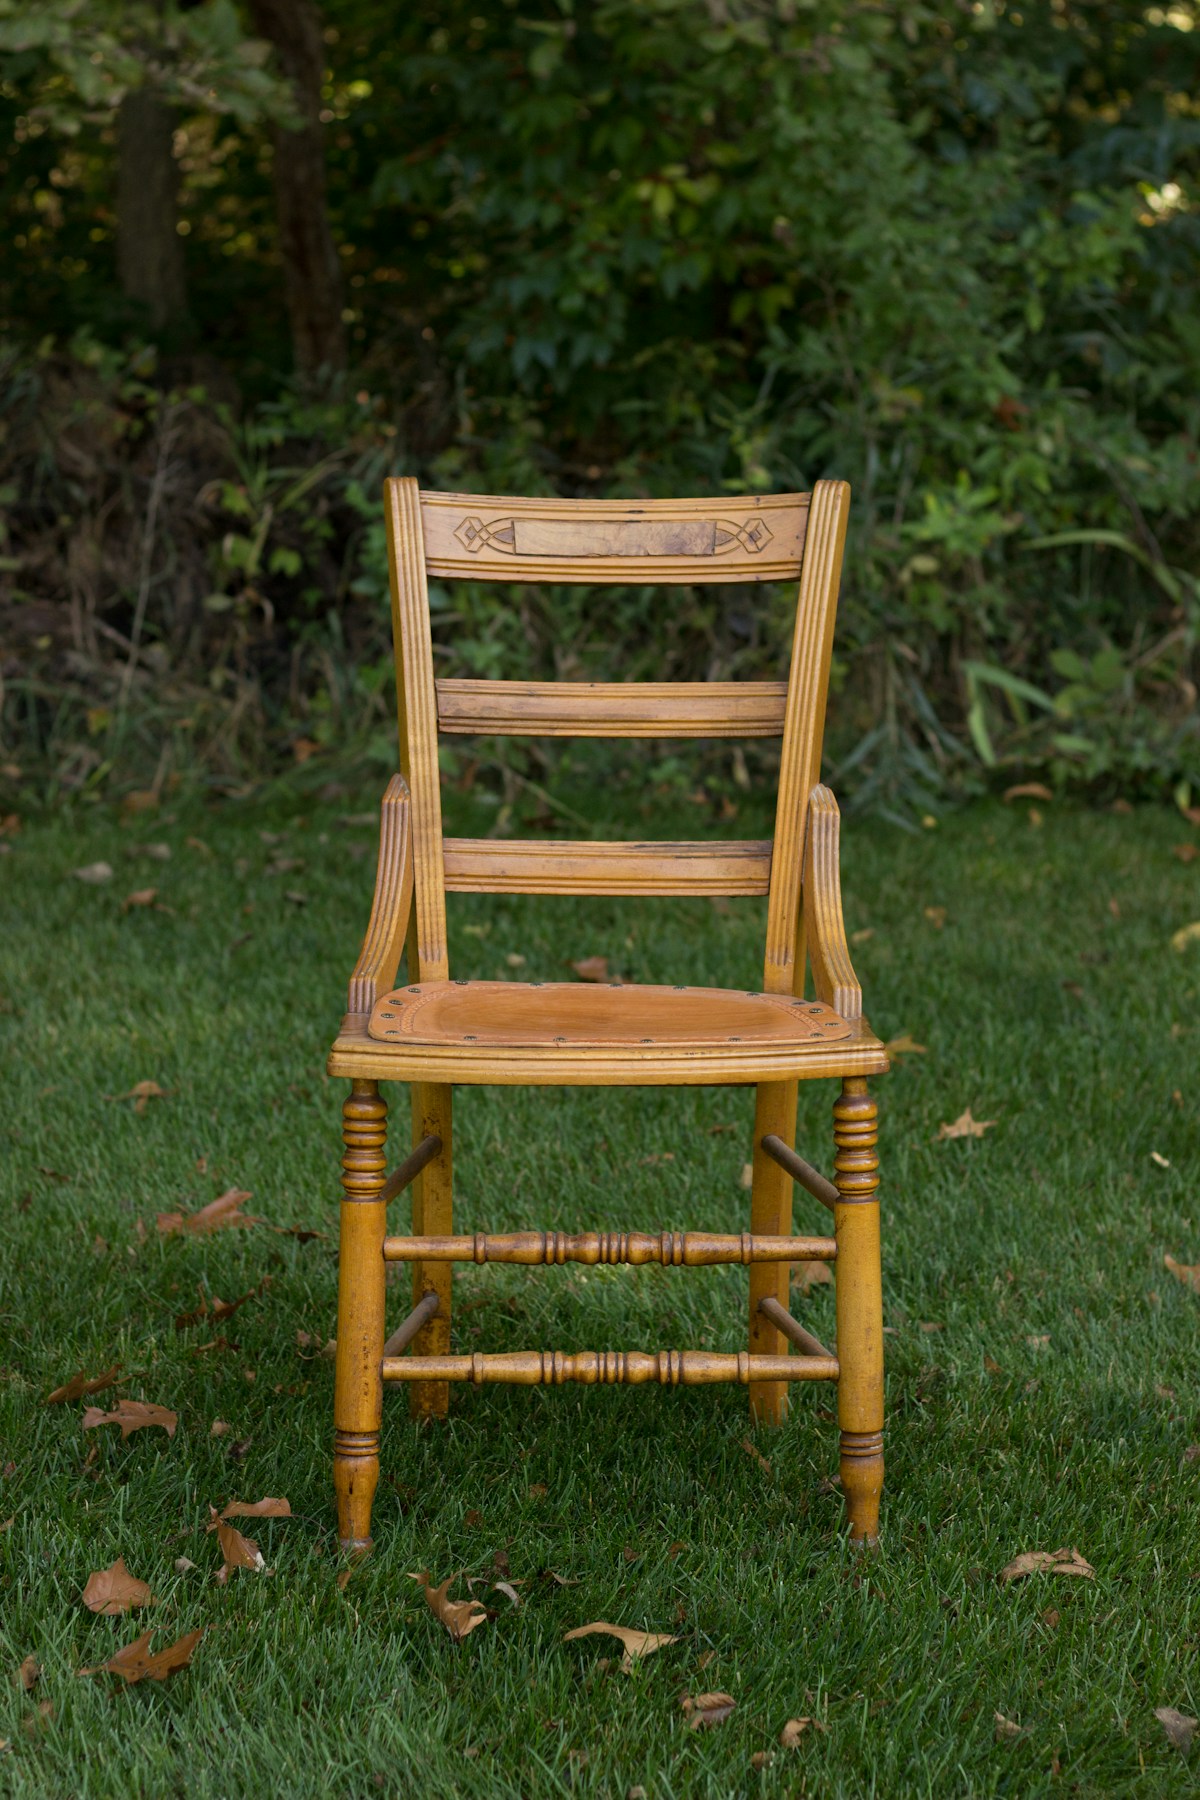
Making and Attaching Legs
Cut your legs to height. Straight legs are simplest, but tapered or turned legs give the table personality. Sand the edges smooth — nobody wants splinters. Attach the legs to the tabletop with brackets or heavy-duty screws, and make sure they’re evenly spaced. An off-center leg is obvious to anyone who sits at the table.
Supports Make or Break Stability
A table without proper supports is just a disaster waiting to happen. Cut your cross-supports to fit snug between the legs and tabletop, and screw them in tight. Pre-drill your holes so you don’t split the wood. Diagonal braces add even more rigidity — I put them on every table I build now after one too many wobble complaints.
Sanding and Finishing — The Part Nobody Wants to Do
I get it. You’ve been building for hours and you want to see the finished product. But rushing the sanding and finish is how good projects become mediocre ones. Sand the whole table, starting coarse and going fine. Wipe everything down with a tack cloth.
Then pick your finish. Stain brings out the wood grain beautifully. Paint gives you color options. Varnish protects like nothing else. Apply thin coats and let each one dry completely. Sand lightly between coats with 320-grit. Three coats is my minimum for any table that’s going to see daily use.
Tips I Wish Someone Had Told Me
- A carpenter’s square is your best friend for keeping things at 90 degrees
- Pre-drill every hole. Every. Single. One. Wood splits when you don’t.
- Use clamps to hold pieces while you assemble — extra hands you don’t have to feed
- Throw in some decorative inlays or carvings if you’re feeling adventurous
- Check for level constantly during the build
Keeping Your Table Looking Good
You put in all this work — don’t let your table fall apart from neglect. Use coasters and placemats. Dust it regularly. If it gets a scratch or ding, fix it right away before it gets worse. In my experience, a quick touch-up every few months keeps a handmade table looking great for years.
Picking the Right Finish (Going Deeper)
The finish does double duty: it protects and it beautifies. Polyurethane lays down a hard shell that takes abuse well — great for family dining tables. Oil finishes soak into the grain and make the wood glow, but you’ll be reapplying every year or so. Water-based finishes dry fast and clean up easy, though you might need an extra coat or two.
Here’s what I always tell people: test on scrap wood first. Every species takes finish differently. What looks amazing on pine might look terrible on cherry.
Working With Reclaimed Wood
I love building with reclaimed lumber. The character you get from old barn boards or salvaged planks is something you just can’t buy new. But check carefully for hidden nails and staples — they’ll wreck a saw blade. Make sure the wood’s been treated and is free of pests.
Reclaimed wood is rarely uniform, and that’s part of the charm. Plan for extra sanding and some creative problem-solving. The results are worth the extra effort, and you’re keeping good wood out of a landfill.
Stepping Up Your Joinery Game
If you want a table that’ll become a family heirloom, learn mortise and tenon joints. Or dovetails. These take more time and skill, and you’ll probably need a chisel set and maybe a router. But the strength you get from a well-cut mortise and tenon blows screws out of the water.
Practice on scrap pieces. I butchered my first dozen or so mortise and tenon joints before they started fitting right. That’s normal. Don’t get discouraged.
Building for Different Purposes
A dining table and a coffee table are completely different builds, even though they’re both “tables.” Dining tables need to be sturdy enough for elbows, plates, and the occasional arm-wrestling match. Coffee tables can be lighter and more artistic. Outdoor tables need weather-resistant wood and marine-grade finish, or they’ll rot in a season.
Getting to Know Your Wood
Hardwoods like oak and maple are dense and heavy. They resist dents and scratches but make your arms tired during a long day of cutting. Softwoods like pine and cedar are lighter and easier on your tools but won’t hold up to the same abuse. Match the wood to the job. I wouldn’t build a workbench from pine, but I also wouldn’t burn through expensive maple on a potting bench.
Building Green
If you care about the environment — and most woodworkers I know do — consider where your wood comes from. Reclaimed lumber is the gold standard. FSC-certified wood is a solid second choice. Low-VOC finishes keep nasty chemicals out of your shop air and your home. And buying from local mills means less fuel burned in shipping.
Final Assembly — Almost There
Here’s a tip that’ll save your back: assemble the table where it’s going to live. Moving a fully assembled table through doorways is a special kind of misery. Check every connection, tighten every screw, and give it a good shake test. Stick felt pads on the leg bottoms to protect your floors.
What’s This Going to Cost?
Depends entirely on your material choices. A pine table with basic hardware might run you $50-100 in materials. A hardwood table with quality finish and fancy joinery could easily hit $300-500 or more. Good tools cost money too, but they pay for themselves over multiple projects. I’ve found that spending a bit more upfront on quality lumber and finish saves money in the long run — you won’t be rebuilding in three years.
Mistakes I’ve Made (So You Don’t Have To)
- Rushing measurements — measure twice, mark clearly, then measure once more
- Skipping sandpaper grits — going from 80 straight to 220 leaves visible scratches
- Misaligned legs — use a square and check from multiple angles
- Wrong fasteners — using drywall screws for furniture is a recipe for failure
- Impatience with dry times — glue and finish need time. Go do something else.
Breathing New Life Into Old Furniture
Got a beat-up table or dresser collecting dust? Strip it, sand it, and turn it into something new. I’ve taken an old dresser and turned the top into a gorgeous coffee table. Reinforce weak spots, patch any holes with wood filler, and give it a fresh finish. It’s cheaper than starting from scratch and the results can be stunning.
Weatherproofing for Outdoor Use
Outdoor tables take a beating from rain, sun, and temperature swings. Pressure-treated lumber resists rot, or you can seal untreated wood with a good marine sealant. Reapply every year or two — I put it on my calendar so I don’t forget. Use stainless steel or coated screws so they don’t rust and leave ugly streaks.
Mixing Metal and Wood
Metal legs or brackets can give a table a modern industrial vibe that looks fantastic. Make sure any metal parts are powder-coated or treated to prevent rust. I’ve done a few tables with steel hairpin legs and walnut tops, and they always get compliments. The contrast between warm wood and cool metal just works.
Making It Yours
This is the fun part. Sketch out your ideas, play with different wood combinations, add inlays, carve initials into the underside — whatever makes it personal. I burned my shop logo into the bottom of every table I’ve built for the last ten years. Nobody sees it, but I know it’s there. Those personal touches turn a piece of furniture into something with a story.
Adding Drawers, Shelves, and Extensions
Built-in storage or an extendable leaf can turn a simple table into something really functional. Plan these features before you start cutting — retrofitting drawers is a headache. Use quality drawer slides and solid hardware. I’ve found that even a single shelf underneath a coffee table makes it ten times more useful.
Modern Tools Make Things Easier
If you have access to a CNC machine or laser cutter, you can do things that would take hours by hand in minutes. Design software lets you visualize the finished table before you cut a single board. I still do most of my work with hand tools and a table saw, but I won’t pretend technology hasn’t made some tasks way faster.
Learn From Other Woodworkers
I’ve picked up more tricks from other woodworkers than from any book. Online forums, local woodworking clubs, community college classes — all great resources. Don’t be afraid to ask questions or share your failures. Everyone started somewhere, and most experienced woodworkers love helping newcomers.
Shop Safety — Don’t Skip This
Goggles, hearing protection, dust mask. Every time. Keep your shop clean and your cords organized so you’re not tripping over things. Check your blade guards and safety features regularly. I’ve been doing this for fifteen years and I still follow every safety rule like it’s my first day. Fingers don’t grow back.
Managing Your Time
Break the project into steps and don’t try to do it all in one weekend. Rushing leads to mistakes, and mistakes lead to wasted wood and frustration. Give yourself extra time for drying between glue-ups and finish coats. In my experience, a table build takes about twice as long as you think it will the first time around.
Jigs Save Your Sanity
A good jig holds your workpiece steady and guides your cuts for repeatable accuracy. You can buy fancy ones or make your own from scrap wood in about ten minutes. I’ve got a whole wall of shop-made jigs and I use them constantly. They make the difference between “close enough” and “perfect fit.”
Storing and Maintaining Your Finished Table
If you built an outdoor table, store it inside or under a quality cover during winter. Check for loose joints or finish wear every few months. A quick repair now prevents a big repair later. Treat your handmade table right and it’ll outlast anything from a furniture store.
Exploring Different Table Styles
Farmhouse, mid-century modern, live edge, trestle, pedestal — each style calls for different techniques and materials. Look at what fits your space and skill level. I started with basic farmhouse tables because the design is forgiving, and I’ve worked my way up to more complicated builds over the years. Pick a style you love and go for it.


Stay in the loop
Get the latest wood working workshop updates delivered to your inbox.