
Raised Panel Doors: Construction Methods and What Actually Works
Raised panel construction has been the signature look of quality cabinetry for centuries, and understanding how it’s built makes the difference between work that looks right and work that just looks close. I’ve made dozens of raised panel cabinet doors over the years, and the technique took some time to click. Here’s what I know about doing it properly.
What a Raised Panel Actually Is
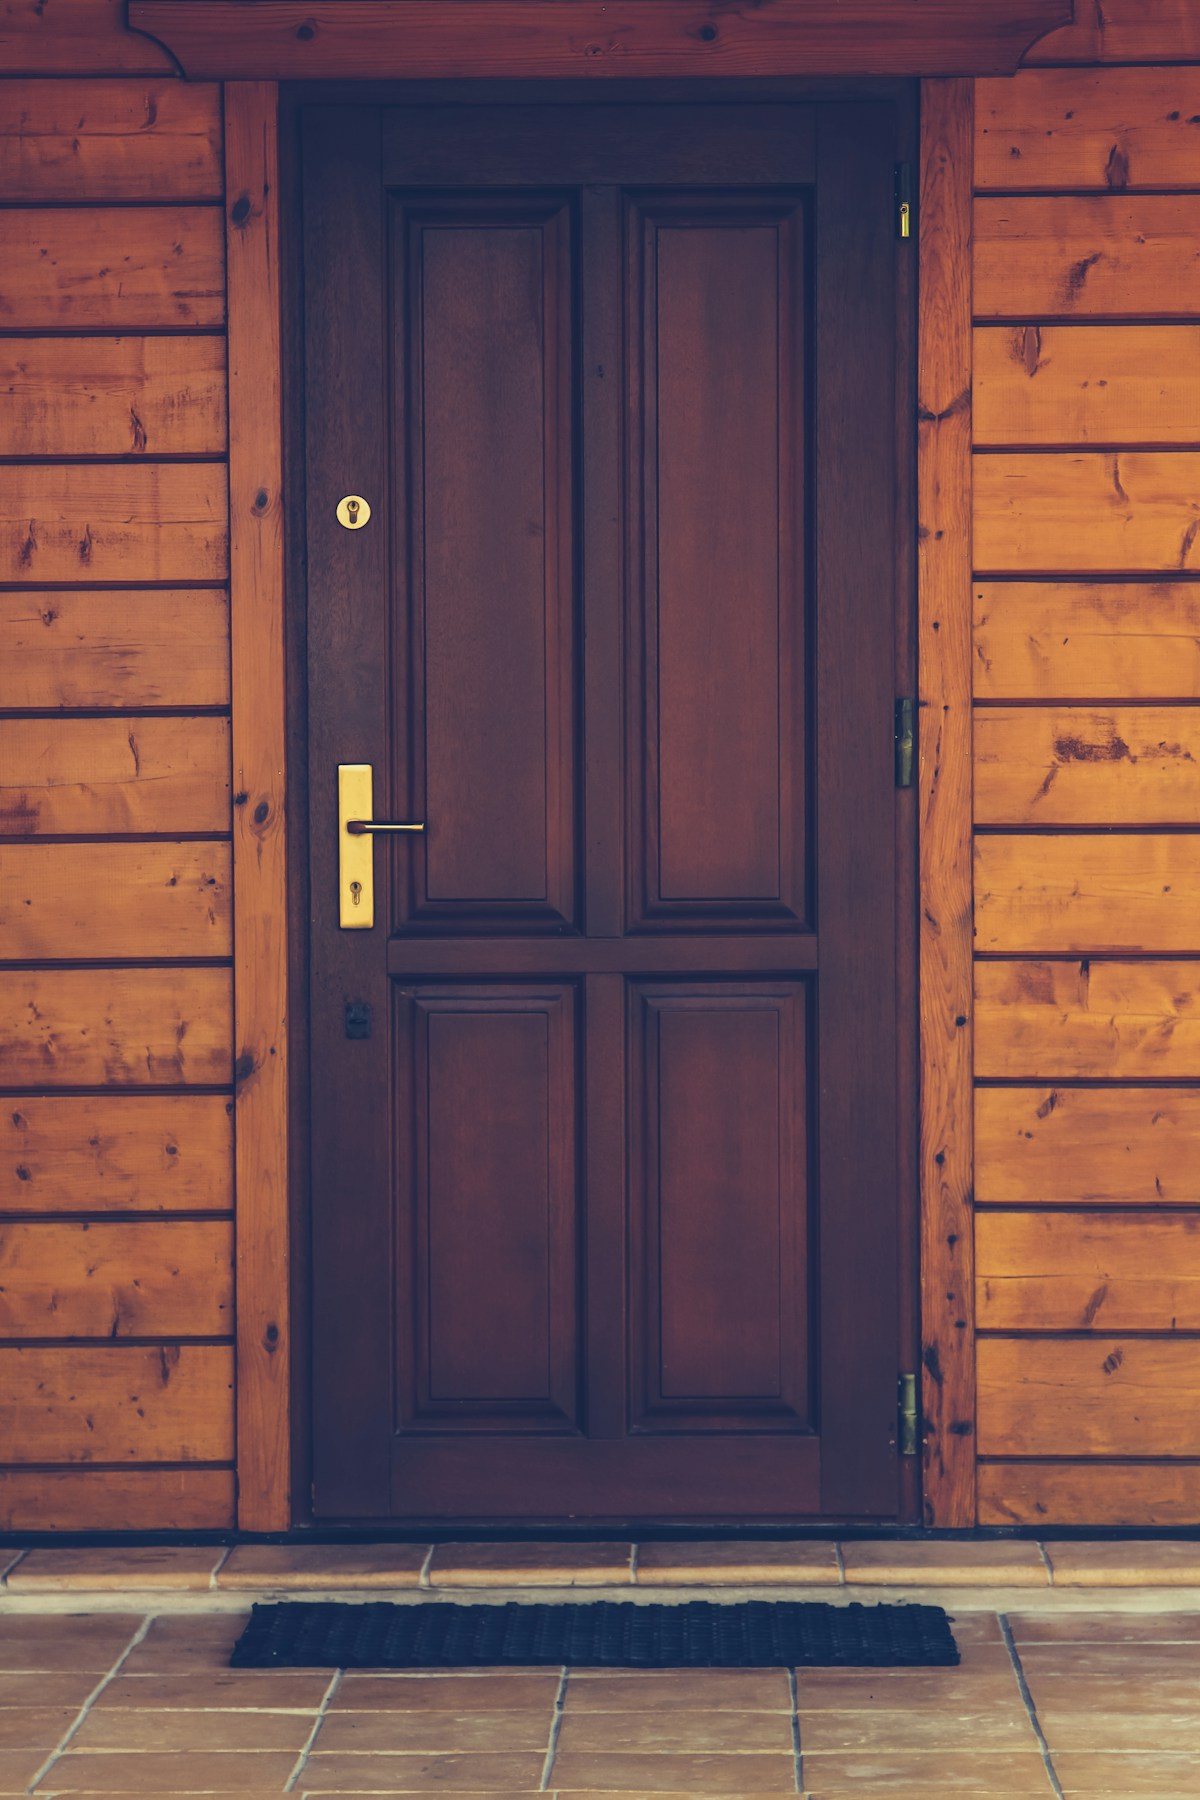
But what is a raised panel, exactly? In short, it’s a wood panel with a profiled, beveled, or shaped perimeter that creates a raised center field — the panel floats inside grooves cut into the surrounding door frame. But it’s a lot more nuanced than that simple description suggests.
The frame — rails (horizontal) and stiles (vertical) — is joined using mortise and tenon or cope-and-stick router joinery. The panel slides into grooves running the inside edge of the frame before final assembly. Critically, the panel is not glued into the frame — it floats freely to allow for seasonal wood movement. This float is what prevents the panel from splitting the frame when humidity changes cause the wood to expand and contract.
The Construction Process
Good lumber selection matters from the start. Consistent grain and figure keep the finished door looking intentional rather than random. For painted cabinetry, paint-grade poplar or soft maple is efficient and takes finish well. For stain-grade work, cherry, walnut, hard maple, or oak are the standard choices — each has its own character under finish.
The panel is cut to rough size, leaving enough extra to handle the shaping. The perimeter profile is cut using a raised panel router bit on a router table, or a shaper for production work. The profile depth determines how pronounced the raised center appears — too shallow and the panel looks flat; too deep and the profile looks aggressive. Test cuts on scrap until you have the depth dialed in before committing to your panel stock.

After shaping, the panel edges are sized to fit the frame grooves with a specific gap — typically 1/8″ to 3/16″ per side — to allow for wood movement without the panel bottoming out and blowing the joints. This is the part beginners most often get wrong. Took me one door with a split stile to learn that solid wood panels need that gap taken seriously.
Style Options
The profile choice communicates a design language, and matching it to the room’s character matters:
- Classic/Traditional: A simple bevel around the panel edge — clean, timeless, works in almost any setting.
- Cathedral: A symmetrical arch profile, common in kitchen cabinetry with a traditional or country aesthetic.
- Shaker: Technically a flat center panel with simple edge detailing — minimal, contemporary, extremely popular right now.
- Ogee: More elaborate curved profiles for formal settings where the detailing is part of the room’s character.
The profile choice affects both aesthetics and the perceived craftsmanship level of the piece. Simple profiles are easier to execute well; complex profiles require more precise router table setup.
Applications in Cabinetry and Interior Work
Kitchen cabinets are the most common application, and raised panels are still the dominant look in traditional and transitional kitchen designs. They read as more elaborate than flat slab doors, adding visual weight and detail that makes a kitchen feel more built-in and considered.
Interior doors with raised panels break up the flat surface and add architectural depth to a room. The same construction principle applies — frame with floating panel — though door panels are typically larger and the floating gap needs to account for more seasonal movement than a small cabinet door.
Maintenance
Routine dusting and occasional polishing keep raised panels looking good. The main thing to avoid is excessive moisture — swelling from humidity that traps a panel can split a stile if the wood movement gap is too tight. In kitchens, wipe down cabinet door faces after cooking to prevent steam and grease buildup in the profile crevices.
DIY Considerations
For woodworkers ready to tackle raised panels, start with a cope-and-stick router bit set designed to work together. These paired bit sets cut the frame joinery and the panel groove in one setup on the router table, which is much more approachable than traditional mortise and tenon construction. Practice on scrap until the fits are right before cutting your actual panel stock.
Plan your design with precise measurements and a clear diagram before cutting. The frame members need accurate lengths for the door to come out square. Cut your rails slightly long and sneak up on the final length at the router table rather than cutting everything to final dimension at the saw.
What It Adds to a Home
Raised panel cabinetry reads as quality to people who look at a kitchen or interior space. Whether that translates to appraisal value is harder to quantify, but the design language of raised panels communicates craftsmanship in a way that flat fronts don’t. Their timeless quality means they don’t date themselves the way some contemporary styles do — a well-executed raised panel kitchen from thirty years ago still looks right today.
Raised panels represent one of woodworking’s most enduring techniques precisely because they solve a real problem — wood movement — elegantly while adding genuine visual interest. The combination of structural sense and aesthetic appeal is why they’ve stayed in the woodworking vocabulary for centuries.


Stay in the loop
Get the latest wood working workshop updates delivered to your inbox.