Chip Carving Basics for Beginners
Chip carving has gotten a dedicated following in the woodworking community, and I understand why — it’s one of the few disciplines where you can produce genuinely beautiful work with minimal equipment. As someone who picked it up after years of power tool woodworking, I found the learning curve steep at first but deeply satisfying once things clicked. Here’s what I know about getting started.
What Chip Carving Actually Is
But what is chip carving, exactly? In short, it’s a technique for creating decorative designs by removing small chips from a flat wood surface using specialized knives. But it’s a lot more nuanced than that description suggests.
The designs are almost entirely geometric — rosettes, stars, curved triangles, diamond grids — built up from repeating cut patterns. The result, when executed well, looks almost impossibly precise for something made entirely by hand with a knife. The visual effect comes from the angled surfaces catching light differently, turning a flat board into something with real depth and shadow.
Where This Craft Came From
Frustrated by the limitations of simple surface decoration, craftsmen across cultures independently developed chip carving using knives and chisels over centuries. The technique appears in medieval European work, Scandinavian folk art, Russian decorative traditions, and Chinese craft. Each culture developed its own characteristic motifs, but the underlying technique — controlled removal of small triangular chips — remained consistent across all of them. The craft was largely carried by individual craftspeople until writers and teachers like Wayne Barton brought it to a wider American audience in the late twentieth century.
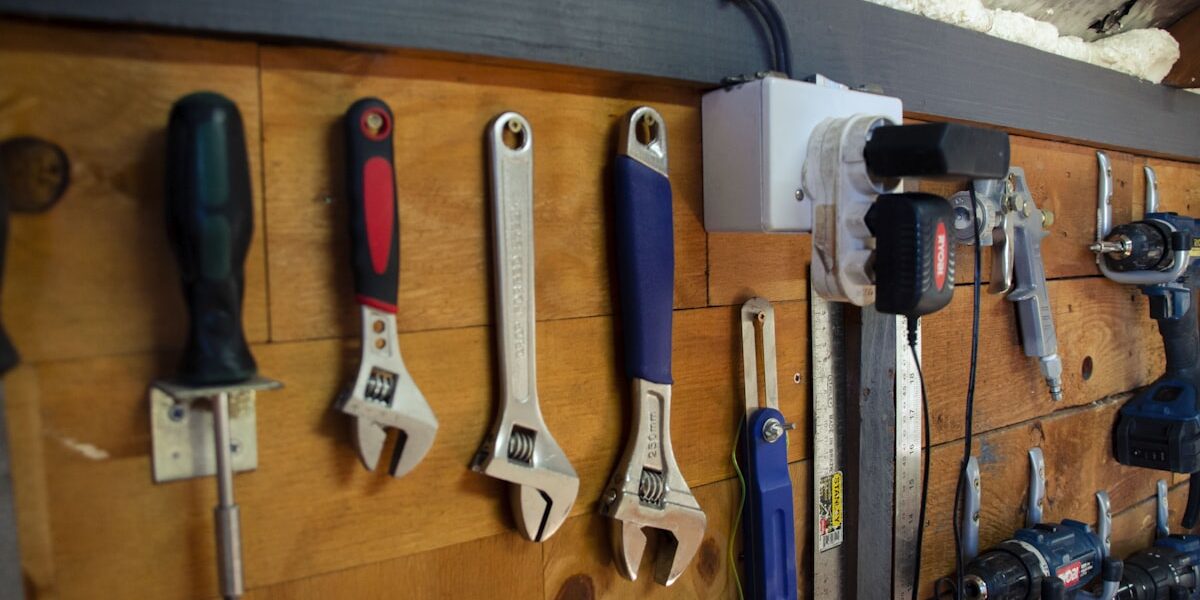
Tools and Materials
The good news about chip carving is that the tool investment is minimal. You need:
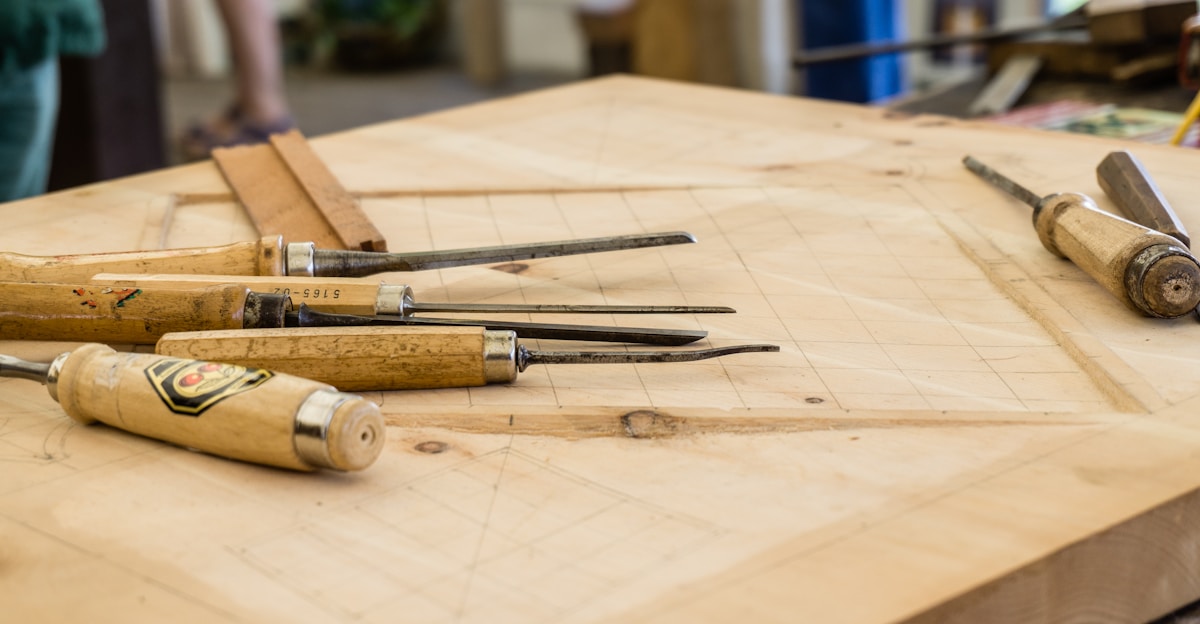
Specialized chip carving knives with short blades are the primary tool. The blade geometry is designed for precise triangular cuts — different from general-purpose knives. The steel must hold a sharp edge and be thin enough to produce clean entry points. A honing stone and leather strop are necessary companions — dull tools make chip carving miserable, and you’ll sharpen more often than you expect at first.
For wood, basswood is the standard beginner choice because it’s soft, consistent-grained, and forgiving of slightly imperfect technique. Butternut is similar. Pine works but the grain variation creates inconsistent resistance. Birch is excellent once your knife control improves. Hardwoods are possible but significantly harder — I’d recommend building some skill on basswood before attempting maple or cherry.
The Three Cuts You Need to Know
Everything in chip carving comes down to three fundamental cut types:

- Stab Cuts: Vertical cuts entering the wood at roughly 65 degrees. These define the boundaries of each chip and establish where the chip will release.
- Notch Cuts: The cuts that actually remove the chip between stab cuts. The wood pops free when these cuts meet the stab cut boundaries correctly.
- Straight Cuts: Longer outline cuts that define pattern edges and remove larger sections in some designs.
Consistent angles on stab cuts are everything. The chips won’t release cleanly if your entry angle varies, and the surface will look uneven. This is where beginners struggle most — and where practice makes the most difference.
Transferring Designs to Wood
Drawing patterns directly on the wood using grid paper as a guide works well for geometric designs where symmetry is the goal. Carbon paper lets you trace a prepared design directly onto the wood surface. Grid paper under tracing paper, then carbon paper to wood — that workflow gives you precise, repeatable layout.
The Carving Process
Start by securing the wood so it won’t move — a bench hook or simple clamp setup works. Choose a design, transfer it carefully, then begin with stab cuts along the design lines. Follow with notch cuts to release the chips. Work systematically through the pattern.
Lighting matters more than most beginner guides mention. Raking light from the side makes the relief pop as you work and shows you immediately whether cuts are clean and consistent. A good light source is worth setting up before you start. Take your time — rushing chip carving ruins work that slow precision would have saved. If a chip pulls out too aggressively, that area can sometimes be worked around by adjusting the surrounding design.
Finishing the Surface
After carving, light sanding with fine-grit paper removes fuzz from the cut edges without softening the relief. Apply a finish based on the piece’s intended use: oils like linseed or tung oil penetrate the wood and highlight grain beautifully; varnishes provide durable protection; waxes give a soft sheen and are easy to reapply. For decorative pieces, oil or wax is my preference — they show off the carving rather than filling it with a thick film.
Keeping Your Knives Sharp
Dull blades are the number one enemy in chip carving. A sharp knife cuts cleanly at the correct angle; a dull knife drags, requires more pressure, and produces torn rather than sliced surfaces. Hone regularly on a stone, then strop on leather with honing compound to refine the edge. Clean off wood residue after every session. Store knives protected from contact with other tools — a roll or dedicated box keeps the edges intact.
Common Beginner Mistakes
Forcing cuts with too much pressure splits wood and produces rough chip removal. Let the sharp knife do the work at the correct angle. Inconsistent stab cut angles create an uneven, choppy surface — this is usually what betrays beginner work. Design transfer struggles early on are normal — practice drawing and tracing geometric patterns on paper before committing to wood.
Projects to Start With
Small decorative plates, simple boxes with a single panel design, and flat wall plaques are good starting points. They’re forgiving in scale and let you focus on cutting technique without the complexity of a large multi-panel piece. Carved spoons and bowls are possible but involve curved surfaces that add a layer of difficulty — worth working toward once your flat-surface technique is solid.
Getting Better Over Time
There’s no shortcut past practice. Start with simple geometric patterns and add complexity as your knife control develops. Joining a carving group provides feedback you can’t get from solo practice — someone watching you work can identify angle problems or grip issues that are hard to diagnose yourself. Books by Wayne Barton remain the standard reference for American chip carving. Studying work by accomplished carvers gives you targets to aim for.
What the Craft Gives Back
Chip carving is a genuinely meditative practice — the repetition of precise cuts in sequence has a rhythm that’s absorbing in a way that power tool work isn’t. The fine motor development carries over to other hand tool work. And finishing a piece that required real skill and patience is satisfying in a way that faster work rarely matches.
The Modern Community
The chip carving community is active and generous with knowledge. Online forums and social media groups connect carvers worldwide, sharing designs and technique tips. Local woodcarving clubs host workshops and informal meetups. Wayne Barton’s contributions to popularizing the craft in America are widely acknowledged; Barry McKenzie and Lora S. Irish have contributed substantially to carving literature. Despite competition from laser engraving for geometric decorative work, hand chip carving maintains a dedicated following among people who value the difference between a carved and a machine-cut surface.
Getting Started
A quality chip carving knife, a piece of basswood, and a simple geometric pattern to trace are everything you need to start. Invest in a decent knife rather than the cheapest option available — the quality of the steel determines how long an edge holds, and edge retention matters more in chip carving than in almost any other woodworking application. Start simple, sharpen often, and be patient with the early work. The learning curve is real, but it’s shorter than it feels in the first few sessions.


Stay in the loop
Get the latest wood working workshop updates delivered to your inbox.