Finishing Your First Project: Easy Options That Work
Finishing intimidates many beginners more than any other aspect of woodworking. The variety of products, application methods, and potential problems seems overwhelming. But several forgiving finishes produce excellent results with minimal experience.
What Finish Does
Wood finish serves two purposes: protection and appearance. Protection guards against moisture, dirt, wear, and UV damage. Appearance enhancement brings out grain, adds depth, and creates the desired sheen level.
Different finishes balance these properties differently. Some prioritize protection; others emphasize beauty. Matching finish to project use ensures appropriate performance.
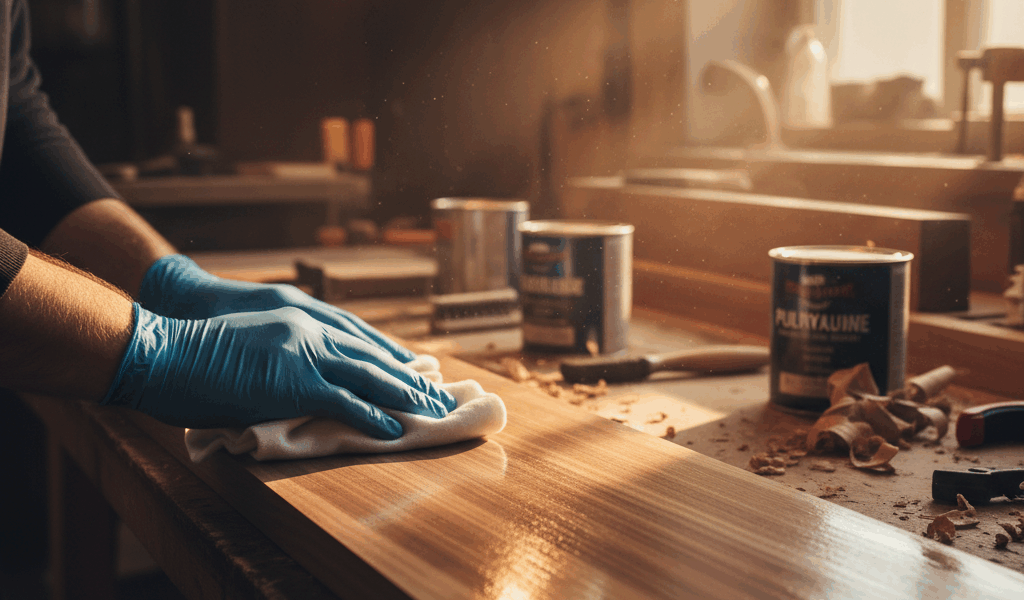
Wipe-On Polyurethane: The Beginner’s Friend
Wipe-on poly combines the durability of polyurethane with foolproof application. The thinned formula prevents runs, drips, and brush marks that plague beginners using standard poly. Simply wipe on, let dry, and repeat.
Recommended Products
Minwax Wipe-On Poly and General Finishes Arm-R-Seal are widely available and consistently perform well. Both come in satin, semi-gloss, and gloss sheens. Satin works best for most furniture projects—it hides minor imperfections while still showing wood grain beautifully.
Application Method
Apply thin coats with a folded cotton rag or foam pad. Old t-shirts work perfectly. Work with the grain, covering the entire surface evenly. Don’t try to build heavy coats—thin coats dry faster and look better.
Allow each coat to dry completely—typically 2-4 hours depending on humidity and temperature. Light sanding with 320 grit between coats removes dust nibs and promotes adhesion. Wipe off sanding dust with a tack cloth before applying the next coat.
Three to five coats produces adequate protection for most projects. More coats build more protection and sheen depth. The thin coats add up gradually to a durable film.
Troubleshooting Wipe-On Poly
Streaky appearance: You’re applying too thick. Wipe more product off the rag before application. Thin, even coats eliminate streaking.
Dust nibs: Work in a dust-free area. Wait for dust to settle after sanding before applying finish. Light sanding between coats removes nibs that do appear.
Tacky surface: Allow more drying time between coats. High humidity extends drying time significantly. Consider a dehumidifier in damp conditions.
Danish Oil: Natural Appearance
Danish oil combines oil penetration with resin protection. The oil soaks into wood fibers while surface resins provide moisture resistance. The result looks more natural than film finishes while offering reasonable protection.
Recommended Products
Watco Danish Oil is the classic choice, available in natural and various stain colors. Tried & True Danish Oil offers a more traditional, all-natural formulation. Both work excellently on furniture and smaller projects.
Application Method
Flood the surface liberally with oil. Let it soak in for 15-30 minutes, reapplying to dry areas. Then wipe off all excess, leaving no wet spots. This is critical—any oil left on the surface becomes sticky and attracts dust.
Allow 24 hours between coats. Two to three coats provides good protection for interior furniture. Lightly buff between coats with 0000 steel wool or a brown paper bag for smoother feel.
Troubleshooting Danish Oil
Sticky surface: You left excess oil on the surface. Wipe vigorously with a clean rag. If still sticky after drying, apply more oil to soften, then wipe completely dry.
Blotchy appearance: Some woods (pine, cherry, maple) absorb oil unevenly. Apply a pre-stain wood conditioner before oiling, or switch to a film finish.
Shellac: Traditional and Versatile
Shellac has protected wood for centuries. It dries quickly, builds depth beautifully, and works under or over most other finishes. Pre-mixed shellac in cans makes application accessible for beginners.
Recommended Products
Zinsser Bulls Eye shellac comes in clear, amber, and other tints. The amber tone flatters most woods with a warm glow. For lighter woods where you want to preserve natural color, choose clear or “blonde” shellac.
Application Method
Apply thin coats with a brush, pad, or spray. Work quickly—shellac dries fast. Don’t overwork areas that have started to set. Each coat dries in about an hour, allowing multiple coats per day.
Light sanding with 320 grit between coats removes any roughness. Build four to six thin coats for furniture-grade protection. The final coat can be rubbed with 0000 steel wool and paste wax for a traditional, hand-rubbed appearance.
Troubleshooting Shellac
Brush marks: Work faster and don’t go back over areas that have started to dry. Shellac’s fast drying is an advantage but requires quick, confident strokes.
White rings: Shellac is not water-resistant. Use coasters and wipe up spills immediately. For surfaces exposed to water, apply a topcoat of polyurethane over the shellac.
Tung Oil: The Patient Choice
Pure tung oil penetrates deeply and hardens in the wood. It’s more water-resistant than most oils and produces a beautiful satin sheen. Application requires patience but produces outstanding results.
Recommended Products
Look for “100% pure tung oil”—many products labeled “tung oil finish” contain mostly varnish. Real Milk Paint Pure Tung Oil and Woodcraft’s pure tung oil are reliable choices.
Application Method
Thin the first coat 50% with mineral spirits for maximum penetration. Apply generously, let soak 20-30 minutes, wipe off excess. Allow 2-3 days between coats—pure tung oil cures slowly.
Build five to seven coats over several weeks. Each coat penetrates less deeply, eventually building a surface film. The slow process rewards patience with deep, glowing protection that lasts for decades.
Troubleshooting Tung Oil
Surface won’t dry: You applied too heavily or didn’t wipe off excess. Sand lightly and apply thin coats, wiping completely.
Wrinkled finish: Coats were applied before previous coats cured. Wait longer between applications.
Choosing Your Finish
| Need | Best Choice |
|---|---|
| Maximum protection | Wipe-on polyurethane |
| Natural appearance | Danish oil or tung oil |
| Fastest results | Shellac (multiple coats per day) |
| Easiest application | Wipe-on poly or Danish oil |
| Food-safe projects | Pure tung oil or mineral oil |
| Outdoor use | Spar urethane (not covered here) |
Surface Preparation
All finishes perform better on properly prepared surfaces. Sand to 220 grit minimum, 320 for oil finishes. Remove all dust with a tack cloth or damp rag before applying any finish.
Raise the grain on projects that will receive water-based finish: wipe with a damp cloth, let dry, sand smooth with 320 grit. This prevents grain-raising during finishing.
Environment Matters
Finish in a clean, dust-free space. Temperature between 60-80°F works best for most products. Avoid very humid conditions—high moisture extends drying times and can cause problems with film formation.
Good ventilation protects your health and helps finishes cure properly. Work near an open window or use a fan to move air through the space.
Test First
Always test finishes on scrap before committing to your project. This reveals color, sheen, and application characteristics. The few minutes spent testing prevents hours of regret when finish doesn’t perform as expected.
Keep test pieces for reference. When the finish needs refreshing years later, you’ll know exactly what product and method produced the original result.
Your First Finish
Start with wipe-on polyurethane. It’s forgiving, durable, and widely available. Apply three thin coats with light sanding between. The result will protect your project beautifully while teaching finishing fundamentals that apply to all products.
With experience, you’ll develop preferences for different finishes on different projects. That variety makes woodworking endlessly interesting. But for now, keep it simple, follow the instructions, and enjoy completing your first finished project.


Stay in the loop
Get the latest wood working workshop updates delivered to your inbox.