I started making my own picture frames about ten years ago after getting quoted $85 to frame a simple 8×10 photo at a shop. Eighty-five dollars. For four pieces of wood and a piece of glass. I walked out, drove to the lumberyard, and had a frame built before dinner. It wasn’t perfect — the miters were a little gappy and I forgot to buy a mat board — but it looked good, cost me about $12, and I’ve been making frames ever since.
Picture frames are one of the best beginner woodworking projects. Small, quick, and you end up with something you can actually hang on the wall. Let me walk you through how I do it.
Gather Your Stuff
You don’t need much. Here’s the list:

- Wood for the frame — I like walnut, cherry, or even just nice poplar
- Glass or acrylic sheet for the front
- Mat board if you want that professional gallery look
- Small nails, brad nails, or frame staples
- Wood glue
- Paint or stain (optional — sometimes bare wood is the right call)
- Measuring tape
- Miter saw — this is the one tool that really matters here
- Sandpaper (220 grit is fine for frames)
- Clamps or a band clamp designed for frames
- Small hammer or brad nailer
Measure First, Then Measure Again
Measure your photo or artwork. If you’re using a mat board, add the mat width to each side. Mark your wood and cut at 45-degree miters. This is where most people mess up, so let me be blunt: your miters need to be accurate. A half-degree off and you’ll have visible gaps at the corners.
If your miter saw isn’t dialed in perfectly, test on scrap first. Cut two pieces, hold them together at 90 degrees, and see if the joint is tight. Adjust until it is. Five minutes of setup saves an hour of frustration.
Sand the cut edges smooth. This helps the glue bond and makes the joints fit tighter.
Putting It Together
Lay out your four pieces on a flat surface and dry-fit them into the frame shape. Everything look square? Good. Now apply a thin bead of wood glue to each miter joint and clamp them together.

A band clamp is ideal for picture frames — it wraps around all four corners and pulls everything tight evenly. If you don’t have one, use blue tape to hold the joints while the glue sets. I’ve made plenty of frames with nothing but glue and painter’s tape.
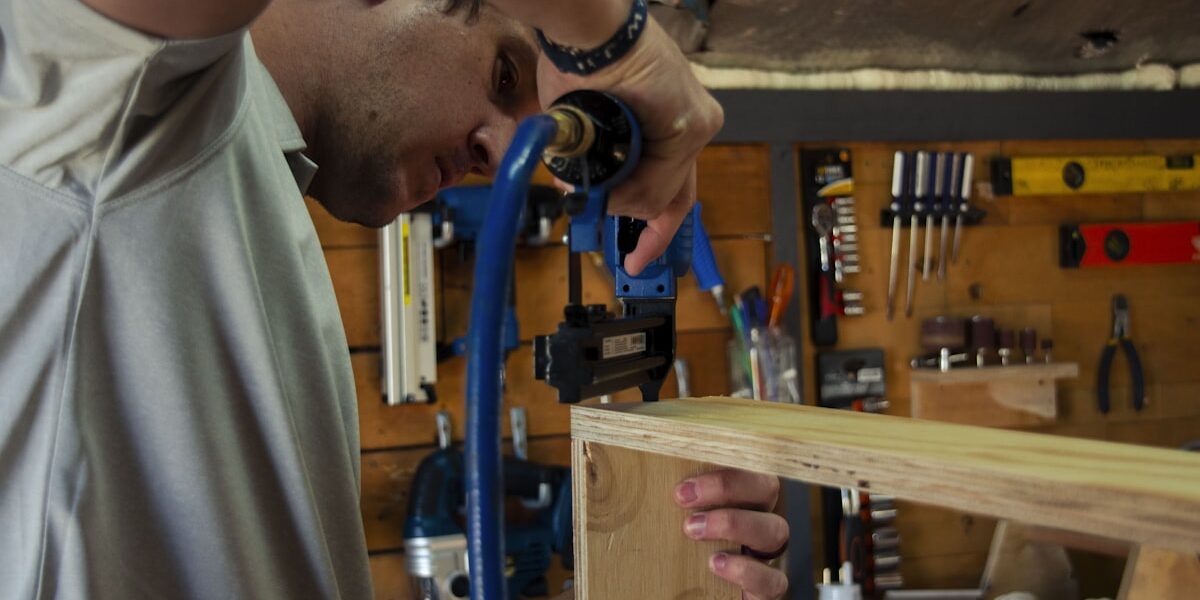
Once the glue is dry, reinforce the corners with brad nails from the back side. One nail per corner is enough for small frames. Larger frames might need two. Don’t nail from the front unless you want visible holes to fill.
Finish It Your Way
You’ve got options:
Stain brings out the wood grain and gives you color control. Dark walnut stain on poplar makes it look like expensive wood. Natural stain on cherry just enhances what’s already beautiful. Paint gives you any color you want and works great for kids’ rooms or matching a specific decor.
Or skip the finish entirely. I’ve made frames from figured maple that looked amazing with just a coat of paste wax. Let the wood speak for itself when it’s good enough.
If you’re painting, hit it with a coat of primer first. The paint will stick better and look smoother. For stain, apply with a rag, wipe off the excess, and let it dry fully before handling.
Glass, Mat, and Assembly
Cut your glass or acrylic to fit inside the frame rabbet (the little shelf on the back of the frame molding). Be precise — glass that’s too big won’t fit, and glass that’s too small will rattle. I prefer acrylic for anything going in a kid’s room because it won’t shatter.
Cut the mat board if you’re using one. A mat adds a border between the frame and the artwork that makes everything look more polished. Use an acid-free mat if you’re framing anything valuable — regular cardboard will yellow and damage paper over time.
Stack it up: glass first, then mat, then artwork, then backing board. Secure the backing with small nails, glazier’s points, or frame clips. Make sure everything sits flat and nothing shifts around.
Hang It Up
Sawtooth hangers are the easiest for small frames — just nail one into the top center of the backing. For larger or heavier frames, use D-ring hangers on each side with picture wire strung between them. Use a wire rated for the frame’s weight. I’ve had frames crash off walls because someone used flimsy wire, and it’s not a fun surprise at 3 AM.
Give It a Once-Over
Before you hang it, check everything. Corners tight? Glass clean? No fingerprints? Frame feels solid? Shake it gently — nothing should rattle or feel loose. Clean the glass one last time with a lint-free cloth.
Why Bother Making Your Own?
Money, mainly. Custom framing is expensive — like, surprisingly expensive. A basic frame job at a shop can easily run $50-150 depending on size and materials. I make frames from scrap wood for next to nothing, and they look better than the mass-produced ones at big box stores.
There’s also the satisfaction factor. In my experience, people always notice a handmade frame. There’s a warmth to real wood that you don’t get from a $10 plastic frame off Amazon. And when someone asks “where’d you get that frame?” and you say “I made it,” that never gets old.
Things I Learned the Hard Way
Double-check your measurements. I’ve wasted more frame stock from bad math than I care to admit. Use a miter saw guide or stop block for repeatable cuts. Cheap wood shows in a frame — spend a few extra bucks on decent stock. And don’t rush the glue-up. Clamped miters hold forever. Rushed miters fall apart in a year.
Quick Tips
Practice miters on scrap before cutting your good wood. Work in a ventilated area when using stain or paint. Consider adding corner braces on the back of larger frames for extra rigidity. Use clamps during every glue-up — holding pieces by hand while glue dries is a recipe for crooked joints.
Go Green With It
Reclaimed wood makes incredible frames. Weathered barn board, old fence pickets, pallet wood — they all bring character you can’t buy new. I’ve made frames from a hundred-year-old barn beam that had more personality than anything in a frame shop. Reusing glass from other projects keeps it out of the landfill too.
You can knock one out in an afternoon and have something on the wall by evening. Start simple, learn your miters, and you’ll be framing everything in sight before long.


Stay in the loop
Get the latest wood working workshop updates delivered to your inbox.