How to Carve Letters into Wood
How to Carve Letters into Wood
Carving letters into wood has gotten a lot of attention lately with all the farmhouse sign and personalized gift trends flying around. I’ve been hand-carving letters for about eight years now — started with a simple house sign, got hooked, and now it’s one of my favorite ways to spend a few hours in the shop. Once it clicked, the technique became almost meditative. Here’s what I know.
Gathering Materials
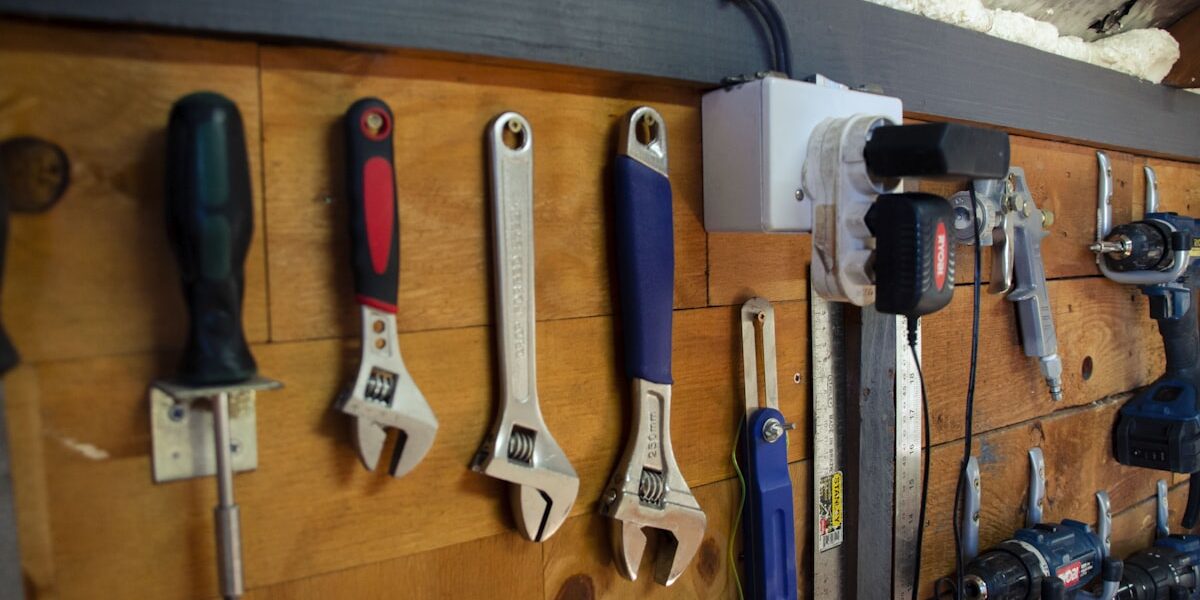
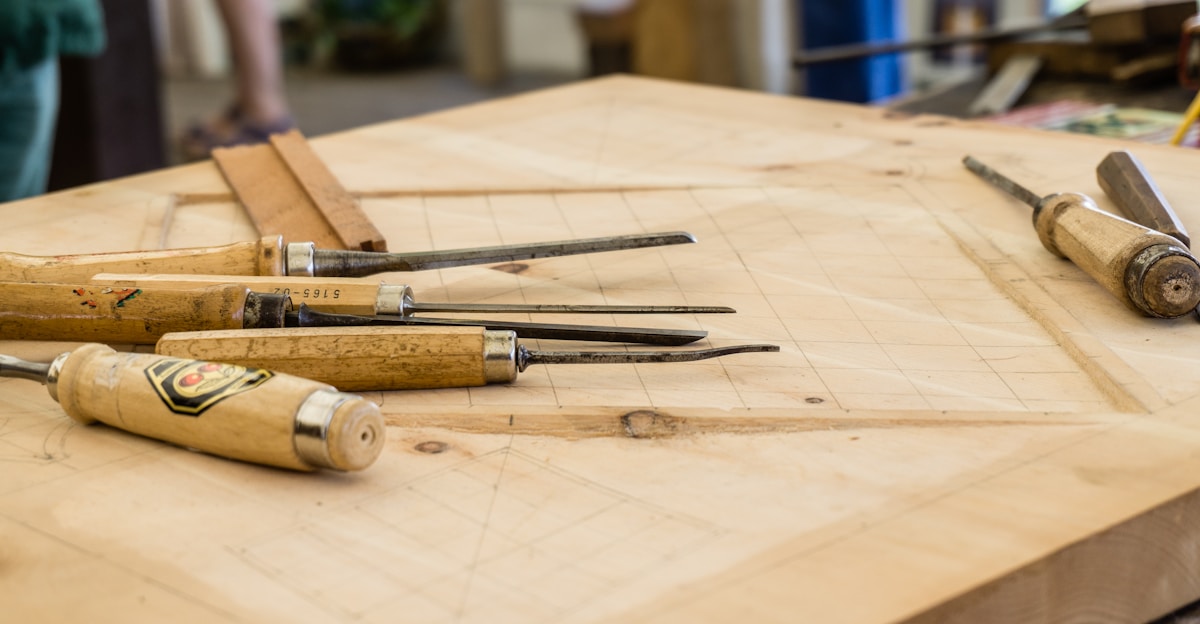
Start with a wooden board. Pine, cedar, or basswood are good choices for beginners — they’re soft and easy to carve without fighting the grain. I used basswood almost exclusively for my first couple of years. Also get a set of sharp carving tools. Beginners can start with a basic set that includes a chisel, V-gouge, and U-gouge.
You’ll also need a pencil and ruler to mark out your letters, and masking tape for creating straight layout guides. Safety gear is non-negotiable — safety glasses and a carving glove on the hand holding the workpiece. Took me one close call to commit to the glove permanently.
Choosing and Preparing Your Design
Decide on the font and size of your letters before you touch any wood. Simpler fonts like Arial or Helvetica are easier for beginners — they have clean, consistent strokes without the tricky serifs. Print your design or draw it directly onto the wood. For precise transfer, use carbon paper between the printout and the wood surface and trace over the lines.
With a ruler and pencil, draw guidelines to keep your letters even and straight. Mark out borders if you want to contain the text within a certain area. Masking tape applied alongside your layout lines gives you a crisp edge to work up to.

Setting Up Your Workspace
Find a stable work surface. A workbench or sturdy table is ideal. Good lighting is crucial — natural light is best, but a bright desk lamp aimed at a low angle helps you see the shadows in your cuts, which tells you a lot about depth and consistency. Clamp your workpiece down securely. The moment your wood shifts while you’re making a cut is the moment something goes wrong.
Starting the Carving
Begin with the outline of each letter using the V-gouge. Hold the gouge at about a 45-degree angle, press gently into the wood, and follow the pencil lines. Work slowly — you can always go deeper, but you can’t put wood back. Go over each line two or three times to gradually deepen the cut rather than trying to hit your final depth in one pass.
It sounds obvious until you forget it once. After outlining, remove the excess wood from the interior of the letters using the U-gouge for broader cuts. Take your time and work in thin passes.
Finishing Techniques
Once the main shapes are carved, refine the details with smaller chisels for fine adjustments. Smooth any rough edges with fine-grit sandpaper, but go lightly — aggressive sanding can blur crisp edges you worked hard to achieve.
Consider staining or painting your wood piece to add contrast and make the letters pop. A dark stain wiped into carved letters against a lighter background creates a really clean look. Apply a sealant to protect the wood and preserve your work for years.
Essential Tips
- Always carve in a well-lit area — shadows show you depth, which is your best guide.
- Keep your tools sharp. Dull tools are harder to control and more dangerous than sharp ones.
- Practice on scrap wood before working on your main piece. Always.
- Work slowly and methodically, especially when you’re new to carving.
- Take breaks to avoid hand fatigue — tired hands lose precision fast.
Common Mistakes and How to Avoid Them
The biggest mistake beginners make is carving too deeply too quickly. Start with shallow cuts and gradually deepen them. This approach gives better control and a lot fewer ruined boards. Another mistake is neglecting tool maintenance — I touch up my edges on a strop after every session, and it makes a noticeable difference in how the tools move through the wood.
Rushing the preparation stage is another pitfall. Spend adequate time planning and laying out your design. Proper guidelines and secure clamping make a significant difference in your final result. And ignoring safety leads to injuries — always wear your gear and carve away from your body.
Advanced Techniques
Once you’re comfortable with the basics, try different gouges and chisels to create various effects. Experiment with different fonts and sizes. My shop buddy swears by a Dremel with a carving bit for the really detailed work, but I’ve never gotten the hang of controlling it as precisely as hand tools.
Add textures and shading by varying carving depth — letters with a slightly convex face catch light differently than flat-bottomed cuts and look more dynamic. Hardwood like oak or walnut rewards the extra effort with more durable, intricate results.
Historical Context
Frustrated by the limitations of painted signage, craftsmen started carving letters into wood using basic chisels and gouges long before power tools existed. The technique caught on across centuries and evolved into the varied methods sign-makers and woodworkers rely on today. In medieval Europe, wood carving flourished in religious art and architectural details — and the fundamental skills haven’t changed much since.
Learning to carve letters connects you to that tradition. Modern tools have made it more accessible, but the patience and control required are still entirely human.

Stay in the loop
Get the latest wood working workshop updates delivered to your inbox.