Today, I will share it all with you.
I remember the first mortise joint I ever cut. It was for a small side table, and honestly, it was terrible. Loose, sloppy, and I had to pack it with glue and sawdust just to make it hold. But that ugly little joint taught me something important: there’s no shortcut to understanding this technique. You just have to do it, mess it up, and do it again until it clicks.
The Basics — Mortise Meets Tenon
A mortise is basically a rectangular hole cut into a piece of wood. The tenon is the matching tongue-shaped projection on the end of another piece that slides into that hole. When they fit together properly, you get a joint that resists twisting, pulling, and racking forces in ways that screws and nails just can’t match. There’s a reason this joint has been around for literally thousands of years — the Egyptians and Chinese were using it long before anyone had power tools. It works.
Types of Mortise Joints I Actually Use
There are several variations, and which one you pick depends on what you’re building and how visible the joint will be.
- Through Mortise: The tenon goes all the way through and shows on the other side. I love these on workbenches and rustic furniture. There’s something satisfying about seeing a well-fitted through tenon flush with the surface. In timber framing, this is the standard — those barn joints you see in old post-and-beam structures are almost all through mortises.
- Blind Mortise: The mortise stops partway through, so you don’t see the tenon from the outside. This is what I use for most furniture work. Dining tables, cabinet frames, anything where a clean look matters. It takes a little more care to get the depth right, but the result is worth it.
- Stub Mortise: A shallower version of the blind mortise. Quicker to cut but not as strong. I’ll use these for lightweight frames or decorative pieces where the joint isn’t carrying much weight.
- Wedged Mortise: After the tenon is inserted, you drive small wedges alongside it (or into kerfs cut in the tenon) to lock everything tight. My grandfather used to do this on all his gate posts. Those gates outlasted the fence by twenty years.
- Haunched Mortise: The tenon has a step cut into it that prevents the joint from twisting. Standard for door and window frames. Every time I build a frame-and-panel door, I use a haunch. It’s one of those details that separates a door that stays flat from one that warps over time.
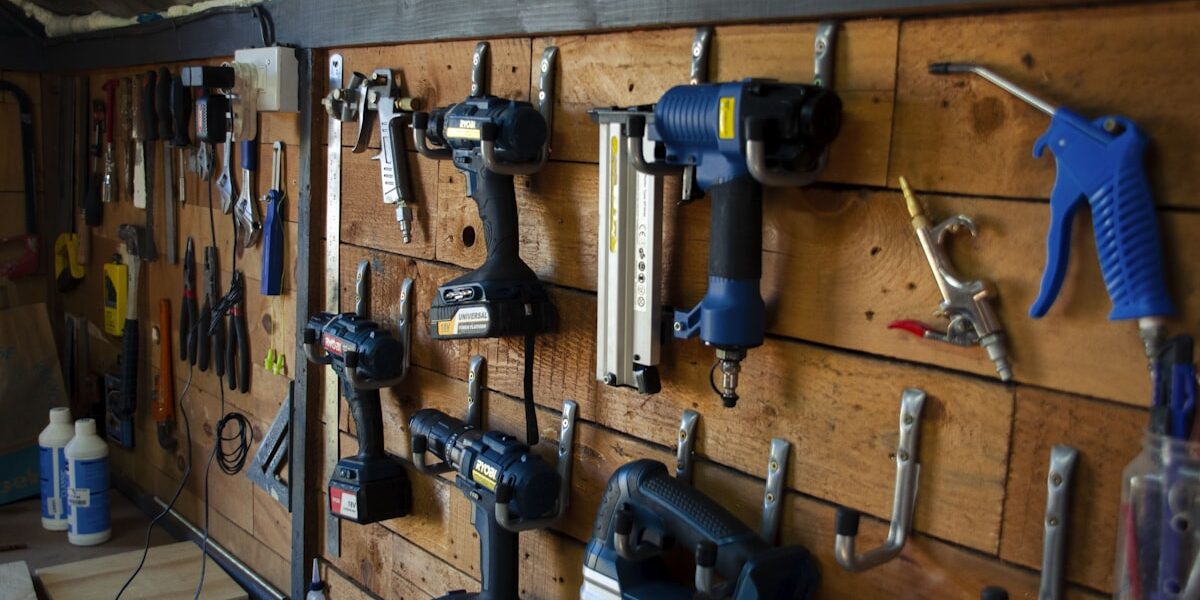
Tools for Cutting Mortise Joints
You can go traditional or modern with your approach — both work fine, and most of us end up somewhere in between.
On the hand tool side, you need a good set of mortise chisels. Not bench chisels — actual mortise chisels. They’re thicker and can handle the prying action of levering out waste material. I’ve got a set of vintage Marples that I’ll never part with. A marking gauge is essential for layout. Don’t eyeball your lines. Just don’t. A mallet rounds out the basics — something heavy enough to drive the chisel without destroying your wrist.
For power tools, a dedicated mortising machine is the gold standard. Hollow chisel mortiser, specifically. It drills and squares the hole in one shot. If you don’t want a standalone machine, a router with a mortising jig works great. I use mine for longer mortises where the hollow chisel would need too many plunges. The table saw or band saw handles tenon cutting on the power tool side.

My Process — Step by Step
After cutting a few hundred of these joints, I’ve settled into a process that works reliably. Here’s what I do.
- Layout first, always: I mark the mortise dimensions on both pieces with a marking gauge and a sharp pencil. I mark everything — width, depth, and position. If I’m doing multiple identical joints (like four legs for a table), I gang the pieces together and mark them all at once to keep things consistent.
- Cut the mortise: I rough out most of the waste with either a drill press or my mortising machine, depending on the size. Then I clean up the walls and corners with a mortise chisel. Pare carefully — you want flat walls and square corners. Rush this step and you’ll hate yourself during assembly.
- Cut the tenon: I usually cut tenons on the table saw with a dado blade, or by hand with a rip saw and a crosscut saw. The fit should be snug but not forced. You should be able to push it in with moderate hand pressure. If you need a mallet to get it in, it’s too tight and something’s going to split eventually.
- Dry fit everything: Before any glue touches the wood, I assemble the whole thing dry. Check for square. Check for gaps. Check that your clamps reach. I’ve learned the hard way that discovering a problem mid-glue-up is not a fun experience.
- Glue and clamp: I spread glue on the mortise walls and the tenon cheeks. Slide it together, clamp firmly, and check for square one more time. Then walk away and let it cure. Don’t fiddle with it.
Where I Use Mortise Joints
Tables and chairs get mortise and tenon joints at every leg-to-rail connection in my shop. Nothing else gives you the same combination of strength and clean appearance. I built a cherry dining table eight years ago that gets used every single day, and the joints are still rock solid. No squeaks, no wobbles.
Cabinet face frames, door frames, window sashes — all prime candidates. In timber framing, the mortise joint is the backbone of the entire structure. I helped a buddy raise a small timber-frame workshop a few years back, and every single connection was mortise and tenon, mostly through-tenons with pegs. That building isn’t going anywhere.
Japanese joinery takes the mortise concept to a whole other level — interlocking joints with no glue or fasteners at all. I’ve tried a few of those designs and they’re humbling. Beautiful work when you pull it off.
How the Joint Has Evolved
The basic design hasn’t changed much in a few thousand years, which tells you something about how good it is. What has changed is how we cut them. CNC machines can now produce mortise and tenon joints with ridiculous precision, hundreds at a time. A CNC router can cut a joint that would take me thirty minutes by hand in about ninety seconds.
I don’t think that makes hand-cutting obsolete, though. There’s a skill and a satisfaction in crafting these joints by hand that machines can’t replicate. And for one-off custom pieces, setting up a CNC program takes longer than just cutting the joint at the bench.
Why This Joint Is Worth Learning
Strength is the obvious reason. A well-cut mortise and tenon joint can handle lateral forces, shear forces, and racking better than almost any other joint type. That’s why it shows up in structural applications where failure isn’t an option.
But I think the real value is in the craftsmanship. When you hand-cut a mortise and tenon that fits perfectly on the first try — no gaps, no force, just that satisfying click as the tenon slides home — there’s nothing quite like it. It’s the kind of skill that separates someone who builds things from someone who assembles things. And it’s worth every frustrating practice joint it takes to get there.
The Hard Parts (And How to Push Through)
I won’t sugarcoat it: getting good at mortise joints takes time. Your first dozen will probably be mediocre. The measurements have to be precise. A sloppy mortise or a tenon that’s a thirty-second of an inch too thin means a weak joint. Beginning woodworkers often struggle with getting that piston-fit where the tenon slides in smoothly but doesn’t wobble.
Time is a factor too. Cutting these by hand is slow, especially at first. But here’s what I tell my students: every joint you cut makes the next one faster. After a few projects, you’ll find your rhythm. The measurements become intuitive, the chisel work gets cleaner, and what used to take an hour starts taking fifteen minutes. Stick with it. The payoff is worth every frustrating practice piece.
Recommended Woodworking Tools
HURRICANE 4-Piece Wood Chisel Set – $13.99
CR-V steel beveled edge blades for precision carving.
GREBSTK 4-Piece Wood Chisel Set – $13.98
Sharp bevel edge bench chisels for woodworking.
As an Amazon Associate, we earn from qualifying purchases.


Stay in the loop
Get the latest wood working workshop updates delivered to your inbox.