Woodshop Layout
Woodshop layout has gotten more written about it than almost any other shop topic, and most of the advice is either too generic or assumes unlimited space. I’ve set up three different shops over the years — a one-car garage, a two-car garage with shared space, and my current dedicated shop — and each taught me something different. Here is what I know about designing a layout that actually works for real woodworking.
Milling Area
The milling machines — table saw, jointer, and thickness planer — should be positioned centrally and close to each other. These tools work sequentially in the lumber preparation process: rough stock off the truck goes through the planer, jointer, and table saw in a logical progression. Keep them close for seamless transitions and ensure adequate outfeed space around each machine for handling long boards safely. The table saw alone needs 8 feet of outfeed clearance for standard 8-foot boards, more for longer material.

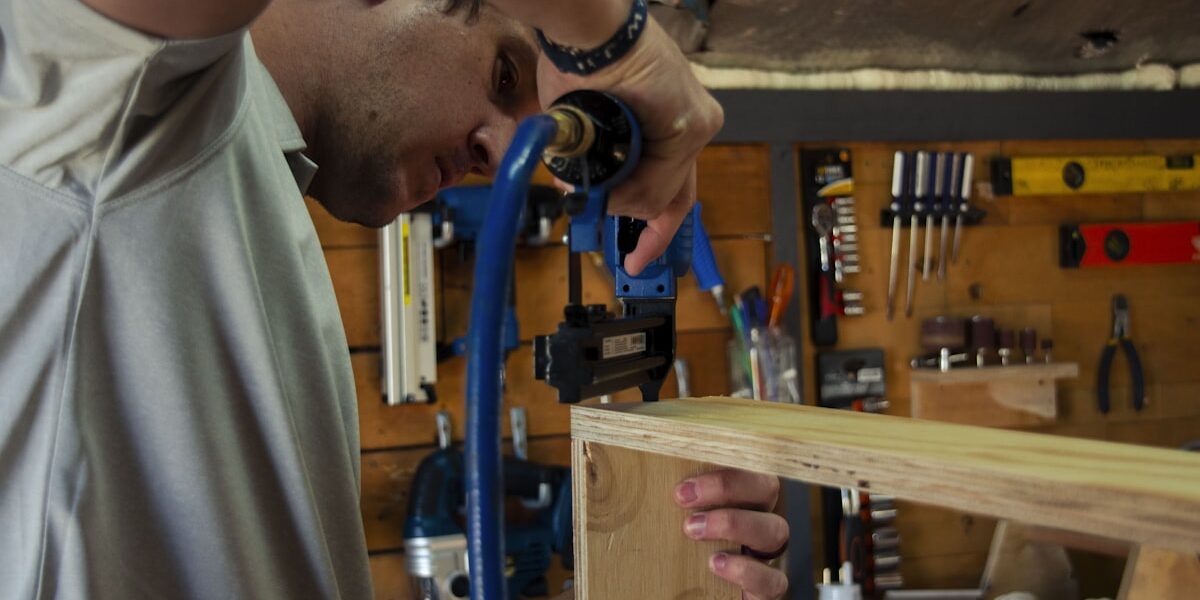
Workbenches and Tool Storage
Workbenches should be sturdy, at a comfortable working height, and positioned along walls to keep floor space open. If space allows, having separate benches for assembly and detailed hand-tool work improves workflow — assembly benches take more abuse and need different characteristics than the bench where you do fine joinery. Tool storage directly above or beside the bench puts hand tools within arm’s reach without cluttering the work surface. Pegboards are the most space-efficient option for frequently used hand tools; cabinet storage below the bench keeps less-used items organized and accessible without taking wall space.
Dust Collection
Dust collection is one of those shop requirements that beginners underestimate and experienced woodworkers prioritize. Position the dust collector where it can serve the milling area machines with short runs of ductwork — every foot of duct and every elbow reduces suction. Larger shops benefit from permanent ductwork runs to each machine; smaller shops can work with a portable collector on a hose that moves between tools. Keep dust collector filters clean — a clogged filter drops suction dramatically and sends fine dust back into the shop air.
Electrical Outlets
Incorporate outlets throughout the shop at machine locations and above the workbench. Long extension cords running across the floor are tripping hazards and fire risks from overloading. Dedicated 240V circuits for the table saw, jointer, and planer are not optional — these machines draw too much current for standard 15-amp 120V circuits. Have an electrician plan this before the shop is built rather than retrofitting later. Installing properly planned electrical from the start is one of the highest-value investments in a new shop.

Lighting
Good lighting transforms a shop from functional to genuinely pleasant to work in. LED shop lights provide bright, even overhead illumination at low energy cost. Task lights over the workbench and specific machines illuminate the critical work areas that overhead lighting doesn’t reach well. The miter saw station, workbench, and finishing area all benefit from dedicated task lighting. Poor lighting creates eye strain, makes fine work harder, and misses surface defects that show up under raking light.
Material Storage
Organized material storage prevents the clutter that makes small shops feel impossibly tight. Vertical lumber racks against one wall store boards on edge, keeping grain visible and minimizing floor space. Horizontal racks work for heavy or wide material that can’t stand vertically. Separate storage areas for hardwoods, plywood sheets, and project scraps prevents the hunting-through-everything-to-find-anything problem that plagues disorganized shops. Sheet goods particularly benefit from vertical storage — a full sheet of 3/4 plywood is 75 pounds and awkward to move from a horizontal stack.
Assembly Area
The assembly area needs floor space more than any other area of the shop. Glue-ups for furniture require laying out all parts, applying glue, and clamping in the time before the glue begins to set — that process demands open space with room to move around the work. A low, flat assembly table that can accept bar clamps from all sides is the right setup. Clamps and glue should be immediately accessible from the assembly area, not across the shop. Nothing is more frustrating than a spreading glue-up with clamps at the other end of the room.
Finishing Area
Finishing requires dust-free conditions, good ventilation, and isolation from the rest of the shop. Dust from sanding or the milling area settling onto fresh finish is the main enemy. A separate room is ideal; in a single-room shop, a plastic curtain divider works for painting and spraying but requires the rest of the shop to be swept and settled before finishing begins. Good ventilation is not optional when using solvent-based finishes — both for fume management and fire safety.
Workflow Optimization
Frustrated by constantly walking across the shop to get to the next operation, I rearranged my layout to group tools in the sequence they’re typically used. The difference in daily workflow was immediately noticeable. A few decades of shop design have proven the principle: tools used in sequence should be close to each other, and materials should move in a logical flow through the shop rather than crossing back and forth.
Space Utilization
Small shops require creative use of every available dimension. Walls hold tool cabinets, French cleat systems, and lumber racks. The area above head height stores rarely-used items. Mobile machinery — rollers, portable machines, rolling storage — lets you reconfigure for oversized projects and then restore the normal layout when they’re done. A shop that can adapt to different project sizes is worth the investment in wheels and mobility hardware.
Safety Considerations
Clear pathways between machines are not a nice-to-have — they prevent accidents when carrying long stock through a crowded space. Fire extinguishers mounted visibly near the exit and near any finishing operation. A first aid kit within reach of the milling area. Clean floors, addressed immediately when sawdust accumulates to the point of becoming slippery. These are not dramatic safety measures; they are the routine practices that prevent the majority of shop accidents.
Ergonomics
Ergonomics in the shop pays back over years of use. Workbench height set at the right level for your primary type of work — a hand-planing height and an assembly height are genuinely different. Anti-fatigue mats in front of the workbench and lathe where you stand for long periods. Tools with ergonomic handles reduce cumulative strain that doesn’t feel significant session to session but adds up over years of work.
Climate Control
Humidity control matters more to the wood than to the woodworker. Wood moves with humidity — stock that was flat when ripped becomes cupped after a weekend in a damp shop. A consistent humidity level (40-50% relative humidity is ideal for most species) keeps wood stable and predictable. Temperature matters for the woodworker’s comfort and for finishing work — most finishes don’t apply or cure well below 55 degrees Fahrenheit.
Tool Maintenance Area
A small, dedicated area for tool maintenance — sharpening, adjustment, cleaning — keeps maintenance from competing with production work. Sharp tools are safer and more accurate than dull ones, so building sharpening into the shop routine rather than treating it as a disruption improves both safety and work quality. A small stone and strop setup permanently mounted near the bench encourages sharpening between uses rather than deferring it until the chisel is truly dull.
Multi-purpose Zones
Every square foot of shop floor has to justify itself. An outfeed table that doubles as an assembly surface, a router table that serves as extra bench space when the router isn’t in use, a rolling tool cart that parks against the wall during most work but rolls to wherever the task is — these multi-purpose arrangements extract maximum value from limited space.
Energy Efficiency
LED lighting, efficient dust collection design, and good insulation reduce operating costs meaningfully over years of shop use. A well-insulated shop is also more comfortable to work in year-round, which directly affects how much time you spend in it.
Layout Flexibility
The best shop layout is one that can change when the work changes. Mobile machinery, modular storage, and systems that can be reconfigured rather than permanently fixed allow the shop to evolve without requiring a full reorganization every time you take on a different type of project. The cleat wall system I installed along the main working wall has been rearranged probably a dozen times as my tool collection and typical projects have changed — worth every hour it took to build.


Stay in the loop
Get the latest wood working workshop updates delivered to your inbox.