How to Build an Adirondack Chair: Step-by-Step Plans PDF
How to Build an Adirondack Chair: Step-by-Step Plans PDF
Building an Adirondack chair has gotten popular in woodworking circles for good reason — it’s one of those projects where the effort-to-satisfaction ratio is genuinely excellent. I’ve built several over the years in different wood species and designs, and each one improves on the last. This is a legitimate weekend project that produces a chair you’ll actually use and feel good about having made. Here’s the complete process.
Materials Needed
- Pressure-treated wood or cedar (cedar is my preference for ease of working and natural weather resistance)
- Exterior-rated wood screws, 1-5/8″ and 2-1/2″ for different connections
- Wood glue (exterior-rated)
- Sandpaper (80, 120, 150, and 220 grit)
- Exterior wood stain or paint
- Protective sealant (UV-resistant exterior formula)
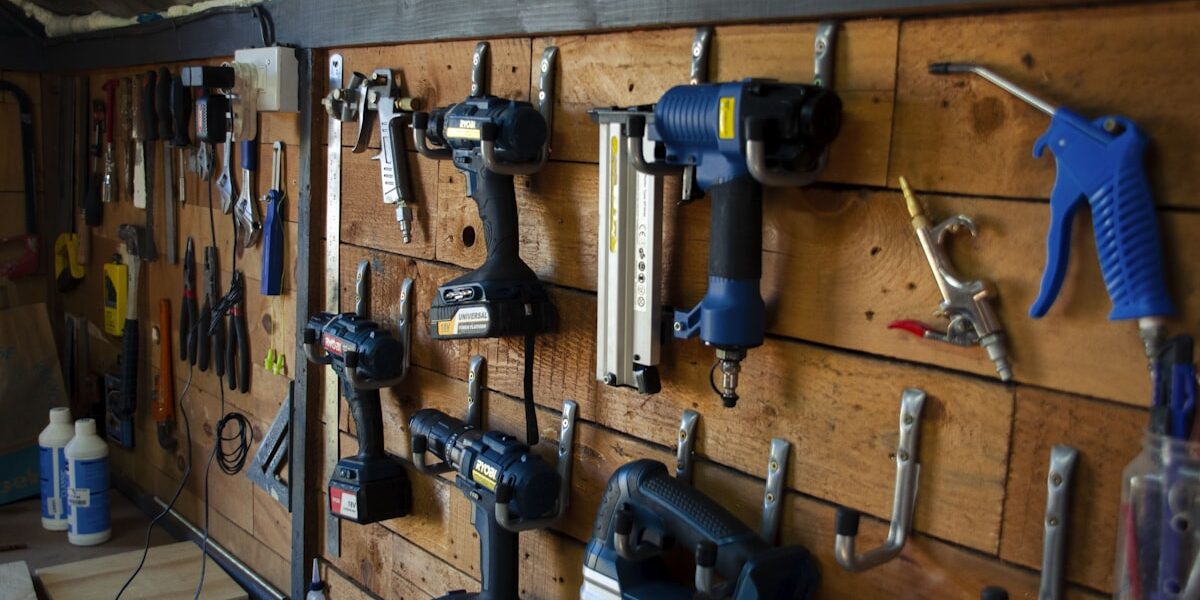
Tools Required
- Circular saw or miter saw
- Jigsaw for the curved cuts on the back slats and top rail
- Drill and bits
- Clamps (at least 4-6)
- Measuring tape
- Carpenter’s square
- Screwdriver or impact driver
- Pencil
Step-by-Step Instructions
Work from accurate plans — the measured drawings make this project significantly easier. All the angles and radii are figured out for you; your job is to execute the cuts accurately and assemble squarely.
Step 1: Cutting the Wood
Cut all pieces to length before starting assembly. This is faster than cutting as you go and lets you lay everything out and verify the cut list against the plans before committing. Sand the edges of each piece after cutting — sharp milled edges splinter during assembly and the finished chair looks better with eased edges throughout.
Step 2: Constructing the Base
Start with the front legs and seat frame. The front legs set the height and width of the seating position, so get these connections square before everything else follows. Pre-drill your screw holes — cedar splits at the ends without pilot holes, and this step takes less time than dealing with splits. Wood glue plus screws gives you a more durable outdoor joint than screws alone.
Step 3: Adding the Seat Slats
Attach the seat slats with even gaps between them — consistent 1/4″ to 3/8″ spacing looks clean and allows drainage after rain. Work from front to back and check alignment on each slat before driving screws. A spacer cut from scrap at your target gap width speeds this up and keeps the spacing consistent throughout.
Step 4: Building the Backrest
The backrest is where most of the Adirondack’s character comes from. Cut the vertical slats and the curved top rail. The curve on the top rail is what you’re laying out on the wide board — bend a thin strip of wood against two reference points and trace it for a fair, consistent curve. Cut the curve with a jigsaw and sand the sawn edge smooth. Assemble the backrest flat on the bench before attaching it to the chair.
Step 5: Attaching the Backrest
The backrest attaches at an angle — typically 5-10 degrees from vertical — which is what makes Adirondack chairs comfortable to sit in for extended periods. Get this angle right from the plans and maintain it during attachment. Long screws through the seat frame into the backrest bottom rail create the main connection.
Step 6: Fixing the Armrests
Armrests on an Adirondack chair sit at a specific height and angle relative to the seat and backrest — the plans will show the geometry. The front end of the armrest sits on top of the front leg; the back end connects to the backrest frame. Both connections need pilot holes and exterior screws. Check that the armrests are level side-to-side before final tightening.
Step 7: Final Adjustments
Go over the whole chair with a critical eye and a screwdriver. Any movement in any joint gets an additional screw. Check that the chair sits level on a flat surface — if it rocks, identify which leg is long and plane or sand the bottom until it doesn’t. Sand any sharp edges or corners that weren’t addressed during the build.
Step 8: Finishing
Apply finish to all surfaces — faces, edges, and backs. Finish the underside of the seat slats, the back of the backrest, the underside of the armrests. Unfinished surfaces let moisture in from behind, which causes the finished faces to buckle and peel. Exterior stain penetrates and protects; paint builds a film surface that’s more work to maintain but protects better in harsh environments. Two coats of whatever you choose.
Tips and Tricks

- Cedar is the right wood for this project. It’s naturally rot-resistant, light enough to move the chair easily, and takes exterior finishes well. Teak is excellent if you have the budget. Pressure-treated works and costs less, but is heavier and harder on tools.
- Reapply sealer or oil annually on cedar and teak chairs left outdoors year-round. The maintenance adds maybe 30 minutes once a year and dramatically extends the chair’s life.
- Build a pair. They’re far more satisfying as a set, and cutting two sets of parts at once isn’t much more work than cutting one. Took me a while to figure this out — my first chair sat alone for two summers before I made its partner.
- Add a matching small side table. It’s half the material and a quarter the complexity of the chair, and makes the set complete.
Common Mistakes to Avoid
- Moving the chair before the glue is fully cured. Let it sit overnight before turning it over or sitting in it — patience pays off in a joint that holds.
- Using interior screws. Exterior-rated screws have corrosion-resistant coatings that indoor screws don’t. The chair will be outside in rain and sun; the fasteners need to hold up to that.
- Skipping sanding. Unsanded cedar gives splinters — a serious problem in an outdoor chair meant for relaxed use. Sand all surfaces the hand might contact to at least 150 grit.
- Misaligned leg cuts. If the four contact points of the legs aren’t in the same plane, the chair rocks. Check your cuts for squareness before assembly, not after.
Choosing the Right Wood for Your Adirondack Chair
Wood selection matters more for outdoor furniture than almost any other woodworking category because the material is constantly cycling between wet and dry, hot and cold. Here’s the practical rundown:
Cedar: The classic choice and the right one for most builders. Western red cedar’s natural extractives resist rot and insect attack without any treatment. It’s lightweight, planes and sands easily, and weathers to an attractive silver-gray if left unfinished. Of all the options, cedar gives you the best combination of workability, durability, and availability.
Teak: The premium choice if cost isn’t the constraint. Teak’s high silica and oil content makes it extraordinarily weather-resistant — the reason teak has been used in boat building for generations. It requires no finish in outdoor use, just a periodic cleaning. The cost is significant, but a teak Adirondack chair properly built will last decades with minimal maintenance.
White oak: More affordable than teak with genuinely good outdoor durability. The tyloses in white oak’s cells close off the pore structure in a way red oak’s don’t, making white oak moisture-resistant where red oak would rot. Takes exterior finishes well. A solid middle-ground choice.
Pressure-treated pine: The budget option that works if you give it time. Modern ACQ-treated pine is more corrosion-friendly than older CCA-treated lumber, but you still need to use compatible fasteners — standard zinc plating corrodes in contact with ACQ. Let it dry for several months before finishing; green PT lumber doesn’t hold paint or stain reliably.
Customizing Your Chair Design
The standard Adirondack geometry is well-proven, but there’s room to adjust it for your comfort and space. Seat angle — typically 25-30 degrees — determines how reclined the sitting position is. More angle is more relaxing; less angle is easier to get up from. If you’re building for someone who has knee or back limitations, reducing the seat angle slightly is worth considering.
Armrest height and width are the other major comfort variables. Wider armrests (5-6″) feel more generous and hold a cup more stably. Narrower armrests (3-4″) suit tighter spaces. The standard height works for most adults, but adjusting it up or down for specific users is straightforward if you’re working from your own plan.
Back slat spacing is largely aesthetic. Tighter spacing — 1/4″ gaps — reads as more formal. Wider spacing — 1/2″ to 3/4″ — reads as more casual and improves airflow on hot days. Either works structurally.
Finishing for Outdoor Durability
Finish choice for outdoor furniture comes down to how much maintenance you’re willing to do and what look you’re after. Leaving cedar or teak unfinished produces a weathered gray patina that’s genuinely attractive and requires only periodic cleaning. For color retention, penetrating exterior oil or stain followed by a UV-protective clear coat needs renewal once a year in sun-exposed locations.
Paint provides the most robust moisture barrier but requires full prep — sanding, priming, painting — when it eventually fails. Plan to repaint every 2-3 years for a chair in direct sun. Whatever you use, apply it to every surface. End grain on the leg bottoms is where moisture enters and rot starts; sealing those cut ends is worth extra attention.


Stay in the loop
Get the latest wood working workshop updates delivered to your inbox.