Today, I will share it all with you.
The quick answer? Yeah, you can absolutely stain over stain. I do it all the time. But there are some things you need to know first, or you’ll end up with a blotchy mess — trust me, I’ve been there.
Understanding How Stains Interact
Here’s what a lot of people don’t realize: when you put new stain over old stain, those colors mix. Your final result depends entirely on how those two stains play together. I once tried going from a dark walnut to a golden oak and, well, that was an education.
Think about the original stain color and the wood species you’re working with. Both of those factors shape what you’ll end up seeing. Generally speaking, going darker over lighter works way better than the reverse. If you’re trying to lighten things up, you’ve got more work ahead of you — but it’s not impossible.

Oil-Based vs. Water-Based: Pick Your Fighter
The type of stain matters a whole lot when you’re layering.
- Oil-Based Stains: These soak deep into the wood fibers. They take longer to dry, sure, but the finish is rich and lasts ages. I reach for oil-based on most of my furniture projects.
- Water-Based Stains: Faster drying, way less fumes (your lungs will thank you), and cleanup is just soap and water. The trade-off is they don’t penetrate quite as deeply.
Oil over oil? Usually no problem at all. Water-based over oil-based? That’s where things get tricky. You really need to prep that surface well — I’m talking thorough cleaning, solid sanding, and making sure the old coat is fully cured. I learned that lesson the hard way on a cherry side table that ended up looking like a leopard.
Prepping the Surface (Don’t Skip This)
I cannot stress this enough: prep work makes or breaks the whole project. I know it’s boring. I know you want to jump straight to the fun part. But skipping prep is how you end up stripping the whole piece down and starting over.
Start by cleaning the wood with some mild detergent. Get rid of all the dirt, old wax, whatever is sitting on the surface. Wipe it down with a damp cloth and then — this is important — let it dry completely. I usually give it overnight.

Next comes sanding. Grab some 150-grit sandpaper and go with the grain — always with the grain. You’re not trying to remove every bit of the old stain. You just want to scuff up that top layer so the new stain has something to grab onto. After the 150-grit, follow up with 220-grit to smooth things out.
Once you’re done sanding, get all that dust off. A tack cloth works great, or use a vacuum with a brush attachment. Any dust left behind is going to show up under the new stain, and it won’t be pretty.
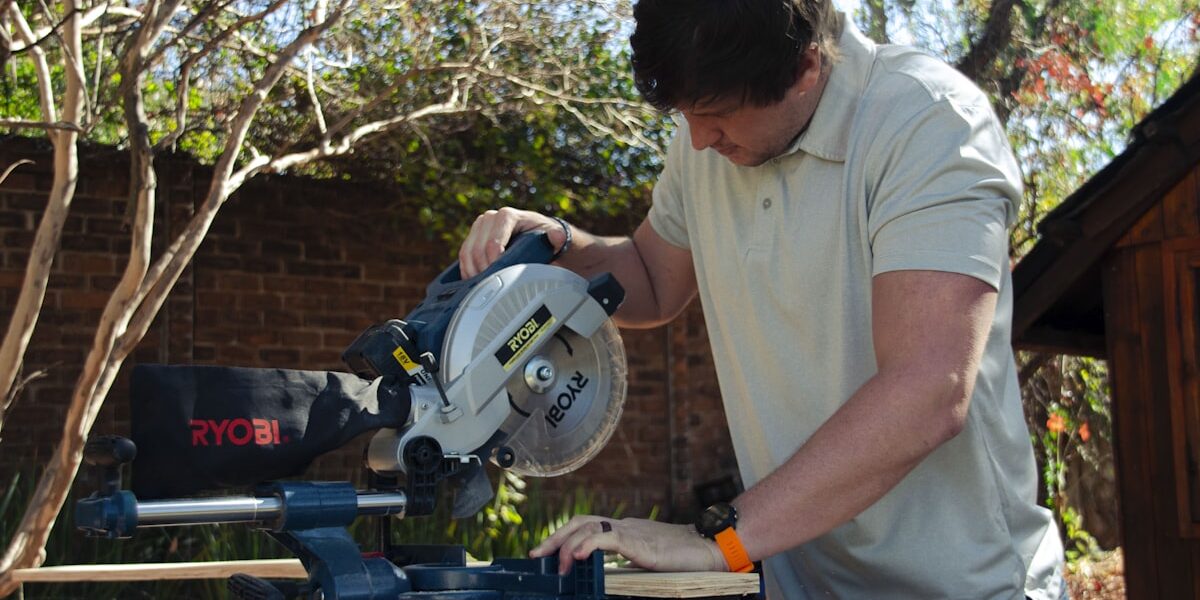
Applying the New Stain
Alright, the good part. Grab a quality brush or a lint-free cloth — I personally prefer using old cotton t-shirts for wiping stain. Stir your stain well but don’t shake the can. Shaking creates bubbles, and bubbles create little craters in your finish.
Before you go all in, do a test patch somewhere it won’t be visible. The underside of a table, the back of a cabinet, whatever. Check it in different lighting too — stains can look completely different under shop fluorescents versus natural light.
When you’re ready, work in small sections. Apply a thin coat and wipe away the excess with a clean cloth. This prevents blotching, which is the number one complaint I hear from people who stain over stain. Multiple thin coats give you way more control over the final color than one thick application.
Drying and Finishing Up
Let that stain dry fully. Don’t rush this. Oil-based stains can take 24 hours or more. Water-based usually dries in a few hours, but check the can for specifics. Once it’s dry, step back and see if you need another coat for deeper color.
Every coat adds depth.
For protection, throw a topcoat on there. Polyurethane is my go-to for furniture that takes a beating. For decorative pieces, a clear lacquer or even paste wax works beautifully. Just make sure whatever finish you choose plays nice with the stain type you used.
When Things Go Wrong
Look, it happens. Uneven color, weird adhesion issues, blotchy spots. If your prep work wasn’t thorough enough, these problems will show up fast. Don’t panic. You can usually sand back the problem area and try again.
The biggest headache comes from mixing water-based and oil-based products without proper prep. If the surface is glossy at all, the new stain is going to bead up and refuse to absorb. You need a matte, scuffed surface for good adhesion.
When In Doubt, Strip It Out
Sometimes the best call is to just strip the old stain entirely. If the piece has been refinished multiple times, or you have no idea what’s on there, a chemical stripper gives you a fresh canvas. It’s more work, no question about it. But you’ll have total control over the final result.
If you go the stripping route, please wear proper protection. Goggles, chemical-resistant gloves, and work outside or in a well-ventilated area. Those fumes are no joke. Once stripped, sand everything smooth with progressively finer grits before applying new stain.
My Take
Staining over stain is perfectly doable and I do it all the time on refinishing projects. The secret is patience — patient prep, patient application, patient drying. Test on scrap first if you can, or at least on a hidden spot. With a little care, you can completely transform a piece without stripping it down to bare wood. That’s a win in my book.
Recommended Woodworking Tools
HURRICANE 4-Piece Wood Chisel Set – $13.99
CR-V steel beveled edge blades for precision carving.
GREBSTK 4-Piece Wood Chisel Set – $13.98
Sharp bevel edge bench chisels for woodworking.
As an Amazon Associate, we earn from qualifying purchases.


Stay in the loop
Get the latest wood working workshop updates delivered to your inbox.