As someone who has had my jointer on a dedicated stand for years after initially suffering through an unstable improvised setup, I know what actually matters here. Let me share what I know about getting this right.
Why the Stand Matters More Than You Think
A jointer on an unstable or wrong-height stand is more dangerous than most woodworkers recognize. The machine vibrates, it pushes back against the workpiece, and it demands a specific posture to feed safely. An unstable stand introduces variables into every pass. Getting the stand right is the foundation for everything else the jointer does.
Material Choices

- Wood: Readily available, easy to work with standard shop tools, and perfectly adequate for most shop environments. 3/4″ plywood for the structural members, solid hardwood for the joints. Pine and oak both work for the frame. My stand is plywood construction and has been completely reliable.
- Steel: More rigid than wood and handles moisture better for damp shop environments. Requires welding skills and equipment. Commercial steel stands are the other option if you’re not set up to weld.
- Composite materials: Lighter weight and dimensionally stable. Generally requires less specialized tooling than steel while being more moisture-resistant than wood.
Design Parameters That Matter
Height is the critical ergonomic variable. The standard range is 32 to 36 inches, but your specific comfortable working height is what matters — not a published number. Stand at your normal working position and measure where your hands fall naturally. Feeding stock into a jointer at the wrong height is tiring and slightly off-balance, which affects both result quality and safety.
The footprint needs to be stable enough to resist the jointer’s vibration and push-back without tipping. A wider stance is more stable than a narrow one, but the stand still needs to fit your shop layout. Storage built into the stand — shelves between the legs, a drawer for push blocks and jigs — makes the whole setup more functional without adding floor space requirements.
Tools for a Wooden Stand Build

- Circular saw or table saw for dimensioning stock
- Drill and driver for assembly
- Wood glue and clamps
- Power sander for finishing
- Level for verifying the top is flat
Building the Wooden Stand: The Process
- Measure the jointer base precisely and add layout space on all sides — you want the jointer centered and stable, not hanging over an edge.
- Cut the frame members to length. Accuracy here pays off in a stand that assembles square without fighting.
- Assemble the leg pairs first, then connect them with horizontal stretchers at both top and bottom. Glue and screw at each joint; clamp until dry.
- Check for square as you assemble. A diagonal measurement across the frame tells you immediately if the corners are square.
- Build and attach the top, joining planks edge-to-edge and securing to the frame. The top needs to be flat — a warped top transmits directly to jointer performance.
- Add shelves, tool holders, or drawers as needed for your specific workflow.
- Sand all surfaces smooth and apply a finish appropriate to your shop environment.
Stability — The Non-Negotiable
Took me one session on an unstable jointer setup to understand how much this matters. Check every joint for tightness at assembly and periodically thereafter. Position the stand on a flat, level area of your shop floor — if the floor isn’t level, adjust the stand’s feet rather than shimming under the jointer. Adjustable leveling feet are worth adding to any stand design. Check for loosening fasteners quarterly, especially after the first year while the wood settles.
Safety Basics
- PPE: goggles, hearing protection, and a dust mask or connected dust collection for every jointing session.
- The jointer must be secured to the stand with bolts, not just resting on it. Movement during operation is dangerous.
- Keep the outfeed table area clear of debris that could cause a workpiece to deflect.
- Follow the manufacturer’s operating guidelines for depth of cut and feed direction.
Commercial vs. DIY
Commercial steel stands offer convenience, immediate availability, and durable construction. The trade-offs are cost, limited storage options, and fixed dimensions that may not match your jointer’s footprint exactly.
DIY stands cost less, match your jointer’s specific dimensions, and can include exactly the storage you need. The trade-off is time to build. For a shop tool you’ll use for years, spending a weekend on a properly designed stand is time well spent.
- Cost: DIY wins, especially with reclaimed or leftover shop materials.
- Customization: DIY wins — size, height, and storage can all match your specific situation.
- Time: Commercial wins — no build time required.
- Quality: Comparable when the DIY version is well-built.
Upgrading Over Time
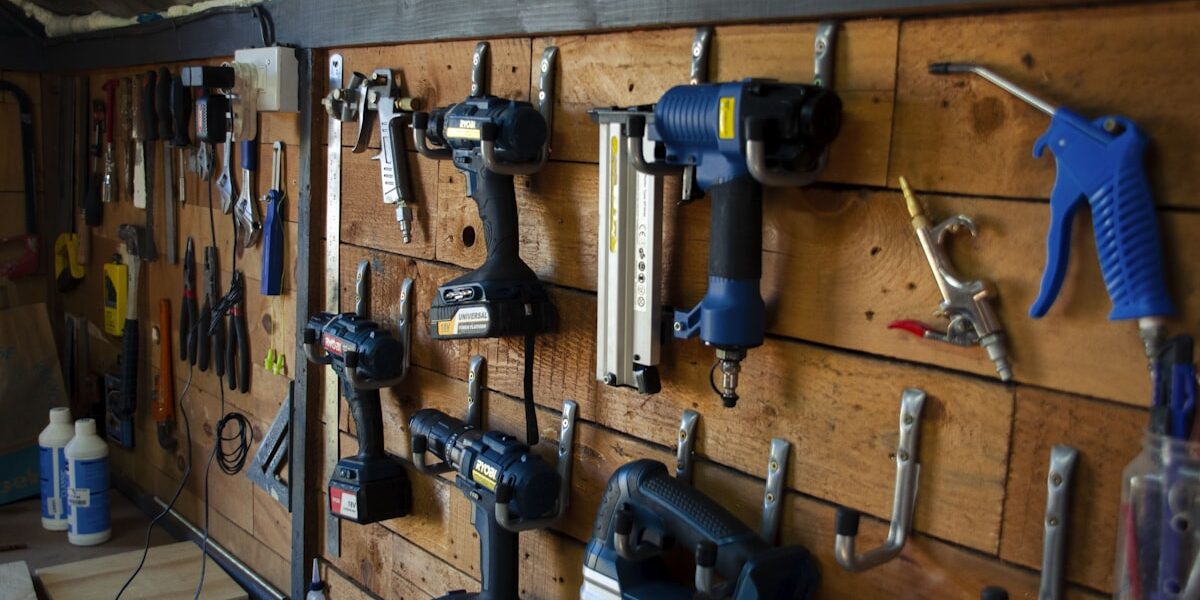
Once the basic stand is working well, upgrades that pay off: locking casters for mobility within the shop without sacrificing stability during use; a power strip mounted on the stand for the jointer’s cord and any other nearby tools; additional tool racks or pegboard on the sides for push blocks, push sticks, and setup gauges. These additions improve daily workflow without requiring rebuilding the stand from scratch.


Stay in the loop
Get the latest wood working workshop updates delivered to your inbox.