Why Dado Depth Is Hard to Nail the First Time
Dado blade setup has gotten complicated with all the conflicting advice flying around. You’ve installed the stack. Checked the manual. Watched at least three YouTube videos — probably more. Then you cut the test piece and it’s either too shallow or too deep, and you’re standing there wondering what you missed.
The mechanical culprit is actually pretty straightforward. A single saw blade sits on an arbor with minimal play. A dado stack, though? You’re now dealing with multiple chippers, shims, and tolerances stacked on top of each other. Each piece carries a fraction of a millimeter of variation. The arbor nut — even cranked down tight — allows microscopic movement once it settles under real cutting pressure. Your saw’s depth stop was engineered around a single blade, not a half-inch-tall stack of chippers. That stop moves the arbor based on readings that drift when thickness varies across the stack.
Most woodworkers never verify their depth stops are accurate to begin with. So what looks like user error often isn’t — not entirely, anyway.
Mistake 1 — Your Test Piece Is Lying to You
Probably should have opened with this section, honestly. Most dado failures start here before the blade even touches the real workpiece.
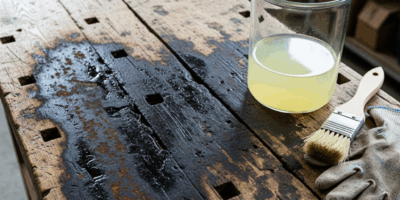
You grab whatever scrap is closest. Maybe it’s 3/4-inch MDF left over from a cabinet face frame. Maybe it’s some No. 2 pine from the home center. Maybe it’s mystery wood that’s been sitting in your rack for two years — we’ve all got that board. You cut the dado, try fitting a mating piece — could be actual walnut, could be birch ply — and call the depth “close enough.”
Then you cut into your real board and the fit is completely wrong.
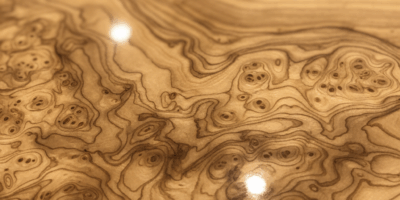
Grain direction, wood species, and material thickness all change how a dado joint seats. MDF is denser and more uniform than softwood. Pine compresses slightly under hand pressure. Plywood stiffness shifts depending on grain orientation. Testing in MDF and cutting the real joint in walnut means you weren’t actually testing the same thing. The results were never going to match.
The fix is boring but non-negotiable. Your test piece needs to match the actual workpiece three ways:
- Same species — or at minimum, same material class. Solid wood to solid wood, plywood to plywood.
- Same thickness, within 1/32 inch.
- Same grain orientation as it will sit in the finished piece.
Cutting dados for shelving? Your test piece should be shelf-thickness stock in the same wood. Frame-and-panel joinery? Use actual panel stock. Cut the test piece straight from your material pile if you can. Offcuts from your first rips are ideal — they’re guaranteed to match because they literally came from the same board.
I’ve watched woodworkers spend 45 minutes chasing depth with an MDF scrap only to find the real cherry board fits completely differently. The dado wasn’t wrong. The test just didn’t tell the truth.
Mistake 2 — Setting Depth With the Blade Cold
You lower the blade to where it looks right. Spin it by hand. Measure the height. Perfect. Then you make the first cut and the depth is off by a whisker — just enough to ruin the fit.
That’s creep. The saw was cold. The arbor nut was hand-snug. The moment the motor engages and that first cut goes through under real load, friction and vibration settle everything together. The nut tightens slightly. The chippers shift. The arbor develops actual tension. The depth you set isn’t the depth you get.
You can’t prevent this entirely, but accounting for it takes maybe ten minutes.
Make one full-width pass in scrap at your intended depth before touching the real workpiece. Cut across the whole width so the entire stack runs under load. Then back off the depth stop, lower the blade again, and measure. A drop of 1/64 inch or more is common — sometimes more than that. The stack has settled, and now the reading is honest.
Reset to your target and cut a second test piece. Check that fit. If it’s good, cut a third. Only after two consecutive test pieces confirm the depth should you move to the real board.
Ten extra minutes of setup. Ruining a $40 piece of walnut — or worse, a $90 piece of figured maple — costs considerably more than that. Don’t make my mistake.
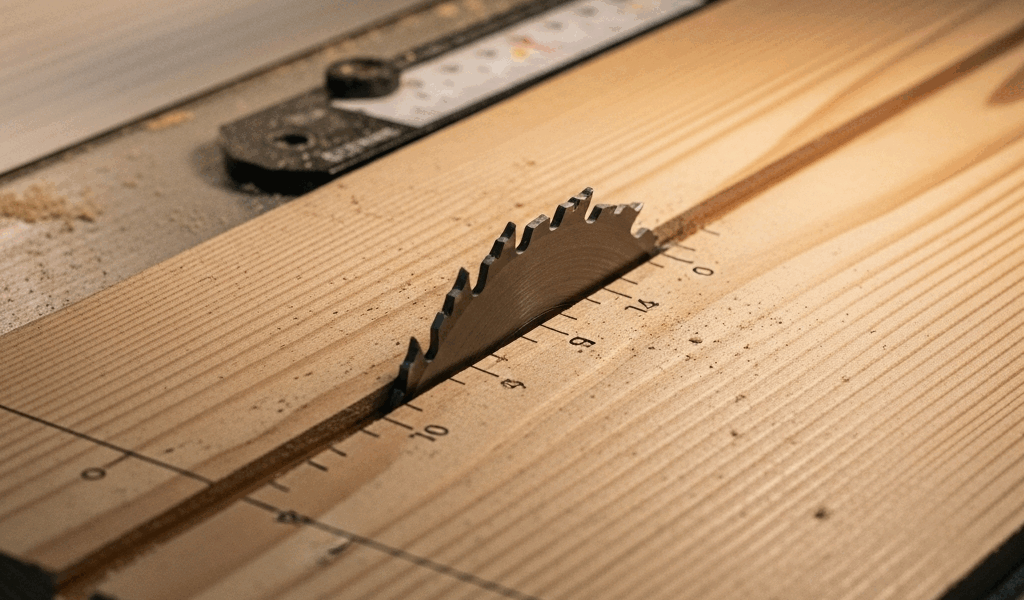
Mistake 3 — Measuring From the Wrong Reference Point
Depth gauges are more sensitive to placement than most people realize.
Standard practice is resting a dial or digital gauge flat on the saw table and touching the blade. But which part of the blade, exactly? The tooth tip? The gullet? What counts as true top dead center on a dado stack?
It matters more than you’d think. Dado stacks have teeth and chippers sitting at slightly different heights depending on how they’re arranged. A standard 1/2-inch stack can show real variation across its width. If you’re measuring one tooth at the leading edge and a different position on the trailing edge, you’re reading two different numbers — and neither one tells the whole story.
The right approach: place your gauge flat on the table, rotate the arbor by hand until one tooth points straight up, and rest the gauge tip against the very top of that tooth — not the gullet, not the side, the tip. That’s your actual height. Do this in at least two spots across the blade width. If the readings differ, you’ve got a stack alignment problem worth solving before you cut anything.
One detail most people skip entirely: insert height. If your saw table has a zero-clearance insert with even a slight lip, or if anything’s been shimmed, that reference surface might not sit perfectly flush with the actual blade path. Measure from the surface your workpiece will actually ride on — not from the insert edge.
The Sneak-Up Method That Actually Works
Start shallow. Every time, without exception.
Set your depth 1/32 inch below target. Cut a test piece in material that matches your real workpiece. Try fitting the mating board. Too tight? Raise the depth in 1/64-inch increments. One full turn on most manual depth adjusters moves roughly 1/8 inch — so you’re talking about two turns per 1/32 inch of change. Small moves.
Cut a fresh test piece after each adjustment. The second consecutive piece that fits cleanly — not forced in, not sloppy — is your depth. Right there, before you touch the real workpiece, mark that stop. A strip of blue painter’s tape on the fence or a pencil line on the adjustment knob takes five seconds and saves you from redoing the entire setup if you bump the depth while repositioning your fence.
Then, and only then, cut your real board.
The sequence matters more than nailing any single step perfectly. Start shallow, sneak up in small increments, verify twice, commit once. I’m apparently someone who learns this the hard way, and the sneak-up method works for me while trying to dial in exact depth on the first try never does. Most dado problems disappear when you stop treating the first test cut as a confirmation and start treating it as the beginning of a conversation with the saw.
Run through this process a few times and the whole thing takes about 20 minutes. That “too shallow after all that setup” problem? Gone.


Stay in the loop
Get the latest wood working workshop updates delivered to your inbox.