How to Stain Over an Existing Finish — Without Stripping
Can You Actually Stain Over an Existing Finish — The Honest Answer
Staining over an old finish has gotten complicated with all the contradictory advice flying around. Every forum thread cancels out the last one. Half the people say never do it. The other half say just slap some stain on there and call it a day. As someone who’s been refinishing furniture and doing finish work on cabinetry for going on fifteen years, I learned everything there is to know about what actually works here — and the real answer lands somewhere in the middle, depending almost entirely on what kind of finish you’re dealing with and what shape it’s in.
Here’s the short version. You can stain over an existing finish — if three things are true. The current finish isn’t peeling or flaking. The surface will actually accept new stain. And you prep it properly. You cannot — or at least, you won’t get the result you want — if the existing finish is an intact polyurethane or lacquer that’s sealed the wood completely. Traditional oil-based or water-based stain won’t penetrate. It’ll sit on top, look blotchy, and wipe right off when you try to topcoat it.
The test takes about two minutes. Rub a small amount of mineral spirits into an inconspicuous spot. If the surface softens slightly or goes tacky, it’s likely an oil-based finish with some porosity left. Then drop a little water on it — does it bead up immediately? That means the surface is sealed tight. Hard beading on both tests tells you penetrating stain is off the table entirely. Keep that in mind before you buy anything.
There’s also a second quick test worth doing. Lightly sand a hidden area with 150-grit paper and work in a small amount of oil-based stain. Wait five minutes, then wipe. If there’s zero color transfer into the wood — if the stain just sits there — penetration isn’t happening. That’s your real answer, right there on the piece itself.
Gel Stain — The Best Option for Staining Over Existing Finishes
This article includes affiliate links. We may earn a commission at no extra cost to you.
Probably should have opened with this section, honestly, because gel stain changes everything about this conversation. Most people searching this problem are picturing penetrating stains. But what is gel stain? In essence, it’s a stain that sits on top of the surface rather than soaking in — closer to a very thin paint than a traditional stain. But it’s much more than that. Because it doesn’t need to penetrate, it works over polyurethane, lacquer, varnish, and even paint.
I keep two products in my shop for this. General Finishes Gel Stain — a quart runs $22 to $26 depending on where you buy it — is my first reach for furniture and cabinets. Wide color range, goes on smoothly, levels well. Minwax Gel Stain, around $15 for a half-pint, is fine for smaller jobs and easier to find at the big-box stores, but it runs a little thicker and harder to control on larger surfaces. Both work. General Finishes is better.
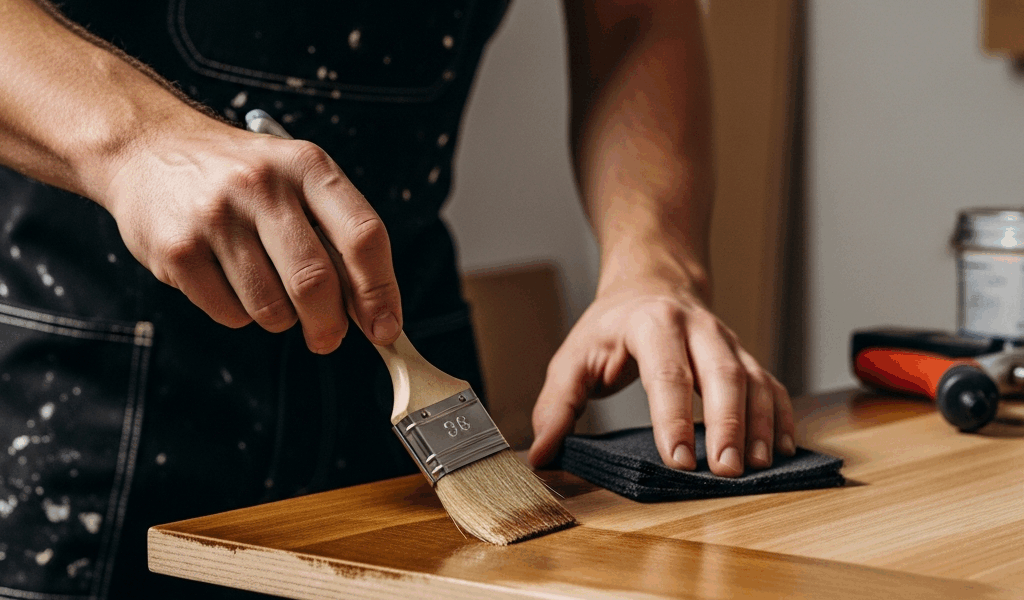
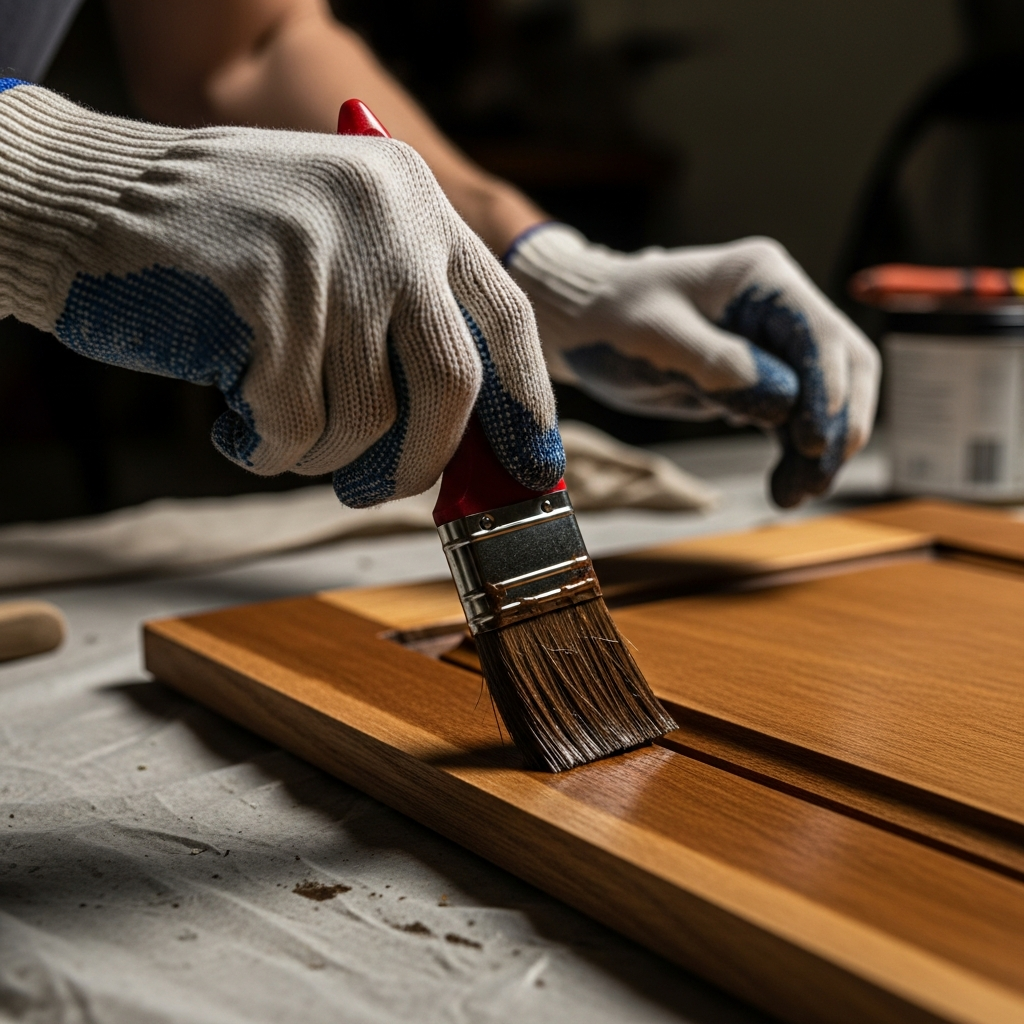
Application technique matters more with gel stain than with penetrating stain. Apply it with a foam brush or a lint-free cloth, work in manageable sections — I usually do about two square feet at a time on flat surfaces — and wipe the excess off with a clean cloth before it starts to set up. The open time is short. On a warm day in the shop, you’ve got maybe four to six minutes before it starts getting tacky and difficult to wipe. Don’t apply too much at once. That’s what causes streaking, and it’s the mistake I see most often.
Gel stain also gives you some forgiveness on blotch-prone woods like pine and cherry — even on raw wood, it’s worth considering. But for staining over an existing finish, it’s the right tool. Not a workaround. Not a compromise. That’s what makes gel stain endearing to us refinishers — it solves a real problem cleanly.
Surface Prep — The Step You Cannot Skip
Frustrated by years of clients showing me refinish jobs that looked terrible, I started being almost obsessive about this step. The prep is not optional. But — and this matters — you do not need to strip the existing finish. You just need to give the surface enough mechanical tooth for the new stain to grab.
Start by cleaning. Seriously. Furniture accumulates wax, oil from hands, silicone from furniture polish, and general grime in ways that are hard to see but completely ruin adhesion. Wipe the entire surface down with a clean cloth dampened with mineral spirits — not soaking wet, just dampened. Work with the grain. Let it dry completely. On a piece that’s been sitting in a living room for ten years with Pledge applied twice a month, I do this step twice.
Then sand. You’re not trying to remove the finish — use 220-grit sandpaper, light pressure, working with the grain. This is a scuff sand, not a strip. You want to see a fine, even haze of scratch marks across the surface. That haze is tooth. It’s what the gel stain holds onto mechanically. If you see bare wood showing through, you went too hard.
A few specifics worth knowing. I use 3M Pro Grade Precision 220-grit sheets for flat surfaces and a flexible foam sanding block on curved or carved areas. For spindles or turned legs, a worn piece of 220 wrapped around your finger gets into the curves without cutting through. Take your time on edges — those are where existing finishes run thinnest and where you’re most likely to burn through to bare wood by accident.
After sanding, vacuum the dust, then wipe down with a tack cloth. I use Uline tack cloths, about $8 for a pack of twelve. Run it lightly over the surface — you’re picking up dust, not applying pressure. Then let everything sit for ten to fifteen minutes before you open the stain. Give the surface time to settle.
When You Must Strip First
While you won’t need to strip every piece, you will need a clear-eyed look at the condition of what you’re working with. I’ve watched people waste entire weekends applying gel stain to pieces that needed stripping first, and it doesn’t end well. Don’t make my mistake — I’ll get into that in a minute.
Strip first — no exceptions — if any of these apply:
- The existing finish is peeling or flaking. Applying anything over a compromised finish just traps the problem. The new stain will lift with the old one. You have to get down to solid material.
- You’re going lighter. You cannot stain over a dark walnut finish and get a light oak result. Gel stain can go darker, add warmth, add redness or depth. It cannot go lighter. If you need a lighter color, you’re stripping.
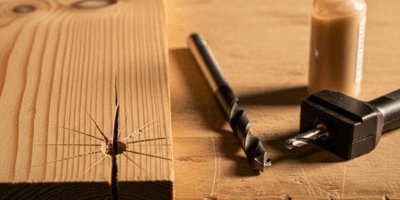
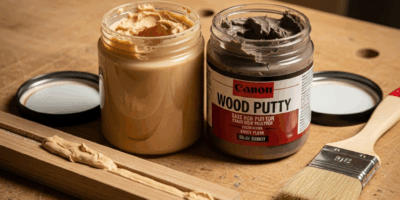
- There are deep scratches or gouges. Gel stain is not a filler. It will not hide structural damage — it will highlight it. Sand, fill with wood filler or epoxy (I use Elmer’s Wood Filler for small stuff, System Three Rotfix epoxy for anything structural), then finish. That requires stripping the surrounding area to get a clean repair.
- There’s water damage or white rings. White rings can sometimes be addressed with specific techniques, but if there’s actual water damage down into the wood — dark staining, raised grain, soft spots — you need to strip to the wood and assess what you’re dealing with.
- The existing finish is completely failing. Crazing, alligatoring, widespread adhesion failure. There’s no building on top of that foundation.
I learned the hard way on a mid-century credenza about four years ago — a piece I’d picked up at an estate sale in a storage unit off Route 9, if you want the mundane details. The finish looked okay at a glance, but there were small soft spots in two corners from a slow leak where it had been stored. I convinced myself I could work around them. I couldn’t. The gel stain looked perfect for about a week and then started lifting right at those spots. Stripped the whole thing and found the wood underneath needed treatment before any finish would hold. Two full days of work, gone.
Be honest with yourself about the condition of the piece. Everything that follows assumes you’re starting from a structurally sound surface.
Full Application Process — Start to Finish
Here’s the complete process for a piece that passes the test — intact finish, no structural issues, going darker or adding color.
- Clean the surface. Mineral spirits, clean cloth, wipe with the grain. Let dry fully — at least thirty minutes at room temperature.
- Scuff sand with 220-grit. Light, even pressure. You want a haze, not bare wood. Focus on flat panels and large surfaces first. Don’t skip edges and turnings, but be gentle on those areas.
- Vacuum and tack cloth. Get all the dust off. Any dust that stays gets trapped in the finish.
- Apply gel stain in sections. Foam brush or folded lint-free cloth. Apply in the direction of the grain. Work in sections no larger than two square feet on flat surfaces. On vertical surfaces like door panels, work top to bottom.
- Wipe excess within four to six minutes. Use a clean cotton rag — old T-shirts work well. Wipe with the grain. Remove all the excess. Gel stain that sits too thick will stay tacky and never dry properly.
- Let dry fully — minimum eight hours. General Finishes recommends overnight in normal conditions. Don’t rush this. I’ve tried to push to four hours in a warm shop and paid for it with adhesion issues on the topcoat.
- Evaluate and apply a second coat if needed. One coat often does the job. For a deeper color, apply a second coat exactly the same way. Two coats is usually the limit before the surface starts looking too heavy.
- Topcoat. Gel stain needs a protective topcoat — it is not a finish on its own. Water-based polyurethane is my standard choice over gel stain. Apply two to three thin coats, lightly scuffing with 320-grit between coats. General Finishes High Performance Topcoat in satin or semi-gloss plays well with their gel stain — I’ve used that combination dozens of times without issues.
A few common mistakes worth naming directly. Don’t use a bristle brush to apply gel stain — the thick formula loads into bristles unevenly and you’ll get lines. Don’t skip the topcoat because “the gel stain looks fine” — it will wear off. Don’t apply gel stain in a cold shop; below 60°F it gets stiff and basically unworkable. And don’t apply it over a surface you’ve just cleaned with mineral spirits without giving it real dry time — residual solvent affects how the stain levels.
That’s the whole process. Clean surface, mechanical tooth, gel stain in manageable sections, wipe fast, dry overnight, topcoat. For the right piece in the right condition, it works cleanly and saves you a full strip job. Know the limits, do the adhesion test first, and you’ll get a result you’re actually happy with.


Stay in the loop
Get the latest wood working workshop updates delivered to your inbox.