“`html
Why Your Glue Is Crawling
Wood glue not setting fast enough hits different depending on when you discover it. You clamp a joint at 6 p.m., plan to move on the next morning, and by 9 a.m. the thing still flexes when you touch it. That’s not hypothetical — I’ve stood there staring at a half-set butt joint more times than I want to admit.
Here’s what most woodworkers get wrong immediately: they confuse set time with cure time. These aren’t the same thing. Set time is when the glue firms up enough that you can unclamp without the joint collapsing. Cure time is when it reaches full strength — which can be days or weeks depending on the glue type and environmental conditions. You might have a 30-minute set time but need 24 hours for cure. That gap? Creates anxiety, especially in production work.
Your glue crawls because of temperature, humidity, glue viscosity, application thickness, joint fit, and clamping pressure working together. Most online advice blames temperature alone. That’s incomplete troubleshooting. Real workshops need to check multiple variables because fixing one rarely solves the problem entirely.
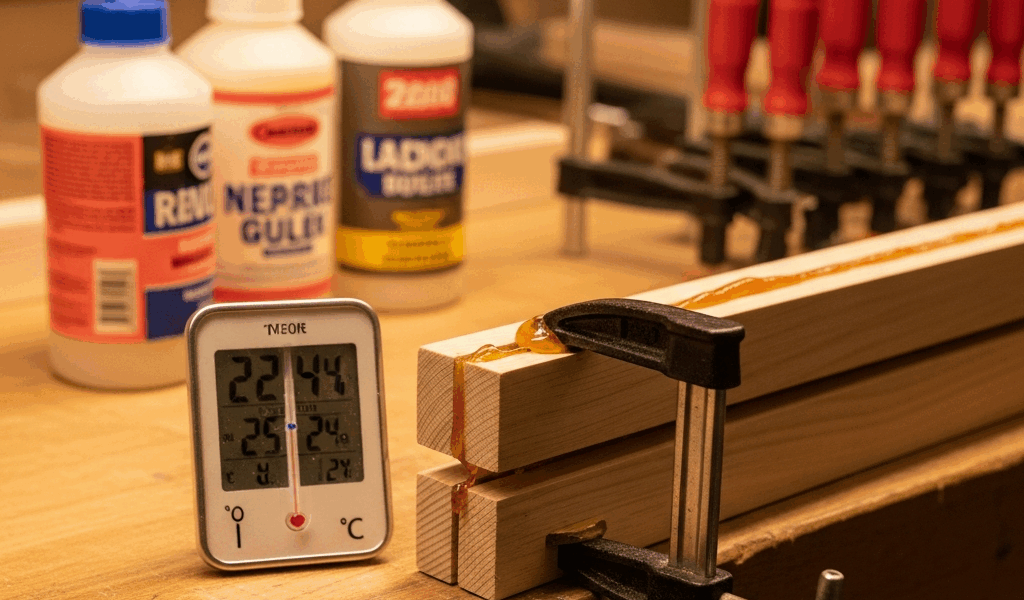
Check Your Workshop Temperature and Humidity First
This is where I usually start, and honestly, probably should have opened with this section. Temperature matters in a way that most casual woodworkers underestimate.
PVA-based glues like Titebond II need water to evaporate to cure. Below 65°F, that process crawls. At 55°F, you’re looking at nearly double the set time. Walk into an unheated garage in November and your 30-minute set time becomes 60 minutes or longer. I learned this the hard way during a winter furniture run when I thought I could glue at 58°F — the joints were barely tacky after two hours.
Humidity is the sneaky variable nobody talks about enough. When your workshop hits 70% relative humidity or higher, water evaporation from the glue slows to a crawl. You’re essentially trying to dry glue in a damp environment. High humidity combined with cool temps creates the worst-case scenario.
Here’s a practical reference for common glue types under optimal conditions:
| Glue Type | Optimal Temp Range | Typical Set Time | Humidity Sensitivity |
| Titebond II | 65–85°F | 30 min | High |
| Titebond III | 65–85°F | 45 min | Medium |
| Hide Glue | 70–90°F | 15 min | Very High |
| Epoxy | 60–75°F | 120 min | Low |
If your shop is genuinely unheatable, you have options. Open windows to reduce humidity. Run a box fan to push air across the joint. Pre-warm your glue bottle by sitting it in warm water for a few minutes — warmer glue sets faster. Move temperature-critical work to warmer months or an insulated corner. I use a small space heater in my finishing area and clamp joints there during winter.
Are You Using the Right Glue for Your Conditions
Glue choice matters more than most people think. It’s not about picking the “best” one — it’s about matching your actual workshop reality.
Titebond II is the workhorse. It’s forgiving with moisture content (both in the wood and the air), handles temperature swings, and cleans up easily. Set time around 30 minutes. But it relies on water evaporation, so cold damp shops are its enemy. This is what I use 90% of the time because my workshop hovers around 50–70°F depending on season.
Titebond III is slower to set at 45 minutes, but cures fully in 24 hours versus Titebond II’s standard claim. The extra time is a feature if you’re doing complex assemblies — torture if you’re on a timeline. It’s also waterproof, which matters if your finished piece sees humidity.
Hide glue sets incredibly fast. 10 to 15 minutes. But it requires a hot workshop — 70°F minimum, ideally 80°F+. It also demands consistent clamping pressure or it’ll drift. The trade-off is reversibility (heat the joint later to separate it) and workability. Old furniture makers loved it. Most modern shops don’t have the infrastructure.
Epoxy is slower overall — 120 minutes typical working time, full set in 24 hours — but it doesn’t care about humidity or wood moisture content. It works in basements, damp shops, and unheated spaces. The catch: you’re mixing two parts, cleanup requires solvents, and you get one shot before it hardens. Epoxy is my choice when I’m gluing something in my basement or if the humidity is genuinely out of control.
Glue Thickness and Application Mistakes That Slow Everything Down
Applying too much glue is the most common mistake I see. A thick glue line is a slow-drying glue line. Squeeze out half an inch of glue from a joint and you’ve created a moisture barrier. Water can’t evaporate efficiently through a thick gummy layer.
The right approach: spread a thin, even coat on both surfaces. You should see slight squeeze-out when you clamp — maybe a thin bead, not globs. That bead tells you the glue is distributed and the joint is tight. If glue oozes out like Play-Doh, you’ve applied too much. If no squeeze-out appears and the joint feels dry, you’ve applied too little.
I use an acid brush to apply glue on larger surfaces. On edge joints and mortise-and-tenon work, I’ll use a small roller or brush — spreads it thin and even. A lot of people just squeeze from the bottle and call it done. That works sometimes, but inconsistent application thickness means inconsistent set times within the same project.
One more thing: if you’re gluing up a large panel, do it in sections or use a glue with extended working time. Rushing a glue-up because you’re panicked about set time usually leads to gaps and weak joints.
Clamp Pressure and Joint Fit Issues You Might Miss
Joints that don’t fit tightly create gaps. Glue fills those gaps, but thick glue layers dry slowly. A joint with a 0.01-inch gap forces the glue to work harder and take longer to set.
Loose clamping compounds the problem. If your clamps aren’t holding the joint tight, the glue sits in a thick layer instead of a thin film. Hand-tight pressure plus a quarter-turn of the clamp lever is usually enough. You’re not trying to crush the wood — you’re just closing the gap. Over-clamping can starve the joint of glue, creating a different set of problems, but under-clamping is more common and slower.
Shaped joints — curved edges, contoured surfaces — can trap glue in pockets where it can’t dry efficiently. Check your joint fit dry before you apply glue. Does it close fully when you clamp? If not, either the fit needs adjustment or your clamp pressure needs refinement.
I check joint fit on every glue-up now after ruining a table base years ago because I assumed the joint was tight. It wasn’t. The gap trapped glue. The joint felt solid when clamped but actually was weak when I unclamped because the glue never fully set in those pockets.
Quick Fixes to Speed Up Set Time Today
Not every workshop has perfect conditions, so here’s what actually works.
A heat gun set to medium, held at least 6 inches away from the joint, can speed curing noticeably. Two or three minutes per joint. Don’t overheat — you’re not trying to cook the wood. The goal is raising the local temperature a few degrees to accelerate water evaporation.
A simple box fan moving air across the workspace helps humidity evaporate. Even 10–15 minutes of air circulation drops set time. An open window in dry weather is free dehumidifying.
Pre-warm your glue bottle. Sit it in a container of warm (not hot) water for five minutes. Warmer glue flows better and sets faster. I do this every winter.
If humidity is the culprit, a small dehumidifier ($40–80) is a legitimate investment. Mine pulls moisture out of my basement workshop and legitimately shaves 15 minutes off set times in humid seasons.
Finally, if nothing else works: switch glues for temperature-critical work. Epoxy in a cold damp basement. Hide glue in a heated space. Match the tool to the environment, not the other way around.
“`


Stay in the loop
Get the latest wood working workshop updates delivered to your inbox.