“`html
What Miter Saw Chattering Sounds Like and Why It Matters
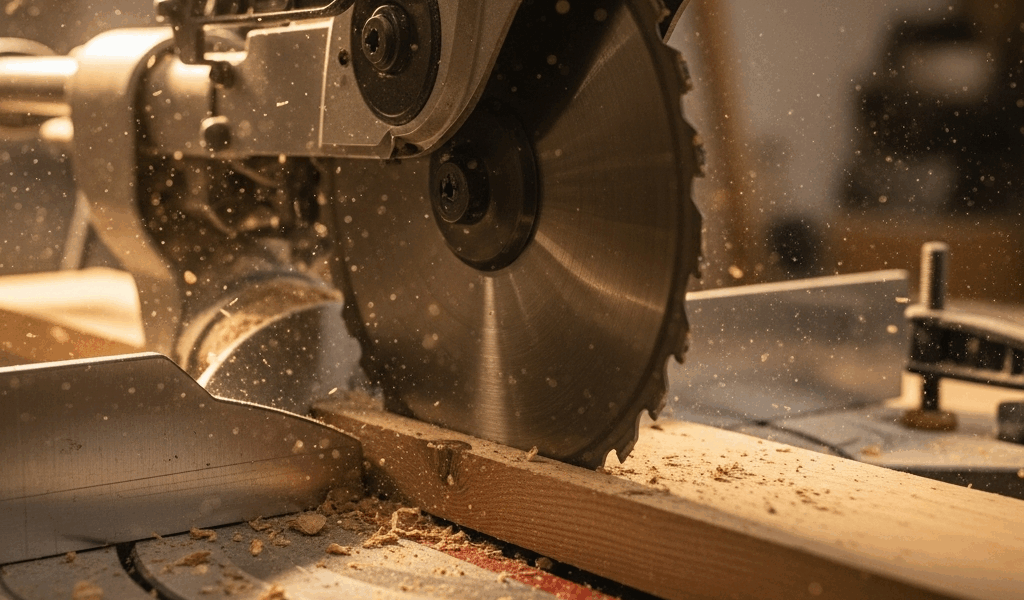
Miter saw blade chattering has gotten complicated with all the noise flying around these days. But here’s what you’re actually listening for—that rapid clicking or rattling noise mid-cut, like your saw is vibrating itself apart. It’s nothing like a smooth hum. Instead, you’ll hear a series of quick taps, sometimes accompanied by a visible oscillation of the blade or a slight stuttering in the cut itself.
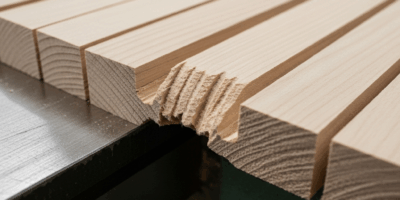
This matters more than you’d think. Chattering produces ragged, splintered edges instead of clean cuts. Your blade wears faster. Most importantly though, it signals something is loose or misaligned—and a loose blade is a safety risk. I’ve seen cuts veer sideways mid-stroke because of uncontrolled vibration. The saw can also damage the workpiece or your hands if it jerks unexpectedly.
The good news? Chattering almost always has a fixable cause. I’ve stopped nine out of ten chattering problems with the four-step inspection process below.
Step 1 — Check Your Blade for Damage and Dullness
Start here. A damaged or dull blade is the most common culprit, and it’s the easiest to spot.
Unplug the saw first. Then rotate the blade by hand to inspect each tooth. Look for teeth that are chipped, cracked, or noticeably shorter than their neighbors. A bent tooth will make itself obvious—it’ll be angled differently when you spin the blade slowly. Dull teeth create friction instead of clean cuts, and that friction translates into vibration.
Probably should have opened with this section, honestly. I once spent an hour adjusting fence bolts before realizing the blade was just worn out.
Check for missing carbide tips too. Carbide-tipped blades — like my Freud 10-inch 80-tooth blade, which I’ve owned for three years — show dark grey teeth. If you see bare metal under the carbide, or if a tip is completely gone, that blade is causing vibration by catching unevenly on the material.
Also inspect the blade body between teeth. Rust, buildup, or warping here amplifies vibration. A warped blade won’t sit flat on the arbor, no matter how tight you make the nut.
If you find damage or obvious dullness, skip ahead to the “When to Replace the Blade Instead of Fixing” section.
Step 2 — Inspect and Adjust the Blade Arbor Nut
A loose blade nut is the second most common chattering cause. The arbor is the shaft that holds your blade. The nut locks it in place.
Here’s the safe way to check: Unplug the saw. Use the blade-locking pin — usually a button on the side or back of the saw head — to lock the blade stationary. Then try to wiggle the blade by hand. Grasp it near the outer edge and try to move it forward and back. Any play at all means the nut is too loose.
To tighten it, you’ll need the correct wrench size for your model. On most consumer 10-inch saws — the DeWalt DW713, Makita LS1018, Bosch MS12 — the arbor nut is 5/8 inch. Loosen the old nut by turning counterclockwise. Clean the arbor shaft and the nut itself. Dust and debris prevent a solid seating. Reinstall the nut and tighten clockwise until snug, then add one-quarter turn more. Don’t over-tighten. You’re aiming for firm contact, not white-knuckle force. Over-tightening can crack the arbor or warp the blade.
Different saws use different mount systems. Some have left-threaded nuts where clockwise loosens instead. Check your manual to confirm the direction for your specific model. I learned this the hard way on an old Hitachi saw.
After tightening, test the blade wobble again by hand. It should be completely solid.
Step 3 — Check Fence Alignment and Workpiece Support
A misaligned fence or unsupported work is an often-overlooked cause of chattering. If the workpiece isn’t held securely against the fence, it rocks slightly during the cut. That rocking creates vibration. The blade then chatters as it encounters shifting resistance.
To test your fence squareness, use a combination square. Place the square against the blade — unplugged and locked in the down position — and slide the fence base up against it. The fence should be perfectly perpendicular. If there’s a gap, your fence is angled. Most miter saws have adjustment bolts on the rear or side of the fence base. Loosen these slightly and tap the fence until it’s square, then retighten.
Next, test how your workpiece sits. Place a typical piece against the fence. A 2×4 board works fine. Push it down firmly. It should not rock. If it does, check for high spots or warping on the fence face itself. A warped fence won’t hold work flat. You might need to file or plane the fence edge.
Also make sure you’re clamping or holding the work properly. A piece that’s free to move will vibrate. I always hold cross-cuts with my left hand pressing down on the board — away from the blade, of course — until the blade is fully through. For longer pieces, a support stand on the right side prevents the cut end from sagging and chattering.
Step 4 — Verify Arbor Bearings and Base Stability
If you’ve ruled out blade damage, arbor tightness, and fence issues, the problem may be deeper. Loose bearings or a cracked base could be your culprit.
First, check if your saw is sitting flat. Place a level on the base. If it’s rocking, check for cracks or missing rubber feet. A cracked base is a permanent problem. You’ll need to replace the saw.
Next, listen for bearing noise. Spin the blade slowly by hand while listening carefully. If you hear grinding, scraping, or rattling from inside the saw head, a bearing is likely worn or loose. Bearings are difficult to replace at home. You’re looking at a $100–$250 repair through a service center, or a $300–$600 replacement saw.
Some saws have bearing adjustment bolts accessible from outside the head. Consult your manual. On most consumer models though, bearing access requires partial disassembly. If you’re uncomfortable with that, stop here and contact a technician.
When to Replace the Blade Instead of Fixing
A new quality blade often solves chattering complaints instantly. A good 10-inch carbide blade — Freud, Makita, Bosch, or DeWalt brands typically run $40–$80 — lasts most hobbyists 2–3 years of regular use. A dull or damaged blade is not worth repairing. Sharpening costs $15–$30 and isn’t reliable for miter saws.
If your blade has visible tooth damage or has been in use for over two years, replace it. Cost: fifty bucks. Time to swap: five minutes. Frustration eliminated: immense.
Compare that to an hour of diagnosis and potential bearing repairs at $150 or more. Or worse, continuing to use a chattering saw and ruining workpieces or causing a safety incident.
I keep two blades on rotation — one 80-tooth fine-cut blade for trim and finish work, one 40-tooth rip blade for rough cuts. When either starts chattering, it’s blade-replacement time. The investment pays itself back in fewer ruined cuts.
“`


Stay in the loop
Get the latest wood working workshop updates delivered to your inbox.